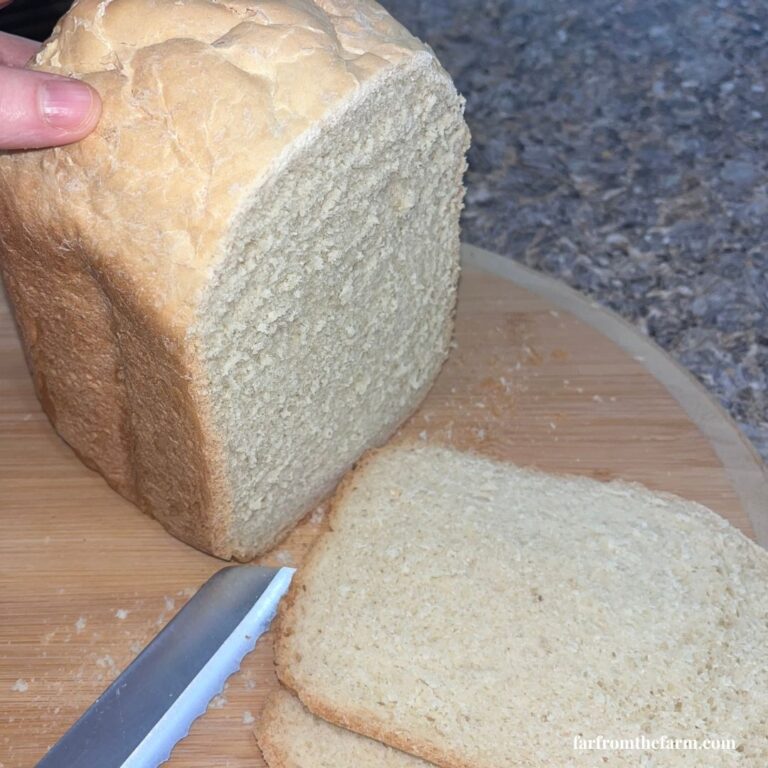
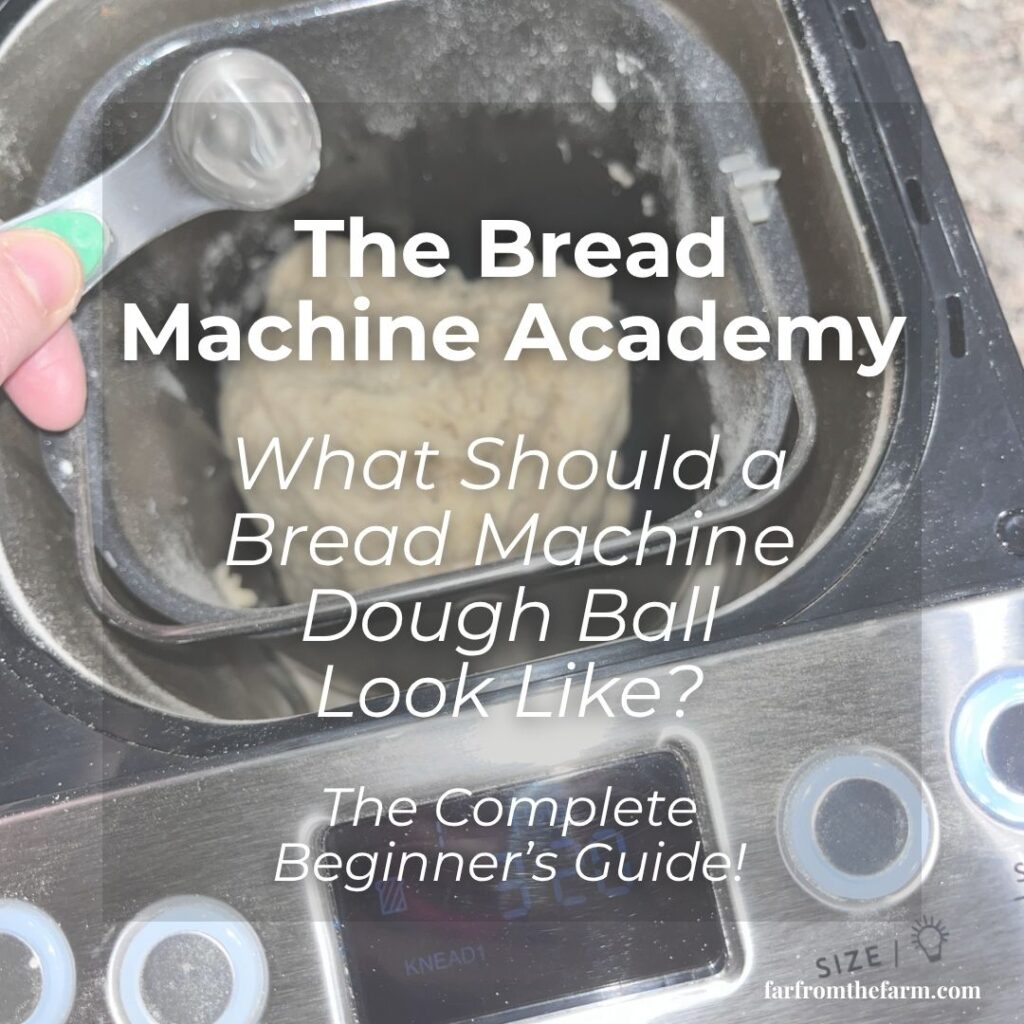
Learn How to Spot the Perfect Dough Ball, Fix Common Problems, and Bake Better Bread Every Time!
“If there’s one bread machine habit that will improve your baking more than anything else, it’s learning to recognise a good dough ball. Spend just thirty seconds checking your dough during the first kneading cycle and you’ll solve most bread problems before they ever reach the oven!”
Hi! If you’ve been following me for long you’ll already know this, but for those who are new, welcome to Far From The Farm.
I’m Mona, the Brit behind The Bread Machine Academy. This is where I share the skills, techniques, and troubleshooting tips I’ve learned through hundreds of loaves, so you can bake with confidence and understand what’s happening every step of the way!
This guide is part of The Bread Machine Academy, where I share everything I’ve learned after baking hundreds of bread machine recipes. My goal isn’t just to give you recipes that work. I want you to understand why they work, so you can bake with confidence no matter which bread machine or recipe you’re using.
If you’ve spent any time reading bread machine recipes online, you’ve probably seen the instruction:
“Check the dough ball after 5 to 10 minutes.”
If you’re completely new to bread machines, that sentence probably raises far more questions than it answers…
- What exactly is a dough ball?
- What am I supposed to be looking for?
- How do I know if something is wrong?
- When should I add flour?
- When should I add water?
Like most beginners, I assumed you simply added the ingredients, pressed Start, and walked away for three hours.
Sometimes you absolutely can do that. Other times your loaf comes out a little dense, a little flat, or strangely shaped, and you have no idea why.
The biggest surprise for me wasn’t learning a new ingredient or buying a different bread machine. It was discovering that taking less than a minute to look inside the machine during the first kneading cycle could completely change the finished loaf.
I genuinely believe learning to recognise a good dough ball has improved my bread more than anything else I’ve learned!
When my parents bought me my little Cuisinart Compact Bread Machine after I moved from Britain to the United States, I had no idea I’d end up using it several times a week.
What started as the occasional sandwich loaf soon became burger buns, dinner rolls, pizza dough, brioche, cinnamon rolls, sweet breads, French bread, and plenty of recipes that didn’t always go quite according to plan.
The more I baked, the more I noticed something. Whenever a loaf wasn’t quite right, the clues were usually there right at the beginning. The dough might have looked dry. It might have been sticking to the sides. It might have been sliding around the pan like pancake batter.
The bread machine was showing me exactly what was happening. I just didn’t know how to read the signs yet.
Once I learned what a healthy dough ball should actually look like, everything became much more predictable.
Now I almost always take a quick peek after the first few minutes of kneading.
Sometimes I don’t need to touch a thing. Sometimes I add a teaspoon of water. Sometimes a tablespoon of flour. That’s it. Those tiny adjustments often make the difference between an average loaf and one that’s beautifully risen, soft inside, and slices perfectly for sandwiches.
One of the biggest misconceptions about bread machines is that recipes should work exactly the same every single time. Real kitchens simply don’t work like that.
One bag of bread flour might absorb slightly more water than another. A humid summer afternoon can produce different dough from a cold winter morning. Even measuring flour just a little differently can change the consistency of the dough.
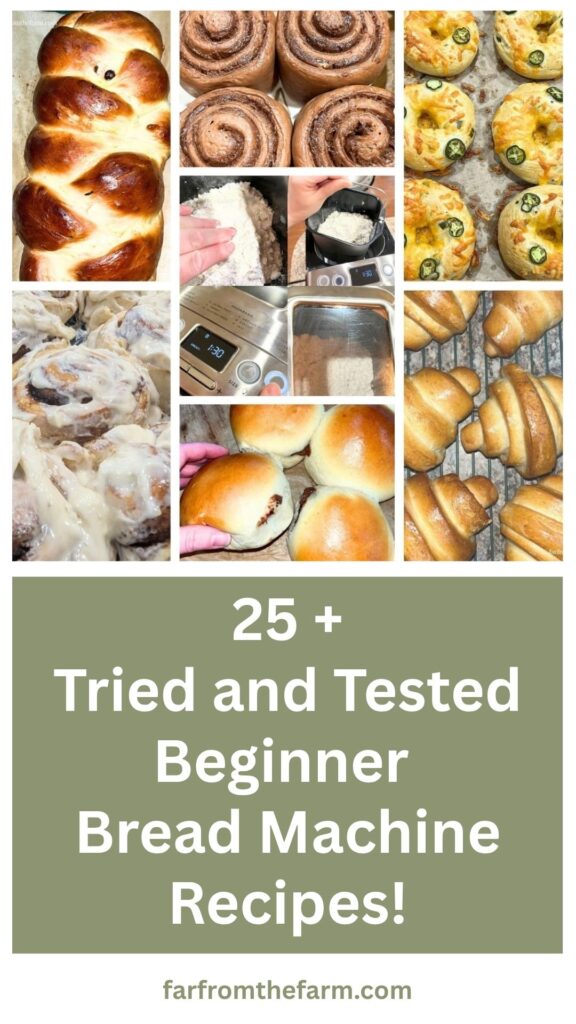
None of that means you’ve done anything wrong, per se. It simply means bread is a living process rather than an exact science.
The good news is that bread machines make spotting those little differences incredibly easy. Instead of trying to judge dough by feel on a worktop, you’re looking for one simple thing: a smooth, soft dough ball.
Once you know what that looks like, you’ll quickly learn when to leave the machine alone and when a tiny adjustment will give you a much better loaf.
Now, bread flour isn’t expensive, but it certainly isn’t free either. I’d much rather spend thirty seconds adjusting a dough ball than throw away an entire loaf that never had a chance of turning out properly.
It’s one of the easiest skills you’ll ever learn, and one that will save both money and frustration over time.
As a military family working through Baby Step 2 of our debt-free journey, we’re making more food from scratch these days and trying to stretch our grocery budget as far as possible.
And just a reminder that if you’re struggling and you need help with managing your budget or starting your own debt free journey then here’s some FREE resources below you may find helpful!
living frugally and fully
free tips and resources to make the most of what you have
As always, these photos are from my real kitchen here in our sweet military base home. No AI recipe images or staged lighting or spotless marble counters. Just real life and real food made in a small space. Proof that you can feed your family well without needing a dream kitchen or fancy tools!
So before you bake your next loaf, let’s take a look inside your bread machine and learn exactly what a perfect dough ball should look like!
Recipe Disclaimer
All Far From The Farm recipes are shared as a guide based on what works in my home kitchen. Results may vary depending on your ingredients, equipment, and cooking setup, so always use your own judgement. Please check all ingredients for allergies, intolerances, or dietary needs before making any recipe. Far From The Farm is not responsible for any reactions or outcomes from the use of these recipes. Nutritional information is an estimate only.
Mona – Far From The Farm
What Is a Dough Ball?
If you’re brand new to bread machines, don’t let the phrase dough ball intimidate you. It’s simply the name bakers use for the ball of dough that forms as the machine mixes and kneads all of your ingredients together.
During the first kneading cycle you’ll notice the flour, water, yeast and everything else gradually coming together into one smooth mass that rolls around the bread pan as the paddle turns underneath it. That’s your dough ball, and learning what a healthy one looks like is probably the single most useful bread machine skill you’ll ever develop.
The reason experienced bread machine bakers talk about checking the dough ball so often is because it tells you almost everything you need to know about your loaf before it has even started to rise. If the dough comes together into a soft, smooth ball, you’re usually on the right track. If it’s sticking everywhere, crumbling apart or refusing to come together properly, the dough is simply asking for a small adjustment before it’s too late.
The good news is that those adjustments are usually tiny. A teaspoon of water here or a tablespoon of flour there is often all it takes to rescue a loaf before it becomes dense, dry or misshapen.
When Should You Check the Dough?
One of the questions I get asked most often is “When should I actually look inside the bread machine?”
The answer is surprisingly easy. Around 5 to 10 minutes into the first kneading cycle is the perfect time.
By then the ingredients have had chance to combine properly, but you’re still early enough to correct anything that doesn’t look quite right. There’s no need to stand watching the machine from the moment you press Start. Simply lift the lid, have a quick look at the dough, then close it again. The whole thing takes less than thirty seconds.
Don’t worry about opening the lid during kneading either. Modern bread machines are designed for this, and checking your dough at this stage won’t hurt the loaf. Once the kneading has finished and the dough starts rising, that’s the time to leave the lid closed until baking is complete.
What Does a Perfect Dough Ball Look Like?
This is where most beginners overthink things. You aren’t looking for perfection. You’re simply looking for a dough that looks balanced.
A good bread machine dough ball should hold together as one smooth piece of dough while rolling comfortably around the bread pan. It shouldn’t be plastered to the sides, but it shouldn’t be so dry that it bounces around like a tennis ball either.
When you peek inside your machine, you’re aiming for something that looks:
- Smooth rather than rough
- Soft and slightly tacky
- Holding together as one ball
- Rolling freely around the pan
- Cleaning most of the flour from the sides of the pan as it kneads
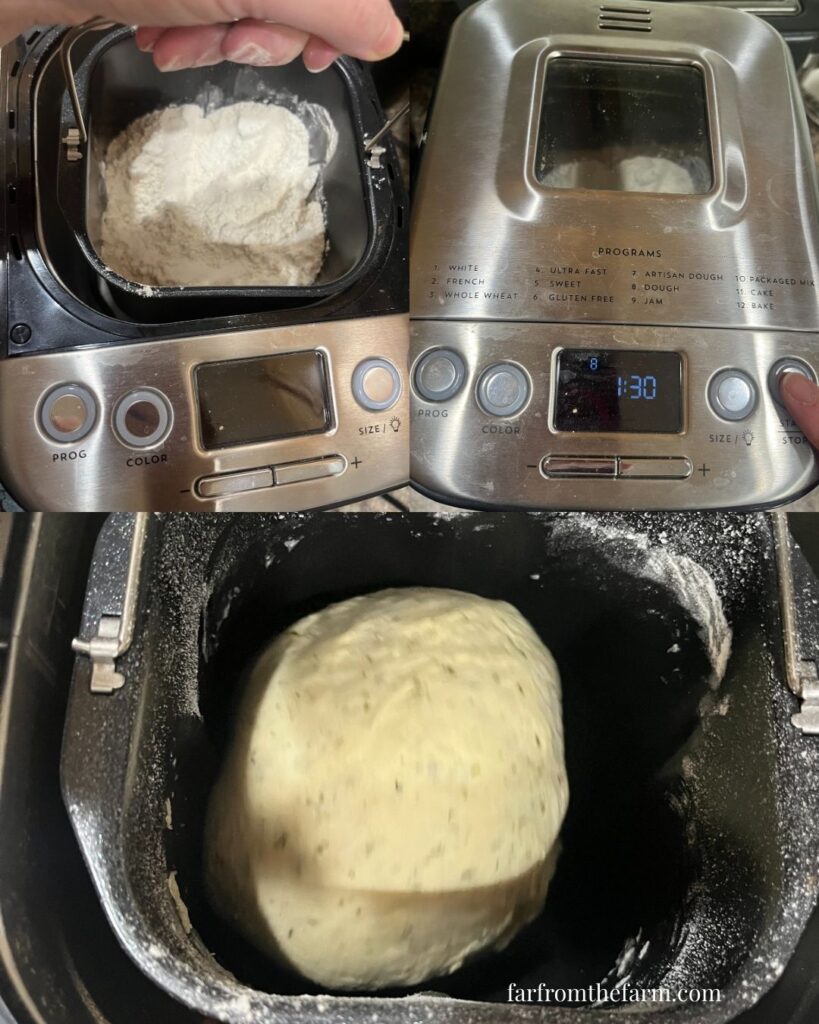
One comparison I always find helpful is soft modelling clay, plasticine or Play-Doh. The dough should feel soft and flexible, not wet like cake batter and not dry enough to crack apart.
It’s also worth remembering that every recipe behaves a little differently. A simple white sandwich loaf will usually form a firmer dough ball than a rich brioche or cinnamon roll dough because recipes containing butter, eggs and sugar naturally stay softer throughout the kneading process.
The more loaves you bake, the easier it becomes to recognise what “normal” looks like.
Signs Your Dough Is Too Dry
Dry dough is usually one of the easiest problems to spot because the bread machine struggles to bring everything together into one smooth ball.
Instead, you might notice dry flour sitting around the corners of the bread pan, cracks forming across the surface of the dough, or little pieces breaking away as the paddle turns. Sometimes the dough even looks as though it’s bouncing around the pan instead of stretching and folding smoothly.
If left alone, dough that’s too dry often produces bread that’s heavier than it should be. The loaf may not rise properly, the crumb can become dense or crumbly, and slices may fall apart instead of staying soft and flexible.
Fortunately, it’s one of the simplest problems to fix.
Rather than pouring in a splash of water and hoping for the best, add just one teaspoon of water. Let the bread machine knead for another minute or two, then check again. If it still looks dry, repeat the process.
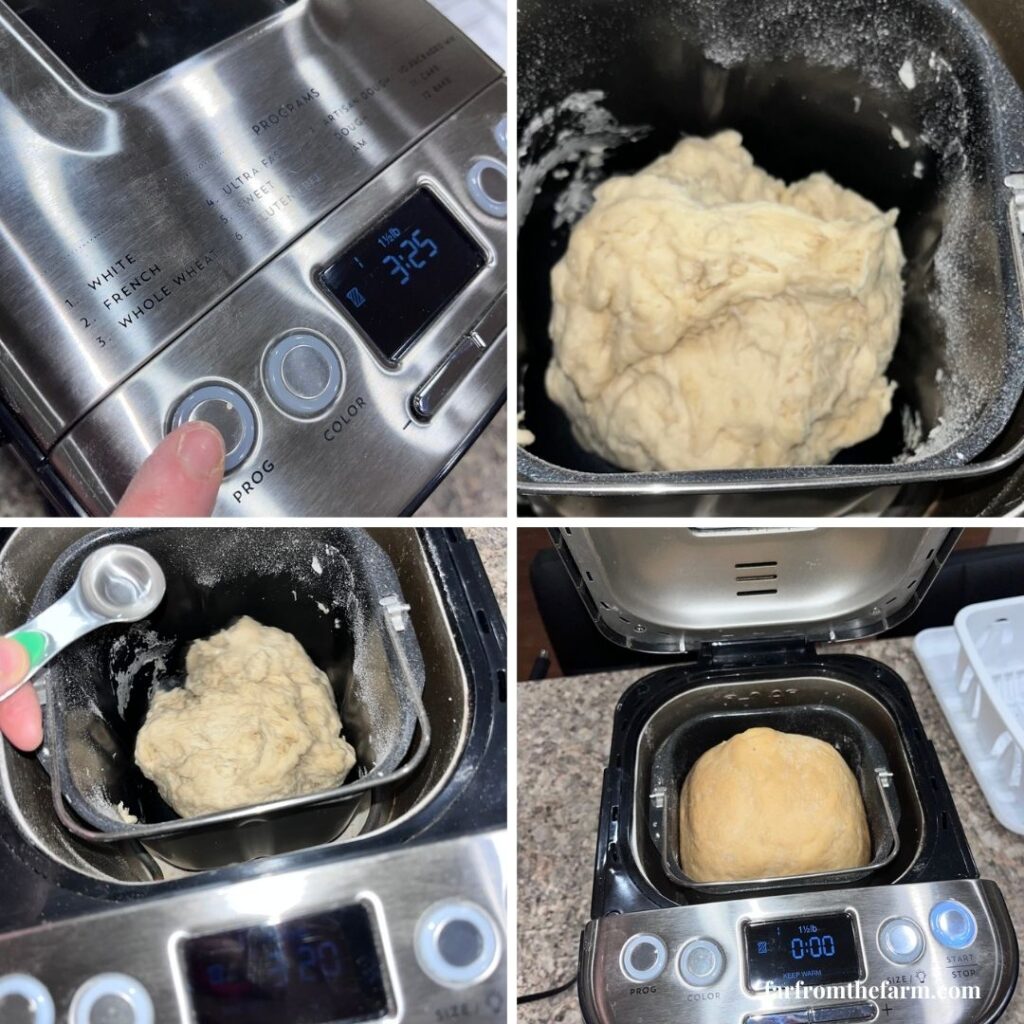
Small adjustments are nearly always the safest approach. It’s much easier to add another teaspoon of water than it is to rescue dough that’s suddenly become too wet.
Signs Your Dough Is Too Wet
Wet dough looks completely different.
Instead of forming one smooth ball, it spreads across the bottom of the bread pan and sticks heavily to the sides. You may even notice the paddle spinning underneath while the dough barely moves at all because it’s simply too sticky to lift and fold properly.
Sometimes the surface will look glossy or almost batter-like, which is another good sign the dough contains more liquid than it needs.
Bread baked from overly wet dough often rises beautifully at first before collapsing during baking. The finished loaf can sink in the middle, develop large air pockets, or have a gummy texture that never quite feels baked through.
Thankfully, the fix is just as simple as correcting dry dough.
Sprinkle over one tablespoon of flour, allow the machine to knead for another minute or two, then check the dough again. Repeat only if necessary.
Don’t be tempted to add half a cup of flour in one go. One tablespoon can make a surprising difference.
Why Does the Same Recipe Sometimes Need More Flour or Water?
This is one of the things that confuses new bread machine owners the most.
You can bake exactly the same recipe using exactly the same measuring cups, and one loaf may need an extra teaspoon of water while the next needs an extra tablespoon of flour.
That doesn’t mean the recipe failed. Bread is affected by far more than the ingredient list.
Humidity, room temperature, the brand of flour you’re using, how old that flour is, the protein content, even the way you filled your measuring cup can all influence how much liquid the dough absorbs.
That’s why experienced bread machine bakers almost never judge a recipe purely by the written measurements. They judge it by the dough ball.
Once you understand that, baking becomes much less stressful because you’re no longer chasing perfect numbers. You’re simply learning to recognise when the dough looks happy!
Do Sweet Doughs Look Different?
Absolutely, and this catches plenty of beginners out.
Rich doughs made with butter, eggs, milk or sugar are naturally softer than a basic white loaf, so don’t expect every dough ball to behave exactly the same way. Brioche, cinnamon rolls and other enriched breads often cling slightly to the bottom of the bread pan while still being perfectly hydrated, like the image below.

That’s completely normal. The goal isn’t to make every dough ball look identical. The goal is learning what looks right for the particular bread you’re making.
Once you’ve baked a few different recipes, you’ll quickly start recognising those differences, and you’ll find yourself making tiny adjustments almost without thinking about them. That’s usually the point where people stop simply following bread machine recipes and start becoming confident bread bakers.
Common Dough Ball Mistakes Beginners Make
Don’t worry if your dough doesn’t look perfect the first few times you bake. Almost everyone who buys a bread machine goes through the same learning curve, and thankfully the mistakes are usually easy to fix.
One of the biggest mistakes is trying to correct the dough too early. During the first couple of minutes the ingredients are still coming together, so it can look like a sticky mess or a pile of dry flour before everything has had chance to combine. Give your machine at least five minutes before deciding anything needs adjusting.
Another common mistake is adding far too much flour or water all at once. It’s tempting to tip in a big splash of water if the dough looks dry, but that’s often how people end up chasing the dough in the opposite direction. Small adjustments really are the secret. A teaspoon of water or a tablespoon of flour might not sound like much, but they can make a surprising difference.
Finally, remember that not every dough should look exactly like every other dough. A whole wheat loaf, a basic white sandwich loaf, and a buttery brioche are all supposed to behave differently. The goal isn’t to force every recipe into the same shape. It’s simply learning what looks healthy for the type of bread you’re making.
My Best Tip for New Bread Machine Bakers
If I could only give one piece of advice to someone buying their very first bread machine, it would be this:
Get into the habit of checking your dough ball. Every single loaf.
Even now, after making hundreds of loaves, I still lift the lid during the first kneading cycle for a quick look. Most of the time I don’t change a thing. Sometimes I add a teaspoon of water. Sometimes I sprinkle in a tablespoon of flour.
The whole process takes less than thirty seconds, but it can make the difference between an average loaf and one you’re genuinely proud to slice into.
Eventually you’ll become so familiar with your favourite recipes that you’ll know almost immediately whether the dough looks right. Until then, don’t be afraid to check. Bread machines aren’t designed to be mysterious. They’re simply another kitchen tool, and like any tool, they become easier to use with a little practice.
Why You’ll Love This Guide?!
- Explains one of the most important bread machine skills for beginners.
- Helps you recognise the perfect dough ball with confidence.
- Shows you how to fix dough that’s too wet or too dry.
- Saves wasted ingredients by correcting problems early.
- Gives practical tips that apply to almost every bread machine recipe.
- Helps you understand why recipes sometimes need small adjustments.
- Builds confidence instead of relying on guesswork.
- Designed for complete beginners with clear, straightforward explanations.
FAQ
I recommend it, especially while you’re still learning. Once you’ve made the same recipe several times you’ll probably know how it behaves, but even experienced bread machine bakers usually take a quick peek during the first kneading cycle.
Not during the kneading stage. It’s perfectly fine to lift the lid briefly to check your dough. Once the dough starts its final rise, leave the lid closed until the baking cycle has finished.
Changes in humidity, temperature, flour brands, and even how the flour was measured can all affect how much liquid the dough absorbs. That’s completely normal and exactly why checking the dough ball is such a useful habit.
Not necessarily. Many recipes work beautifully with all-purpose flour, while others benefit from the higher protein content of bread flour. I’ll cover that in another guide in the Bread Machine Academy.
The Takeaway
Learning to recognise a healthy dough ball is one of those small skills that pays you back every time you bake.
It doesn’t require expensive ingredients, a fancy bread machine, or years of experience. All it takes is lifting the lid for a quick look during the first kneading cycle and knowing what you’re looking for.
Once you understand how a properly hydrated dough should look, you’ll stop wondering why one loaf turned out beautifully while another didn’t. Instead, you’ll catch little problems before they have chance to affect the finished bread.
It’s a simple habit, but one that can completely change the way you use your bread machine!
Continue Learning in The Bread Machine Academy!
Ready for more?
- The Bread Machine Academy home page
- How Bread Machines Work
- Bake Your First Loaf!
- All Purpose vs Bread Flour
- What Does Each Bread Machine Cycle Do?
Why You’ll Love Using a Bread Machine In Your Kitchen!
If you’re new here, you’ll quickly learn that I am such a fan of using a bread machine for dough. It has been one of the biggest helps in my kitchen, especially during busy or overwhelming seasons.
My parents gifted me this little Compact Cuisinart Bread Machine recently when I moved from the UK to the States after getting married, and it has worked like a little powerhouse ever since!

It kneads beautifully. It rises dough evenly. It keeps everything contained in one pan so I am not dealing with flour across every surface of the kitchen.
And on days where the house feels chaotic or I am juggling too much, I can add the ingredients, press the dough button, and let it get on with the work while I focus on everything else.
It takes away so much of the guesswork and makes homemade bread, pizza dough, cinnamon rolls, soft rolls, and sweet bakes feel much simpler.
It has also been a real blessing for our budget. Homemade dough costs pennies compared to store prepared versions and certainly compared to eating out. As a military family on baby step 2 of our debt free journey, little savings like that matter across an entire month.

Check out The Bread Machine Academy today!
Learn bread machine baking with beginner-friendly guides on flour, yeast, ingredients, troubleshooting, dough cycles, tips, and techniques!
If you have ever felt intimidated by bread making, this is your gentle nudge to give it a try. A dough cycle handles all the kneading for you.
You get soft, reliable, fluffy dough without standing over a counter for ages or worrying if things rose the way they should. It makes homemade cooking feel doable, even on days that are far from calm.
Browse Bread Machine Recipe Type
There are so many beginner friendly ideas to help you feel confident and excited about homemade dough – join the Facebook group today and share recipes and tips for perfect bread, every time!
Join our new Facebook Group!
THE BEST BREAD STARTS WITH THE RIGHT COMMUNITY…
Beginner-Friendly Bread Machine and Bread Recipes is our new Facebook group for home bakers who want bread baking to feel simple, doable, and encouraging.

Share & Rate This Guide!
If this guide helped you understand what a bread machine dough ball should look like, I’d love to hear from you. Leave a comment below and let me know what you’re baking next!