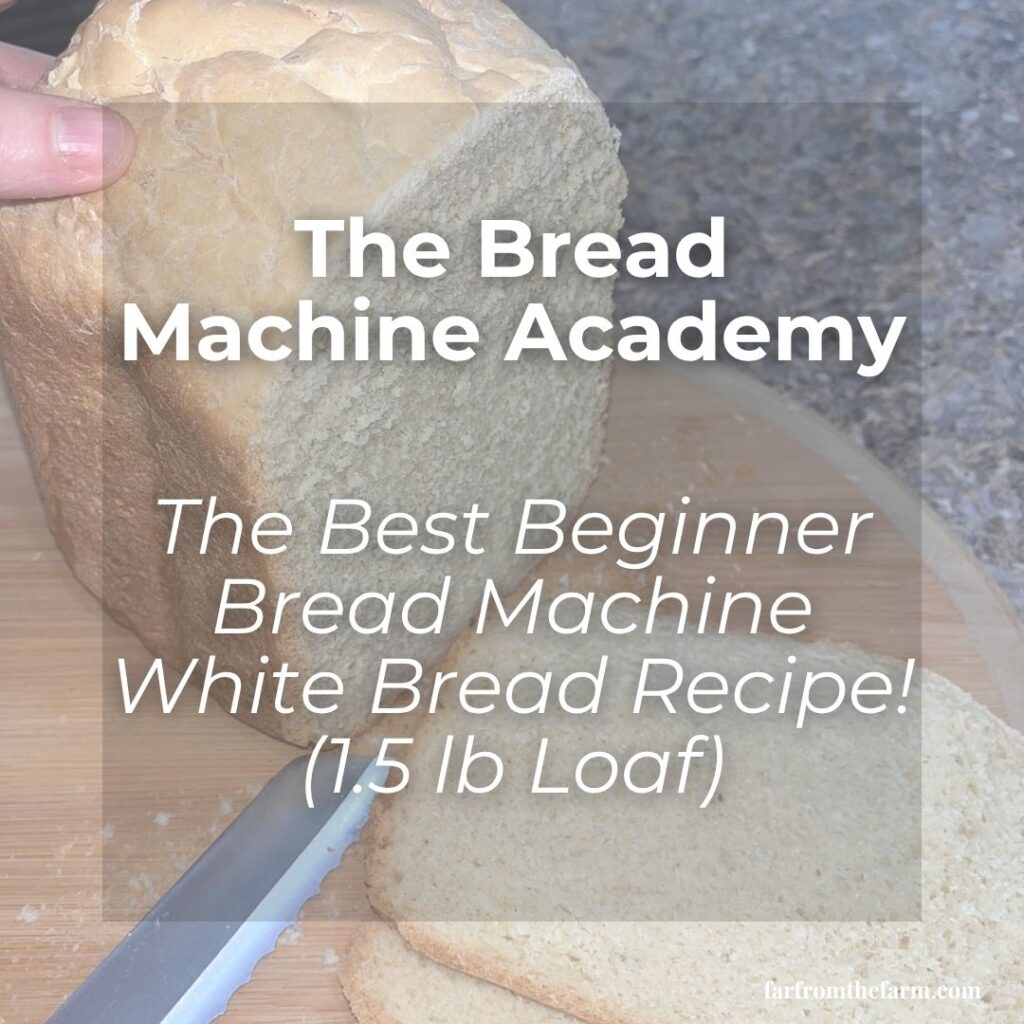
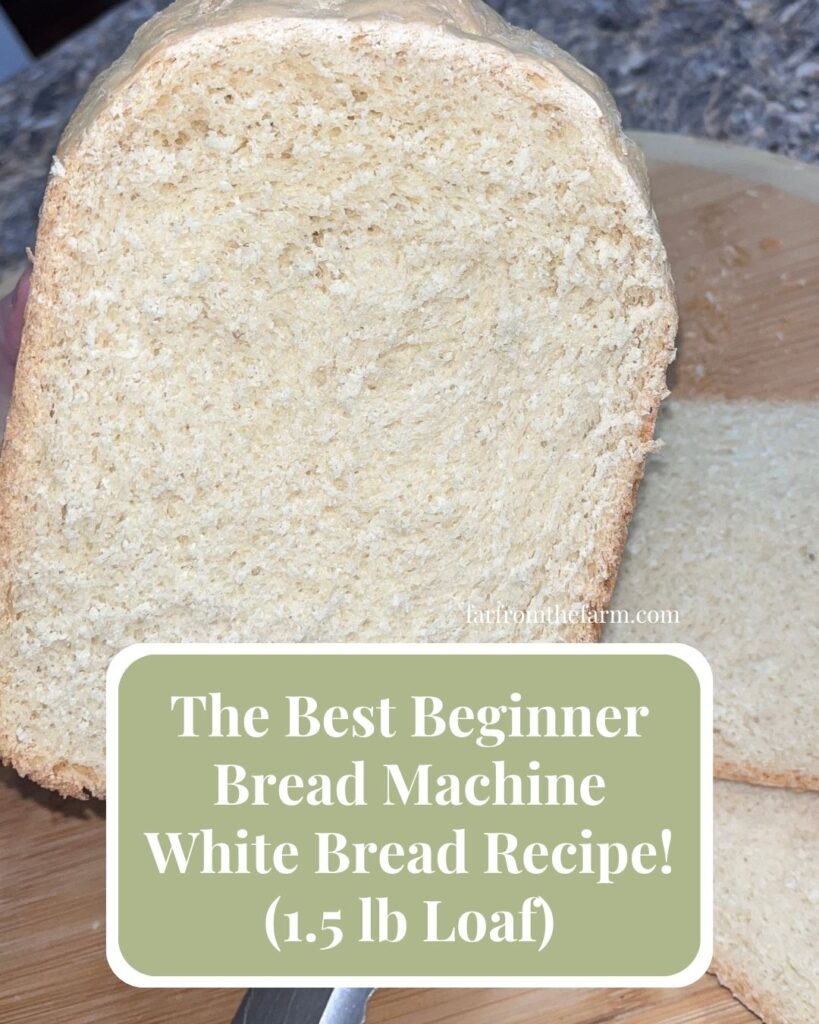
A simple 1.5 lb white bread recipe designed to help first-time bread machine bakers learn the basics with confidence.
“If you’ve just brought home your first bread machine and you’re wondering which recipe to start with, this is it. Simple ingredients, easy steps, and a soft, reliable white loaf that’s the perfect introduction to homemade bread.”
Hi! If you’ve been following me for long you’ll already know this, but for those who are new, welcome to Far From The Farm. I’m Mona, the Brit behind the recipes, learning life and food in the States while sharing our debt-free journey and what’s on the menu in our home today!
This recipe is part of The Bread Machine Academy series, where I share the skills, techniques, and troubleshooting tips I’ve learned through hundreds of bread machine recipes, so you can bake with confidence and understand what’s happening every step of the way.
If you’ve just unpacked your first bread machine, I can almost guarantee you’re feeling a mixture of excitement and nerves.
You spent good money on it. You’ve washed the bread pan, flicked through the instruction manual, watched a couple of videos online, and now you’re wondering which recipe to trust for your very first loaf.
I completely understand because I felt exactly the same.
Bread making has a reputation for being difficult. People talk about hydration percentages, gluten development, proofing times, windowpane tests, different flours, and all sorts of baking terms that make it sound far more complicated than it really needs to be.
Thankfully, a bread machine removes most of that worry.
It mixes. It kneads. it proves. It bakes.
All you really need to do is add the ingredients correctly and learn a handful of simple habits that will help you bake successful loaves again and again.
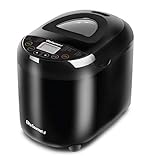
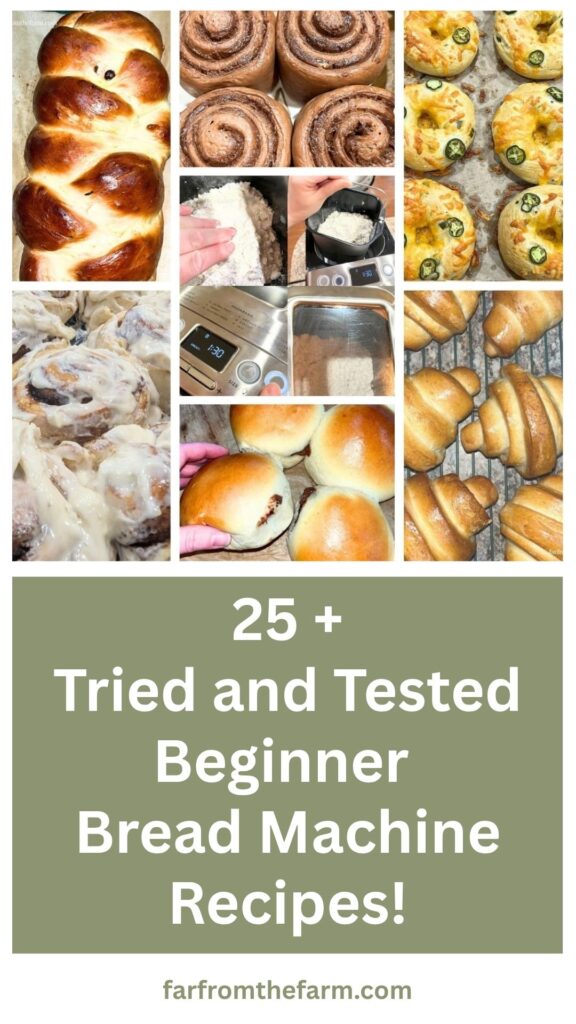
When my parents bought me my little Cuisinart Compact Bread Machine after I moved from Britain to the United States, I never imagined just how much I would use it. What started as an occasional loaf quickly turned into pizza dough, burger buns, dinner rolls, cinnamon rolls, brioche, sandwich bread, sweet dough, and so much more.
After hundreds of recipes, I realised something surprising. I had plenty of recipes for experienced bread machine bakers.
I had recipes for whole wheat bread, brioche, artisan rolls, sweet doughs, freezer doughs, and all sorts of speciality breads.
But I didn’t have one simple white loaf that I could confidently recommend to someone using a bread machine for the very first time.
This is that recipe. Nothing fancy. Nothing intimidating.
Just a dependable homemade white loaf that teaches good bread machine habits while giving you soft, fluffy sandwich bread you’ll actually want to make again next week.
I also chose to make this a 1½-pound loaf because it’s one of the most common loaf sizes supported by modern bread machines.
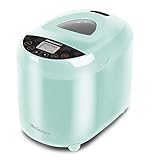
Whether you own a Cuisinart, Zojirushi, Hamilton Beach, Elite Gourmet, KitchenArm, KBS, or another popular model, there’s a very good chance your machine has a 1½-pound white bread setting.
It also uses slightly fewer ingredients than a larger loaf, making it a little more economical while you’re learning.
One thing you’ll notice throughout this recipe is that I bloom the yeast before adding the remaining ingredients. Many bread machine recipes simply tell you to throw everything into the pan and press ‘Start’.
That certainly works, most of the time.
After baking literally hundreds of loaves though, I’ve found taking just five minutes to check that the yeast is alive saves a huge amount of disappointment later. I’d much rather discover expired yeast before I’ve added several dollars’ worth of flour than three hours later when a loaf refuses to rise.
You’ll also notice that I encourage you to quickly check your dough ball during the first kneading cycle. This tiny habit has probably improved my bread more than anything else I’ve ever learned.
Flour brands vary. Humidity changes. Even the weather can affect how much liquid your dough needs.
Learning what a healthy dough ball looks like gives you the confidence to make tiny adjustments that often mean the difference between an average loaf and a fantastic one.
As a military family working through Baby Step 2 of our debt-free journey, we’re making more meals from scratch these days and looking for simple ways to stretch our grocery budget further.
Homemade bread has become one of the easiest ways we’ve found to save money without sacrificing quality.
A loaf like this costs a fraction of many supermarket sandwich breads, especially the softer bakery-style loaves, and I know exactly what’s gone into it.
Those little savings soon add up when you’re baking one or two loaves every week.
And just a reminder that if you’re struggling and you need help with managing your budget or starting your own debt free journey then here’s some FREE resources below you may find helpful!
living frugally and fully
free tips and resources to make the most of what you have
As always, these photos are from my real kitchen here in our sweet military base home. No AI recipe images or staged lighting or spotless marble counters. Just real life and real food made in a small space. Proof that you can feed your family well without needing a dream kitchen or fancy tools!
So dust off that bread machine, grab a few simple pantry ingredients, and let’s bake your very first homemade loaf together!

Why You’ll Love Using a Bread Machine In Your Kitchen!

If you’re new here, you’ll quickly learn that I am such a fan of using a bread machine for dough. It has been one of the biggest helps in my kitchen, especially during busy or overwhelming seasons.
My parents gifted me this little Compact Cuisinart Bread Machine recently when I moved from the UK to the States after getting married, and it has worked like a little powerhouse ever since!

It kneads beautifully. It rises dough evenly. It keeps everything contained in one pan so I am not dealing with flour across every surface of the kitchen.
And on days where the house feels chaotic or I am juggling too much, I can add the ingredients, press the dough button, and let it get on with the work while I focus on everything else.
It takes away so much of the guesswork and makes homemade bread, pizza dough, cinnamon rolls, soft rolls, and sweet bakes feel much simpler.
It has also been a real blessing for our budget. Homemade dough costs pennies compared to store prepared versions and certainly compared to eating out. As a military family on baby step 2 of our debt free journey, little savings like that matter across an entire month.

Check out The Bread Machine Academy today!
Learn bread machine baking with beginner-friendly guides on flour, yeast, ingredients, troubleshooting, dough cycles, tips, and techniques!
If you have ever felt intimidated by bread making, this is your gentle nudge to give it a try. A dough cycle handles all the kneading for you.
You get soft, reliable, fluffy dough without standing over a counter for ages or worrying if things rose the way they should. It makes homemade cooking feel doable, even on days that are far from calm.
There are so many beginner friendly ideas to help you feel confident and excited about homemade dough!
Equipment
- Bread machine with a 1½-pound loaf setting
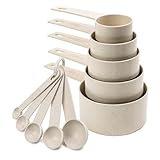
- Measuring jug, cups and spoons
- Spoon
- Plastic wrap or clean kitchen towel
- Cooling rack
- Bread knife
Available on Amazon.com [ad]


Ingredients
Makes 1 (1½-pound loaf)
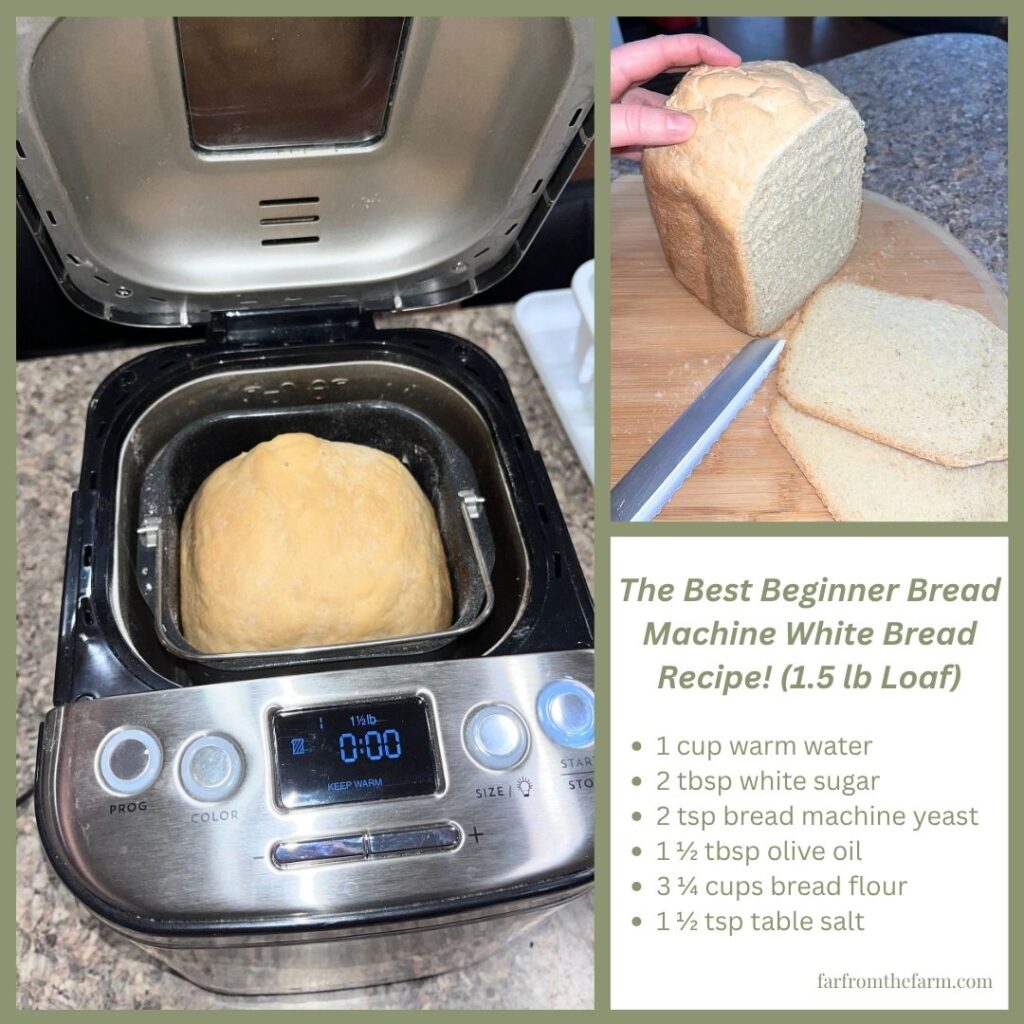
- 1 cup warm water
- 2 tbsp white sugar
- 2 tsp bread machine yeast
- 1 ½ tbsp olive oil
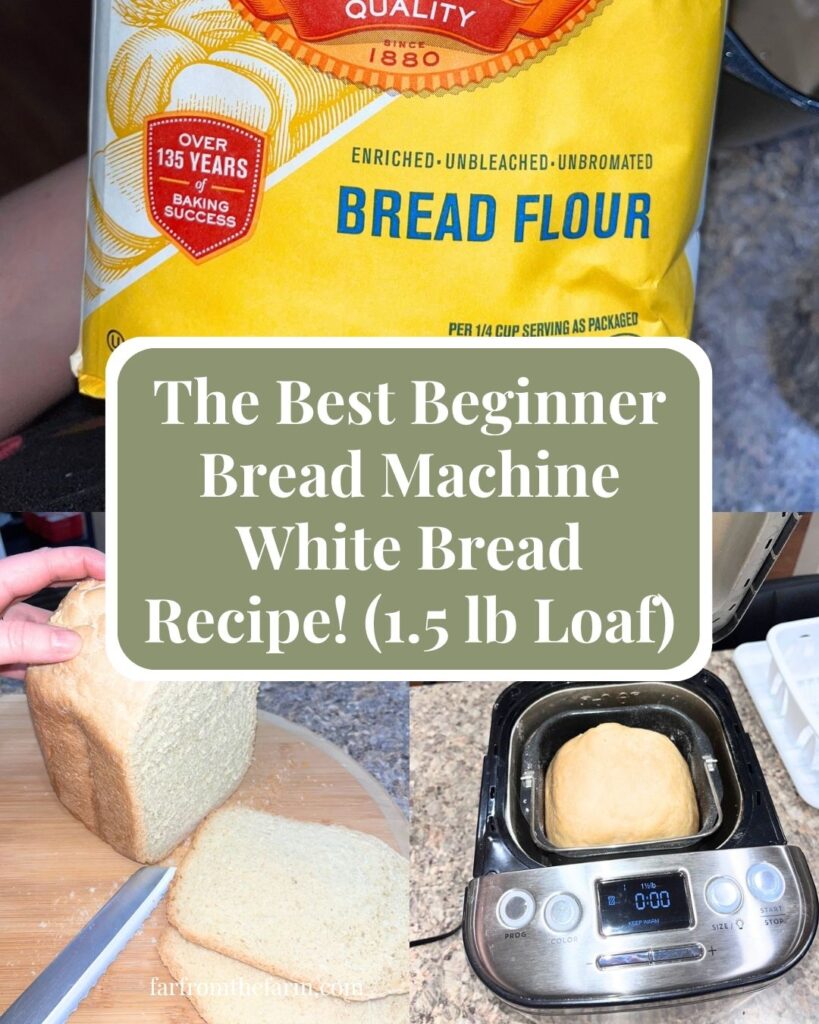
- 3 ¼ cups bread flour
- 1 ½ tsp table salt
Step-by-Step Instructions
Step One: Remove the bread pan
Remove the bread pan from the bread machine before adding any ingredients.
This helps prevent spills from falling inside the machine, especially if you are still getting used to measuring flour and liquids.
Set the pan on the counter so you have plenty of room to work.
Step Two: Add the warm water
Pour the warm water into the bread pan first.
The water should feel warm, not hot. If it would feel too hot to comfortably wash your hands in, it is too hot for the yeast.
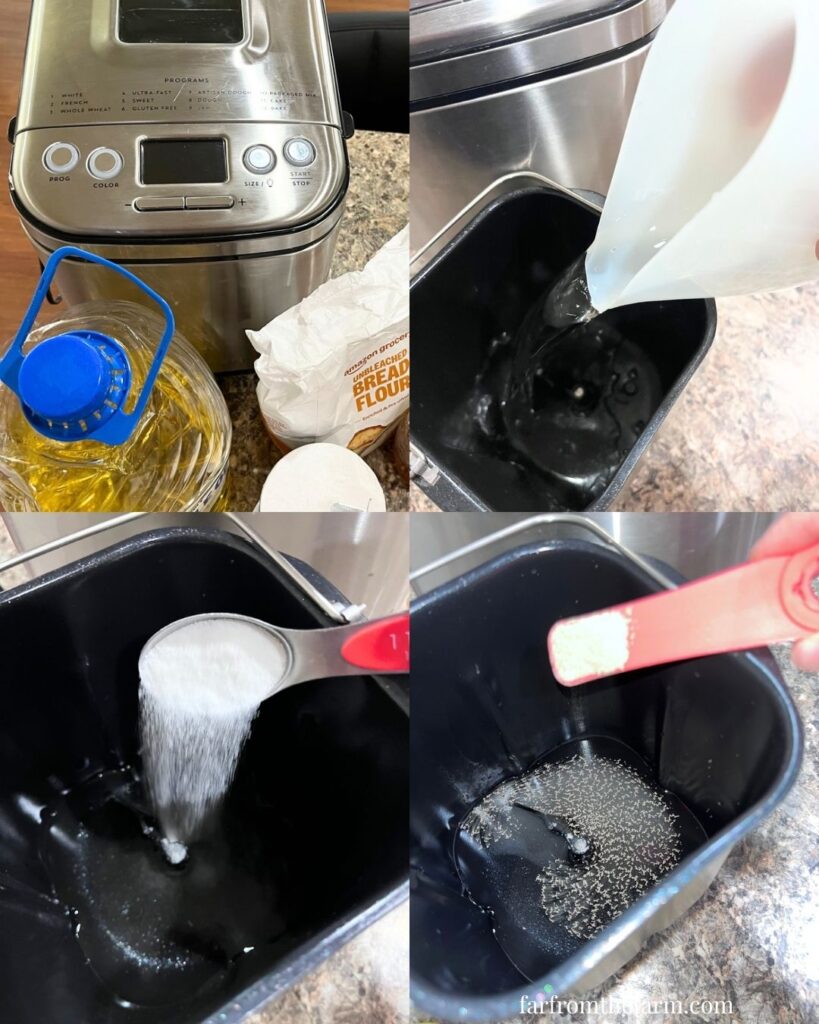
Step Three: Add the sugar and yeast
Add the white sugar to the warm water and stir briefly.
Sprinkle the bread machine yeast over the top.
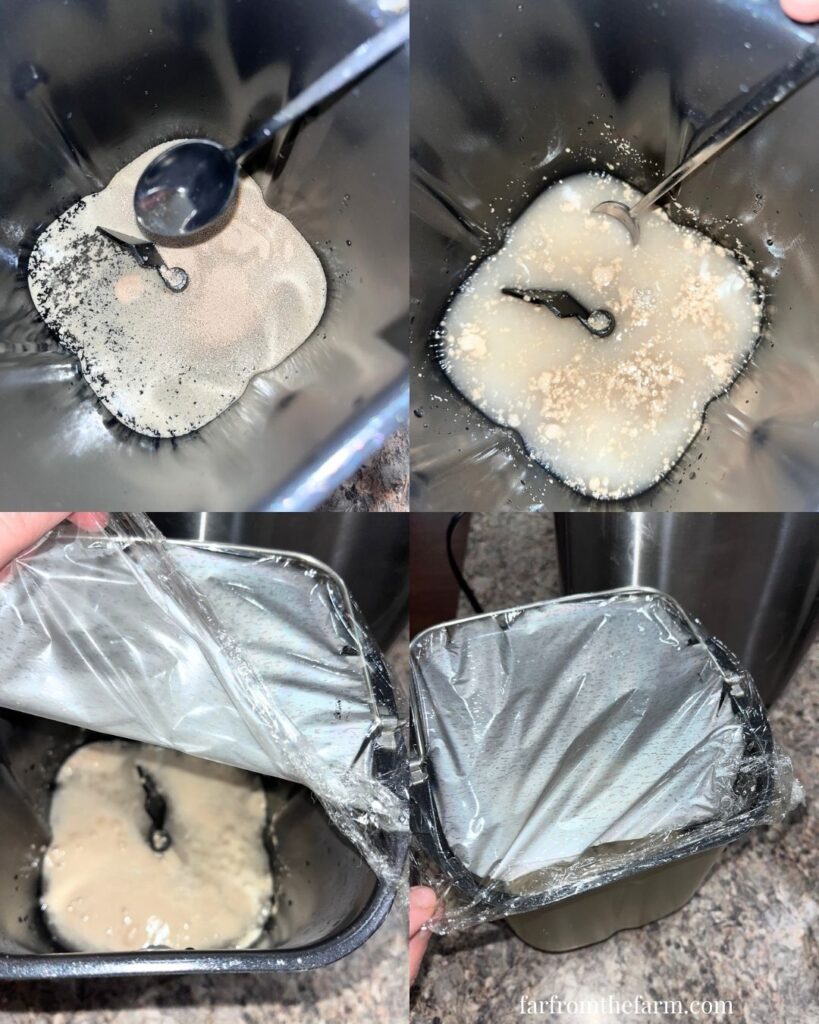
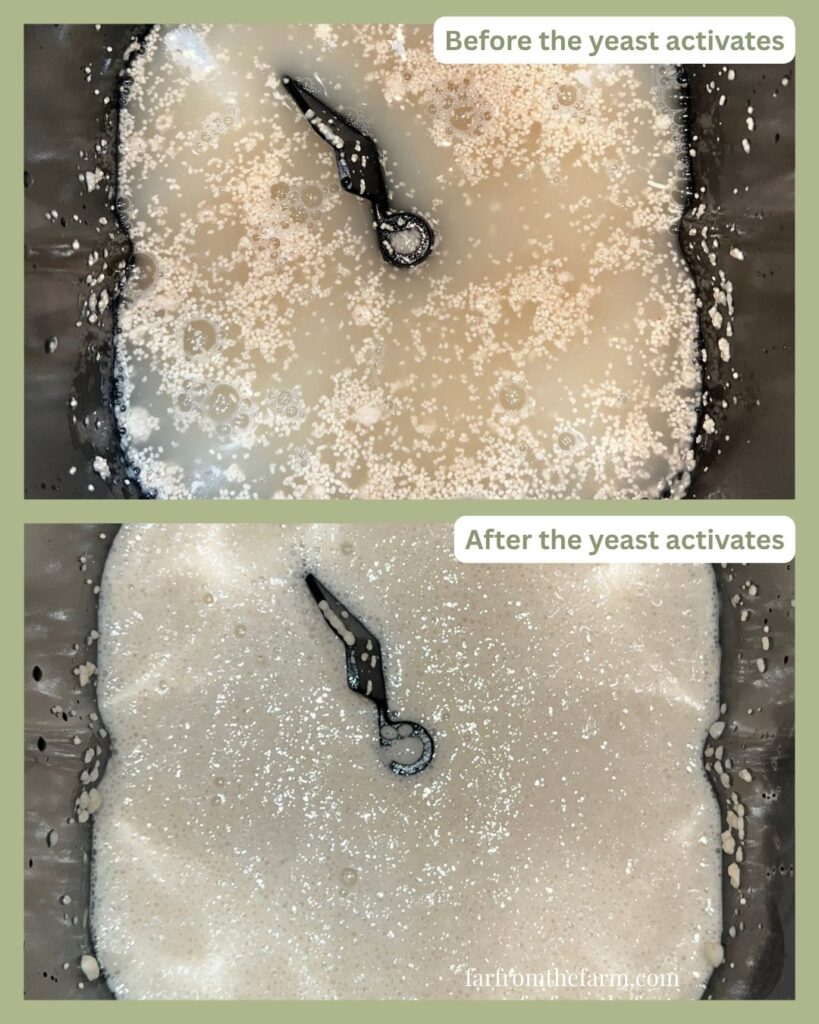
Cover and leave it to sit for about 5 minutes, until it looks creamy, cloudy, or slightly foamy.
If nothing happens, stop here and start again with fresh yeast.
Step Four: Add the olive oil
Pour the olive oil into the bread pan.
There is no need to stir at this stage. The bread machine will mix everything once the cycle begins.
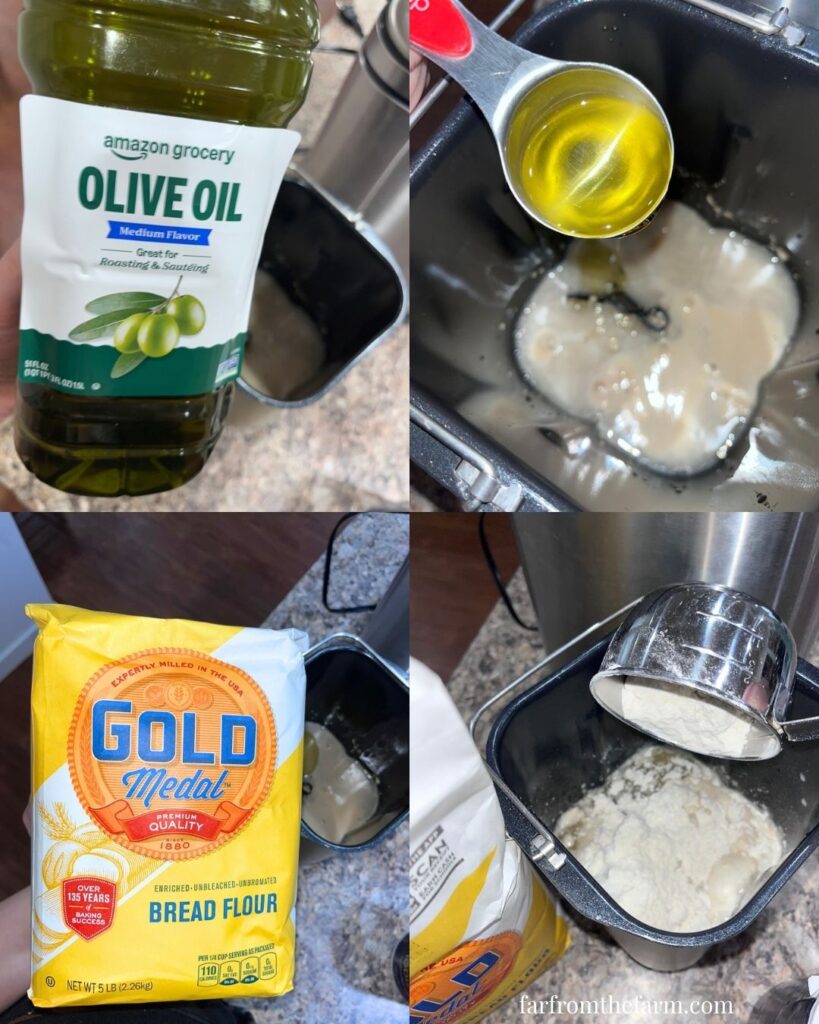
Step Five: Add the bread flour
Add the bread flour on top of the liquid ingredients.
Try to measure the flour carefully. Spoon it into the measuring cup, level it off, then add it to the pan.
Step Six: Add the salt

Make a small well in the flour and add the salt into that little dip.
Gently cover the salt with a little of the surrounding flour.
This keeps the salt slightly separated from the yeast at the very beginning.
Step Seven: Start the bread machine
Place the bread pan back into the machine and make sure it is locked into place properly.
Select:
- White Bread
- 1.5 lb loaf
- Medium crust
- Press Start.
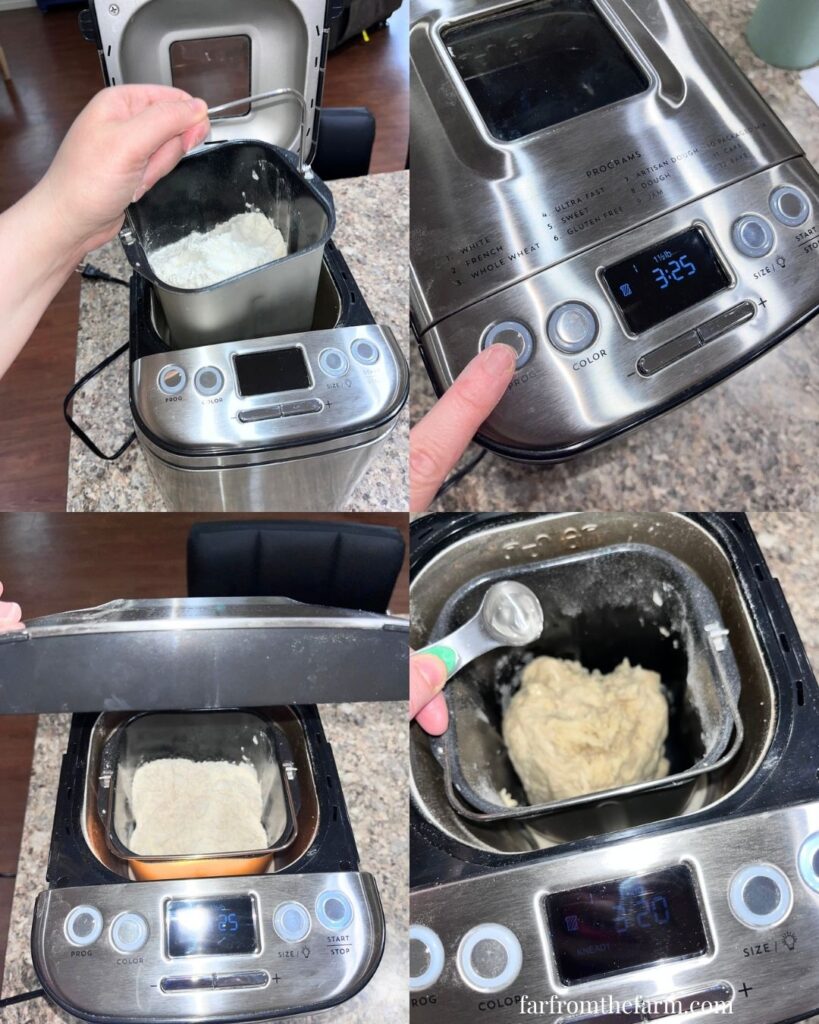
Step Eight: Check the dough ball
After 5 to 10 minutes of kneading, open the lid and check the dough.
You want one smooth, soft dough ball moving around the pan.
If it looks too dry or crumbly, add warm water 1 tsp at a time.
If it looks too wet or is sticking heavily to the sides, add bread flour 1 tbsp at a time.
Small adjustments are normal.
Step Nine: Let the machine finish the loaf
Close the lid and allow the bread machine to complete the full cycle.
It will knead, rise, bake, and finish the loaf for you.
Try not to open the lid during the baking stage, as this can affect the finished bread.
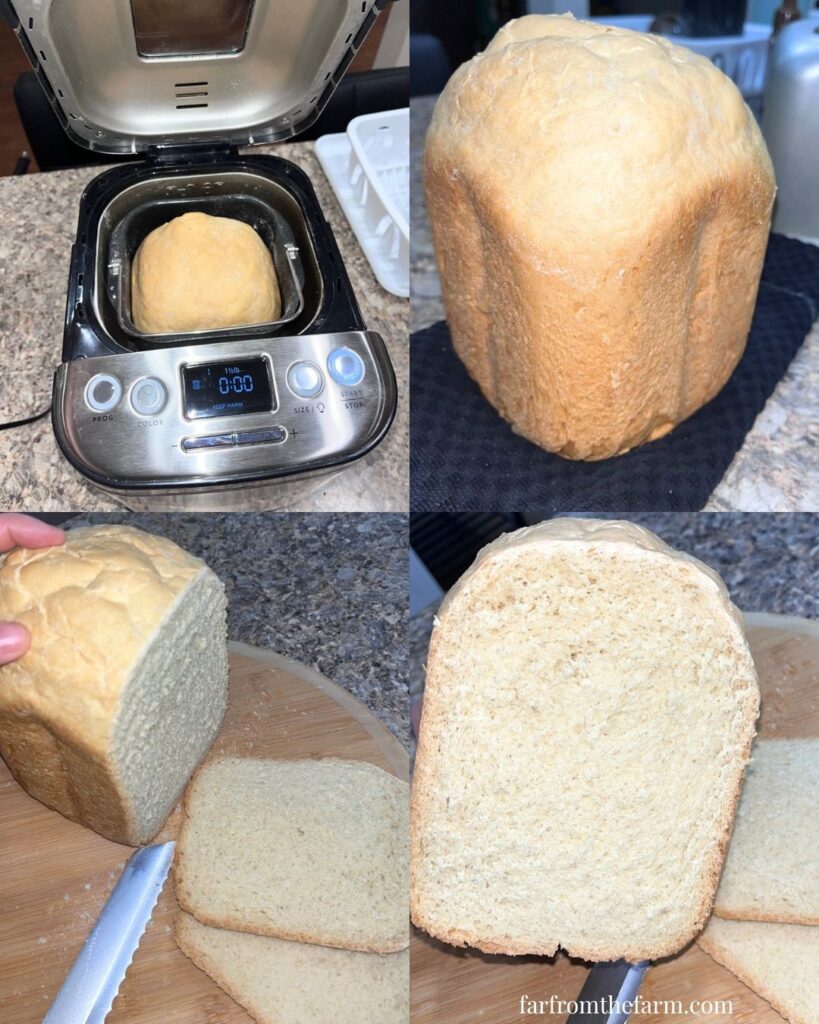
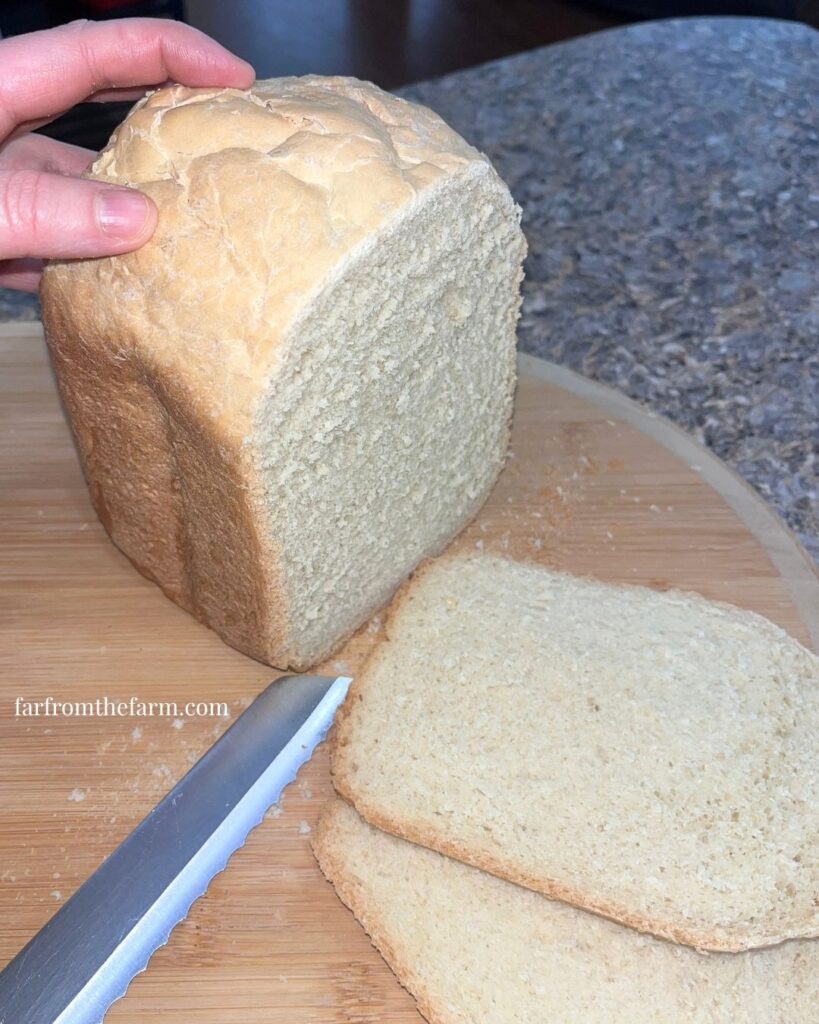
Step Ten: Cool before slicing
When the cycle finishes, carefully remove the hot bread pan using oven gloves.
Turn the loaf out onto a cooling rack.
If the kneading paddle is stuck in the bottom of the loaf, remove it carefully while the bread is still warm.
Allow the bread to cool for about 1 hour before slicing so the crumb can set properly.
Notes & Troubleshooting
Notes
- Bread flour gives the most reliable beginner results.
- Blooming the yeast first helps you check that it is active before using the rest of the ingredients.
- Check the dough ball during the first kneading cycle. This is one of the best habits to learn with bread machines.
- Allow the loaf to cool before slicing for the best texture.
- This recipe is written for a 1.5 lb white bread setting.
Troubleshooting
My loaf did not rise properly
Check your yeast first. If it did not become creamy or foamy during the blooming stage, it may be expired or inactive.
Water temperature can also affect the rise. Water that is too hot can kill yeast, while water that is too cold can slow it down.
My bread is dense
Dense bread is usually caused by too much flour, not enough liquid, or inactive yeast.
Measure the flour carefully and check the dough ball during the first knead.
My loaf sank on top
This usually means the dough had slightly too much liquid or the loaf rose too quickly.
Next time, check the dough ball and reduce liquid slightly if the dough looks very wet.
My crust is too hard
Try using the light crust setting next time if your machine has one.
You can also cover the loaf loosely with a clean towel while it cools to help soften the crust slightly.
There is a hole in the bottom of my bread
That is normal. The hole comes from the kneading paddle and happens with most bread machine loaves.
Storage
- Store the cooled loaf in an airtight bread bag or container at room temperature for up to 3 days.
- For longer storage, slice the loaf and freeze it in a freezer-safe bag for up to 3 months.
- Toast slices straight from frozen, or thaw at room temperature before using for sandwiches.
Serving Ideas
This simple white bread is lovely served as:
- Toast with butter and jam
- Peanut butter and honey sandwiches
- Egg salad sandwiches
- Ham and cheese sandwiches
- Grilled cheese
- French toast
- Garlic bread
- Breakfast toast
- A side for homemade soup
- A side for chili or stew
Why You’ll Love This Recipe!
- Designed for first-time bread machine bakers
- Uses simple pantry ingredients
- Makes a soft 1.5 lb white sandwich loaf
- Fits most bread machines with a 1.5 lb setting
- Budget-friendly everyday bread
- Great for sandwiches and toast
- Teaches how to bloom yeast
- Helps you learn what a good dough ball looks like
- Freezer-friendly
- Perfect starting point for more bread machine recipes
FAQ
Yes, but bread flour gives the best beginner results. All purpose flour can work, but the loaf may not rise quite as high or have the same structure.
No, but I strongly recommend it for beginners, or if you keep getting flat loaves. Blooming the yeast lets you check that it is active before adding the flour.
Use the White Bread setting, 1.5 lb loaf size, and medium crust. If your machine uses slightly different wording, choose the closest basic white bread setting.
Yes. Slice the loaf first, place the slices in a freezer-safe bag, and freeze for up to 3 months. You can toast slices straight from frozen.
No. Do not double this recipe unless your bread machine is designed for a larger loaf. Use a tested 2 lb loaf recipe instead.

The Best Beginner Bread Machine White Bread Recipe! (1.5 lb Loaf)
Ingredients
Equipment
Method
- Remove the bread pan from the bread machine and place it on the counter before adding any ingredients. This helps prevent spills inside the machine.
- Add the warm water and sugar to the bread pan and stir briefly.Sprinkle the bread machine yeast over the top and leave it for about 5 minutes until it becomes creamy or slightly foamy.If nothing happens, discard it and start again with fresh yeast.
- Pour in the olive oil.Add the bread flour.Make a small well in the flour, add the salt, and lightly cover it with flour.
- Return the bread pan to the machine.Select:White Bread1½-pound loafMedium crustPress Start.
- After 5 to 10 minutes of kneading, quickly lift the lid and check the dough.You should see one smooth, soft dough ball moving around the pan.If the dough looks dry, add warm water 1 teaspoon at a time.If it looks very sticky, add bread flour 1 tablespoon at a time.
- Close the lid and allow the bread machine to complete the full cycle.Avoid opening the lid during the baking stage.
- Remove the loaf from the pan immediately after baking and place it on a cooling rack.If the kneading paddle remains inside the loaf, remove it carefully while the bread is still warm.Allow the loaf to cool for about 1 hour before slicing.
Notes
- Bread flour gives the most reliable beginner results.
- Blooming the yeast first helps confirm it is active before using the remaining ingredients.
- Checking the dough ball during the first kneading cycle is one of the best habits new bread machine bakers can learn.
- Allow the loaf to cool completely before slicing for the best texture.
- This recipe is written for a 1 ½ pound White Bread setting.
Storage
- Store the cooled loaf in an airtight bread bag or container at room temperature for up to 3 days.
- Slice before freezing for easier use later.
- Freeze for up to 3 months.
- Toast slices straight from frozen or thaw at room temperature before making sandwiches.
Related Recipes
- Check out The Bread Machine Academy for FREE today!
- Easy Bread Machine Oatmeal White Loaf Recipe
- Easy Bread Machine Crescent Dough Recipe
Nutrition information is automatically calculated, so should only be used as an approximation.
Looking for more homemaking inspiration?

It’s so important to be part of a community that not only understands you but that champions you, encourages, challenges and cheers you on. We couldn’t find one – so we created it instead!
Join the Side Hustle Homemakers Team Julie, Sam and I over at the Recipes, Homesteading and More! Facebook Group for Food Blogging Tips, Homesteading and Homemaking content and encouragement!
We’re 3 very different US/UK military families who met and became instant forever friends. We share what’s working in our kitchens, gardens, homes and more!
We created the group to share real life around recipes, homesteading, homemaking and more. Head on over, say Hi, share you tips and gain some friends and knowledge along the way!
The Takeaway
Everyone remembers their first successful loaf of homemade bread.
There’s something incredibly satisfying about tipping a warm loaf out of the bread machine, hearing the crust gently crackle as it cools, and slicing into bread that you made yourself from a handful of simple pantry ingredients.
I hope this recipe gives you that same feeling. It isn’t designed to impress professional bakers.
It’s designed to give ordinary home cooks the confidence to make homemade bread without feeling overwhelmed.
Once you’ve baked this loaf successfully, you’ll be amazed how quickly you’ll feel ready to try whole wheat bread, dinner rolls, pizza dough, brioche, cinnamon rolls, and all the other wonderful recipes your bread machine can help you make.
One loaf really can be the beginning of a whole new kitchen adventure!
What To Try Next?!


Share & Rate This Recipe!
If this recipe helped you bake your very first successful loaf, I’d absolutely love to hear about it!
Leave a star rating on the recipe card and a quick comment below. Your feedback not only makes my day, but it also helps other beginner bakers feel confident enough to give homemade bread a try.
Last update on 2026-07-03 / Affiliate links / Images from Amazon Product Advertising API