
How to Make Soft, Chewy and Naturally Dairy-Free Homemade Onion Bagels for Quick Freezer Breakfasts!
“Batch baking is the ultimate kitchen hack for busy mornings. These savory, bakery-style onion bagels are made effortlessly in your stand mixer, letting you stock your freezer with a budget-friendly breakfast that tastes incredible.” – Mona, Far From The Farm.
Hi! If you’ve been following me for long you’ll already know this, but for those who are new, welcome to Far From The Farm. I’m Mona, the Brit behind the recipes, learning life and food in the States while sharing our debt-free journey and what’s on the menu in our home today!
One of my husband’s all-time favorite simple breakfasts is a toasted homemade onion bagel with a little plain cream cheese. Nothing fancy. No big toppings. Just a warm, chewy bagel, lightly crisped from the toaster, and that soft creamy layer on top.
And the rest of us love that just as much. On busy mornings when there is no time for a full cooked breakfast, we skip the eggs, bacon, and pancakes. You just want something you can grab, toast, and get on with your day.
My bread machine bagels are perfect for smaller batches, but sometimes you just want to make a lot all at once. If you want to fill the freezer and set yourself up for the week or even the whole month, a stand mixer makes it easy to bake in bulk. You can knock out a massive batch once and not think about breakfast again for days.
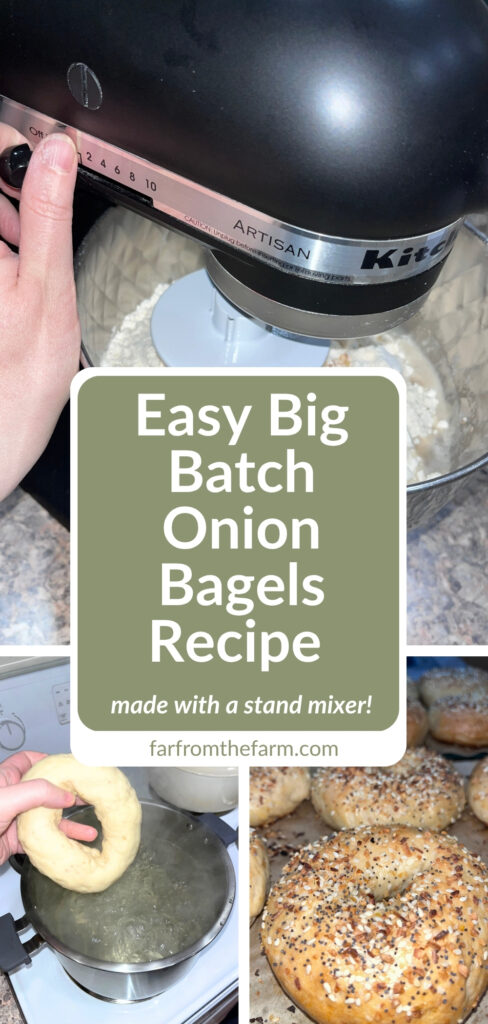
Bagel dough is notoriously stiff and dense, so using a KitchenAid mixer with a dough hook saves your arms. It handles the heavy kneading to create a smooth, elastic dough. You still get that classic chewy texture, that golden exterior, and that proper bakery finish, just on a much larger scale.
The dried minced onion gives the dough a gentle, savory flavor throughout. They pair perfectly with plain cream cheese, butter, or even as the bread for your favorite breakfast sandwiches. And of course they’re naturally dairy-free so perfect for allergy-friendly breakfast buffets or snacks.
As a military family on baby step 2 of our debt free journey, recipes like this make a real difference. Buying bagels regularly adds up fast, and making them at home means we can feed our family well without relying on store-bought versions filled with extra preservatives.
And just a reminder that if you’re struggling and you need help with managing your budget or starting your own debt free journey then here’s some FREE resources below you may find helpful!
living frugally and fully
free tips and resources to make the most of what you have
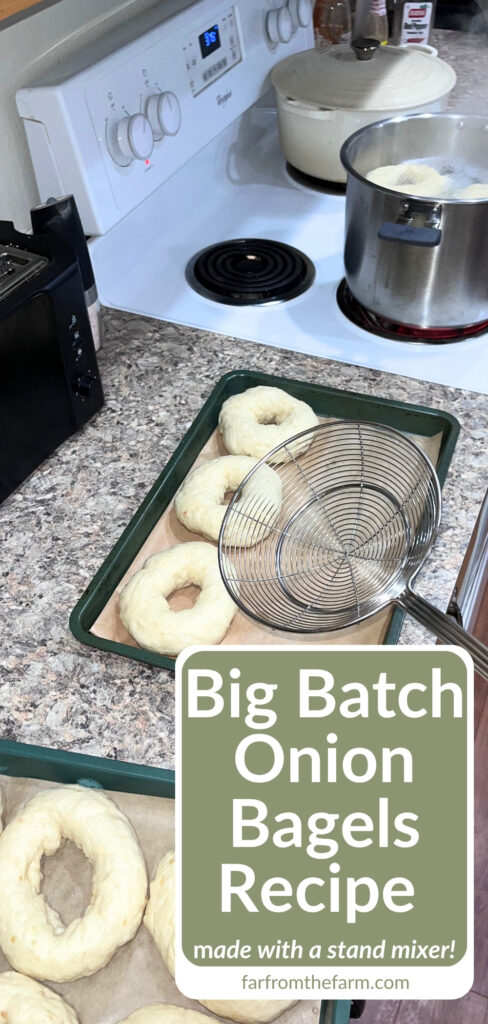
As always, these photos are from my real kitchen here in our sweet military base home. No AI recipe images or staged lighting or spotless marble counters. Just real life and real food made in a small space. Proof that you can feed your family well without needing a dream kitchen or fancy tools!
So roll up your sleeves and head into the kitchen to make these soft, chewy onion bagels that are perfect for stocking your freezer and simplifying your mornings!
Recipe Disclaimer
All Far From The Farm recipes are shared as a guide based on what works in my home kitchen. Results may vary depending on your ingredients, equipment, and cooking setup, so always use your own judgement. Please check all ingredients for allergies, intolerances, or dietary needs before making any recipe. Far From The Farm is not responsible for any reactions or outcomes from the use of these recipes. Nutritional information is an estimate only.
Mona – Far From The Farm
Equipment
- KitchenAid stand mixer with dough hook
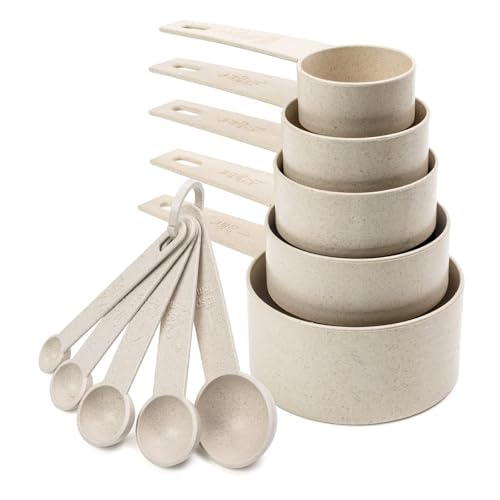
- Measuring jugs, cups and spoons
- Plastic wrap or clean damp kitchen towel
- Bench scraper or knife
- Parchment paper
- Large pot for boiling
- Spider strainer ladle
- Cooling Rack
- Bread Knife
- Freezer Bags
Available on Amazon.com [ad]


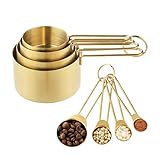


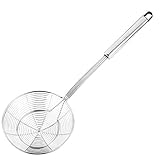


Ingredients
Makes 12 Bagels
For the Dough
- 2 1/4 cups warm water (about 100 to 110°F)
- 4 tbsp white granulated sugar
- 5 tsp active dry yeast
- 6 cups bread flour (for that classic chewy bagel texture)
- 2 tbsp dried minced onion
- 3 tsp salt
For Boiling
3 tbsp honey (or substitute white or brown sugar)
For Baking
1 egg beaten with 1 tbsp water
Toppings
Sesame seeds or everything bagel seasoning
Step By Step Instructions
Step 1: Activate the yeast
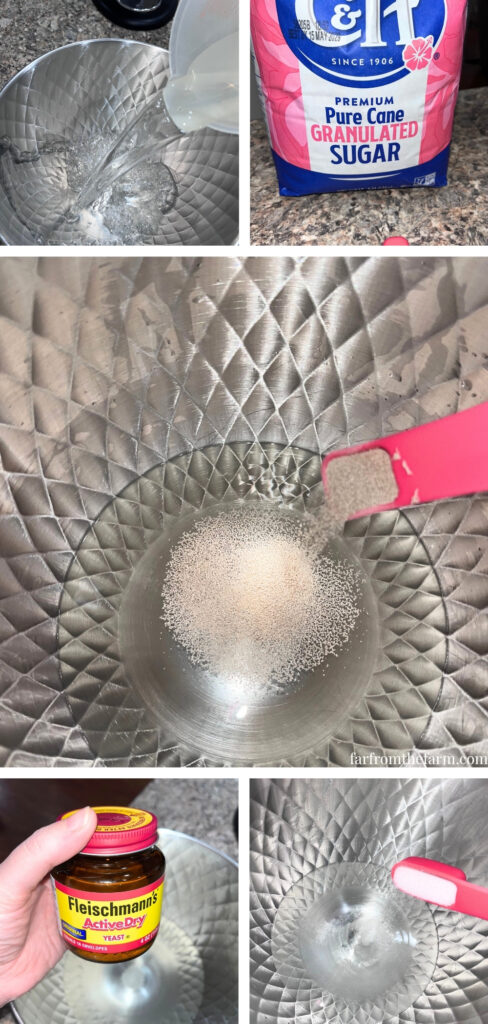
Add the warm water, sugar, and yeast to the bowl of your stand mixer.
Stir gently, cover, and leave for 5 minutes.
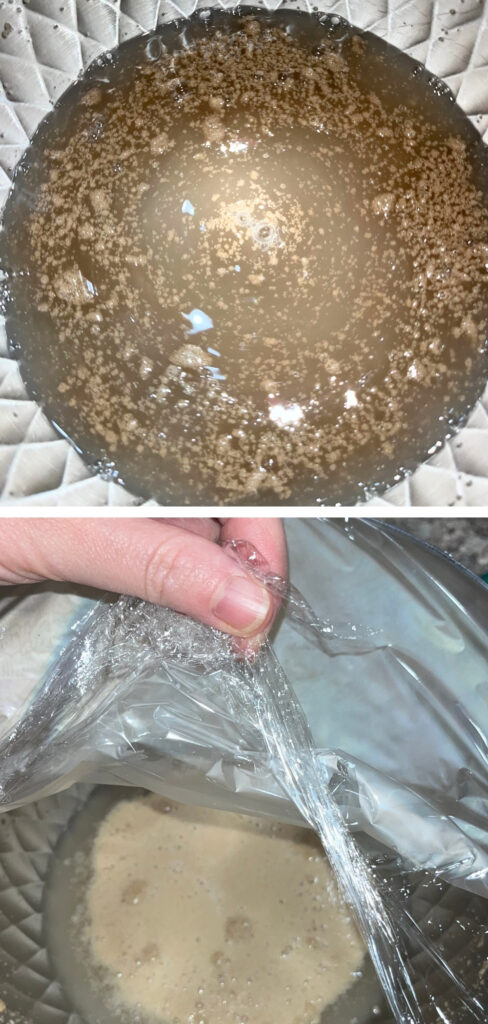
You should see foam or bubbles forming. If not, discard and start again with fresh yeast.
Step 2: Make the dough
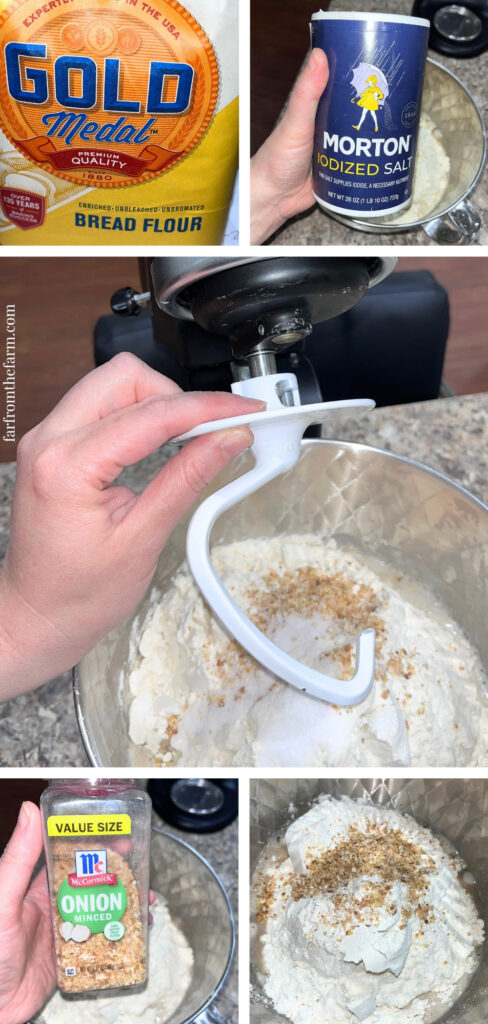
Add the bread flour, salt, and dried minced onion to the bowl.
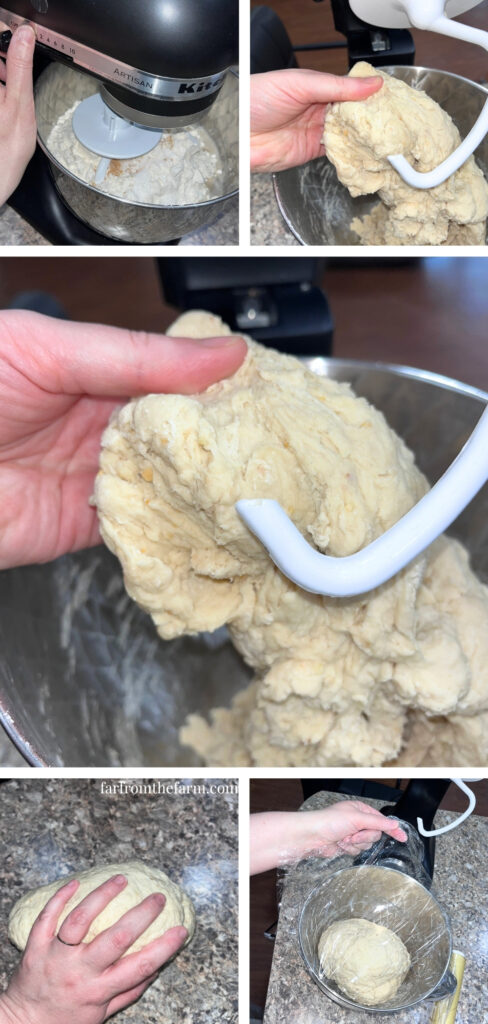
Attach the dough hook and mix on low speed, then knead for about 5 minutes until the dough comes together.
Step 3: Finish kneading by hand
Turn the dough out onto the counter.
Knead by hand for 2 minutes until smooth and elastic.
It should not be overly sticky.
Step 4: First rise
Shape the dough into a ball and place it back into the bowl.
Cover with plastic wrap or a damp towel and let it rise for 1 hour.
Step 5: Divide and shape
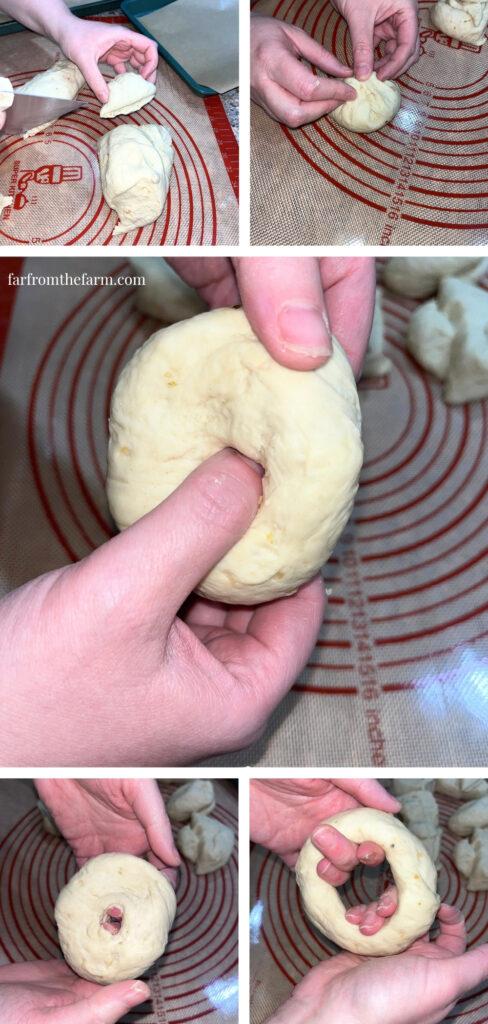
Punch down the dough after the hour rise is over, and divide into 12 equal pieces.
Roll into balls and keep covered while working.
Shape into bagels by either:
Rolling into a rope and joining the ends
or
Poking a hole in the center and gently stretching it wider
Make the hole slightly larger than you think as it will shrink.
Step 6: Second rest
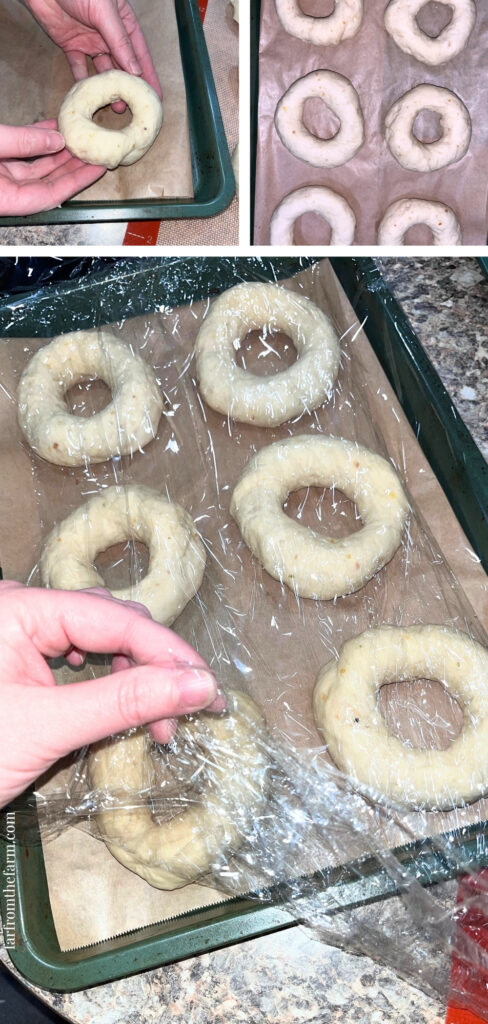
Place shaped bagels onto parchment-lined trays.
Cover and rest for 20 minutes.
Step 7: Prepare boiling water
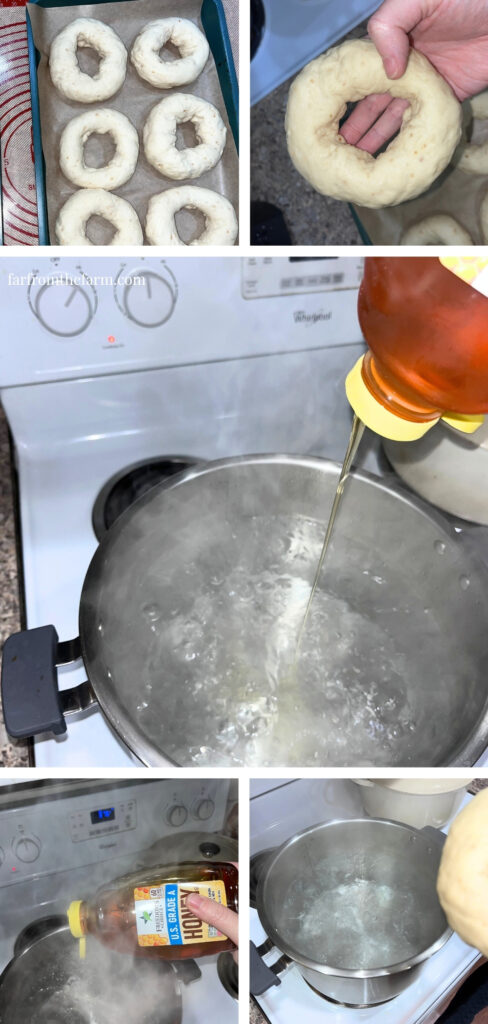
Bring a large pot of water to a boil.
Add 3 tbsp honey.
Preheat oven to 375°F.
Step 8: Boil the bagels
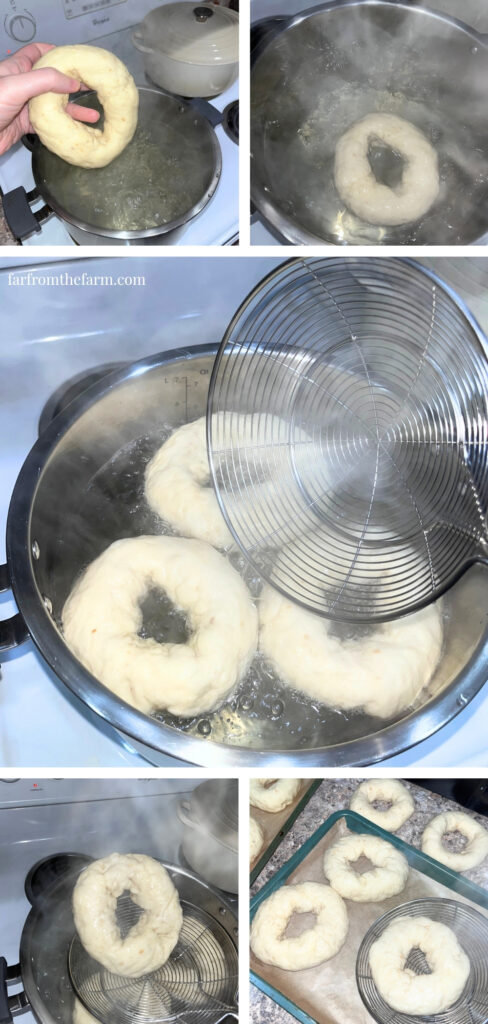
Boil each bagel for 30 seconds per side.
Remove with a spider strainer and place onto a clean parchment-lined tray.
Step 9: Egg wash and toppings
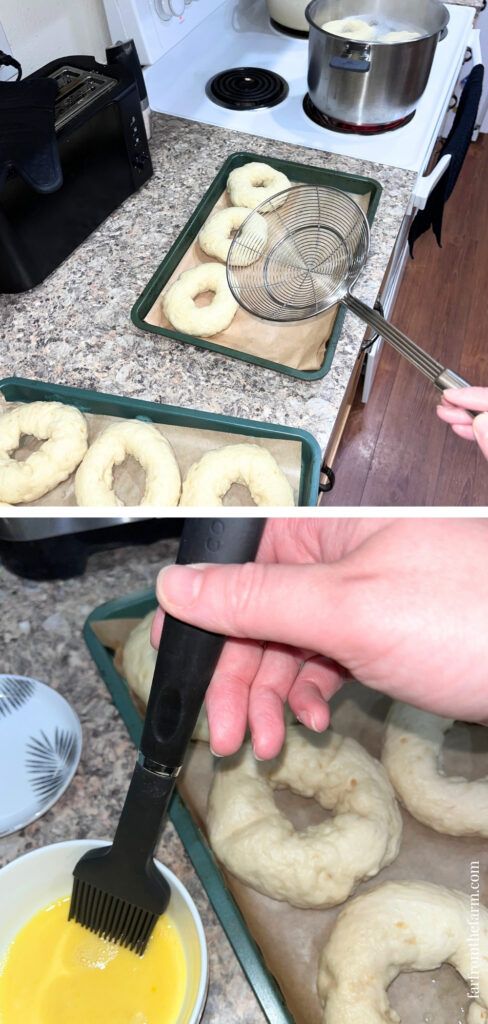
Brush each bagel with egg wash.
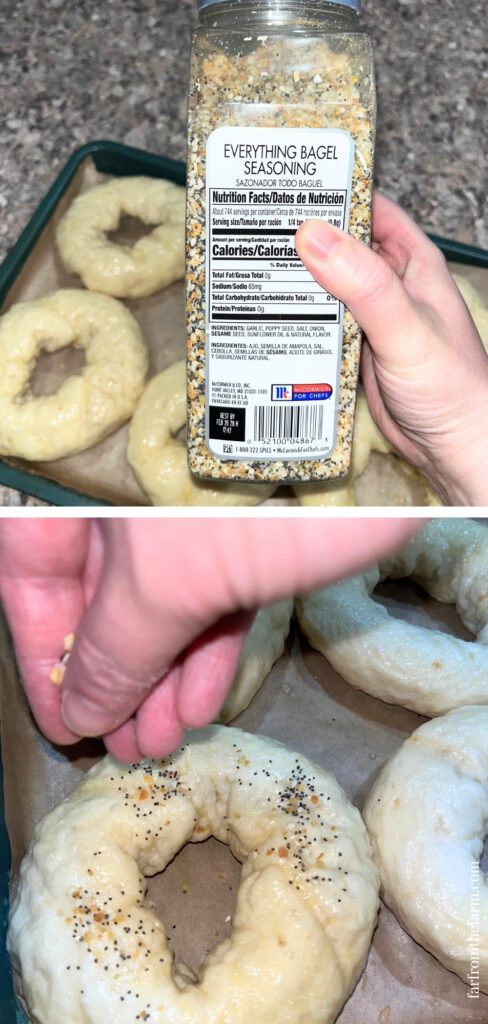
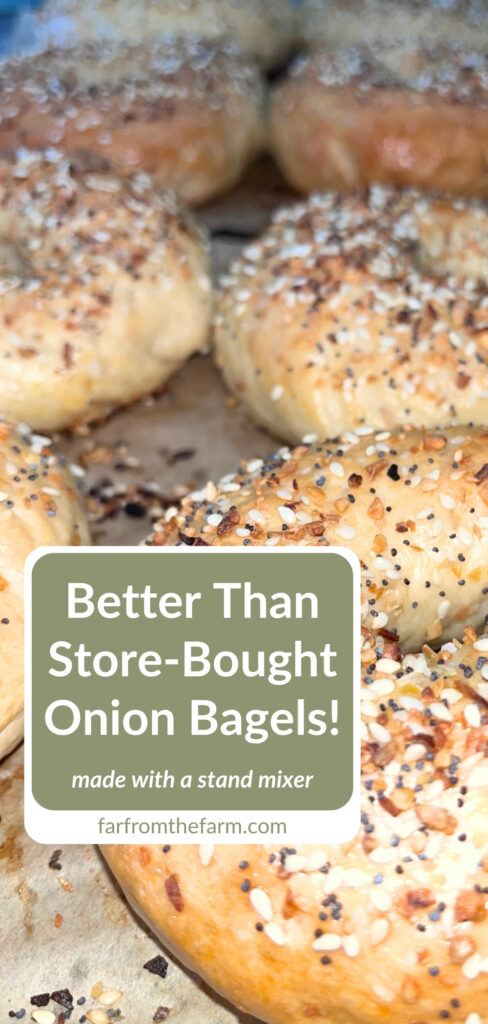
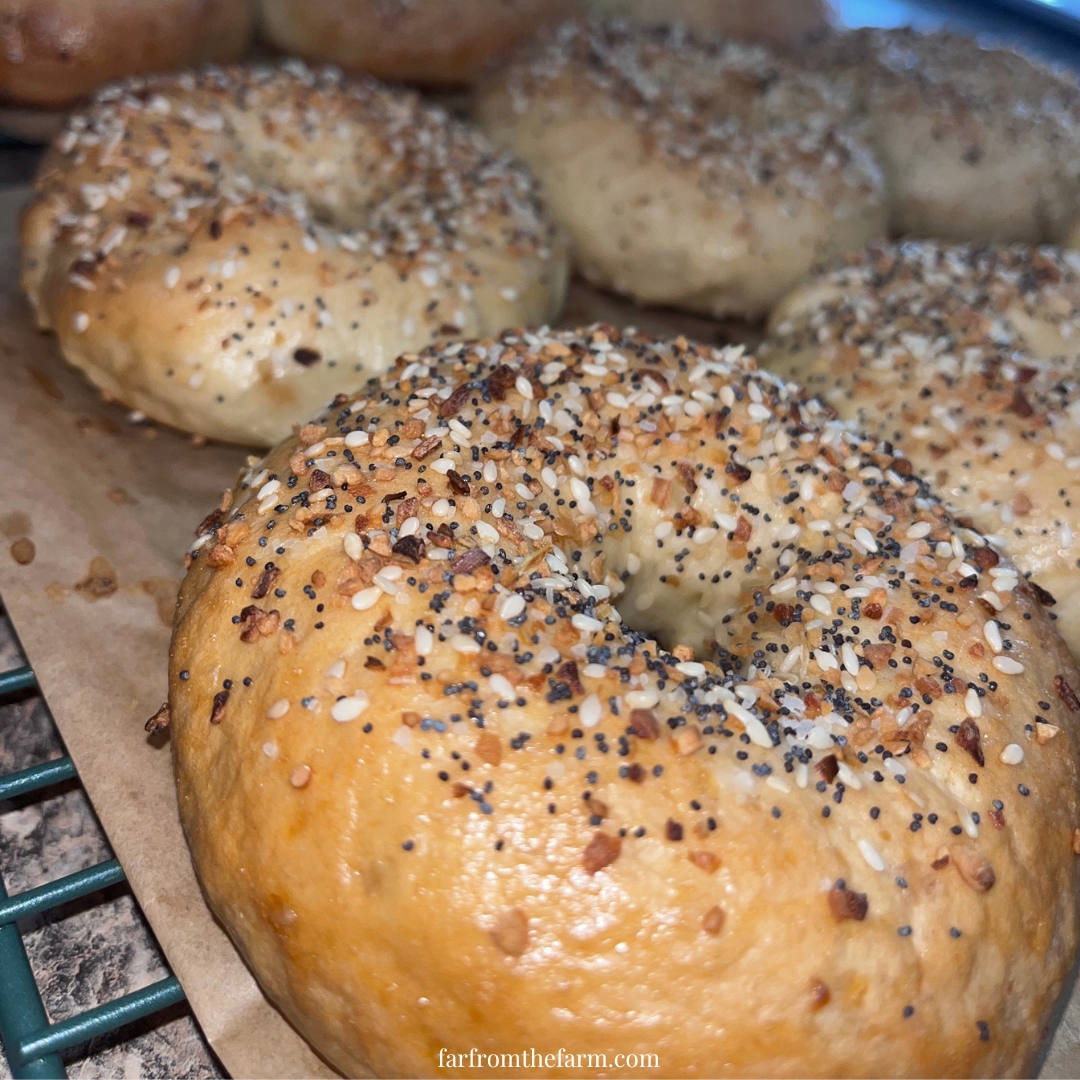
Sprinkle with sesame seeds or everything seasoning.
Step 10: Bake
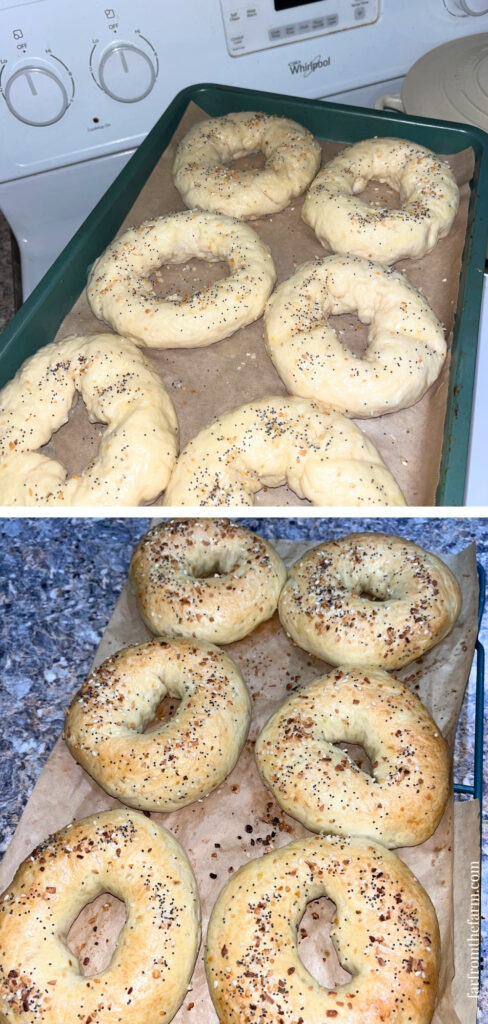
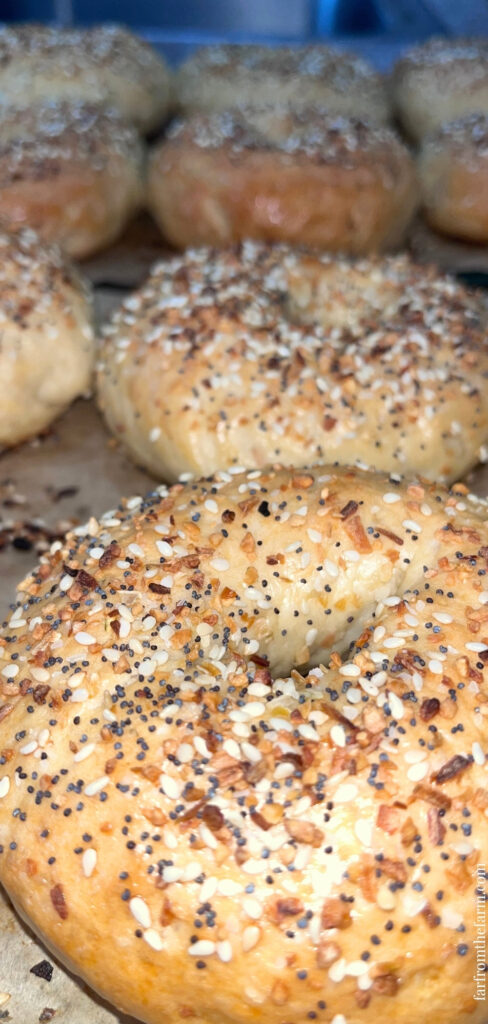
Bake for 20 to 25 minutes until golden brown.
Step 11: Cool
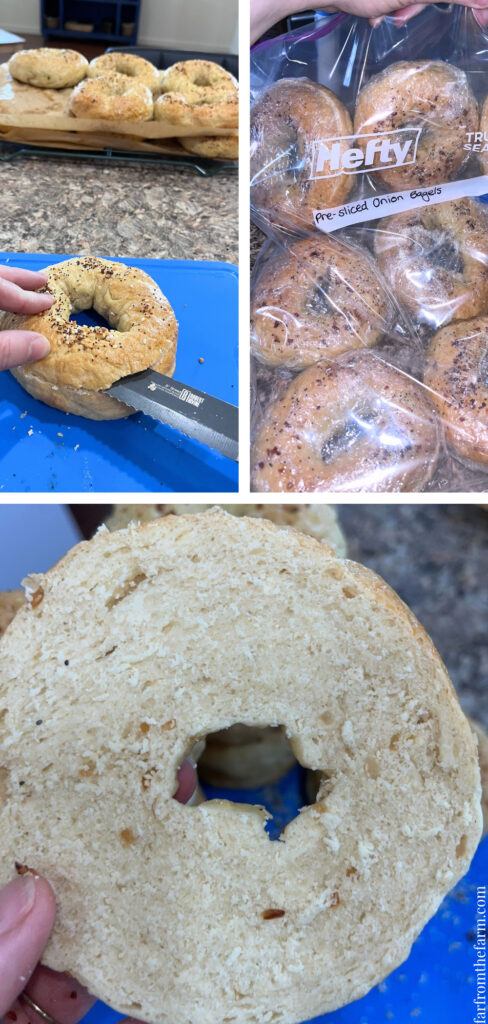
Transfer to a cooling rack and allow to cool before slicing, wrapping each 2-halves in plastic before freezing in labelled freezer bags.
Notes
- Dried onion adds a subtle savory flavor without overpowering
- Bread flour gives the best chewy texture
- The dough should feel firm but smooth
Troubleshooting
Bagel dough has a very low hydration level, meaning it is incredibly stiff and heavy. If your stand mixer is struggling, making straining noises, or moving around, do not turn up the speed.
- The Fix: Drop the mixer down to its lowest speed (Speed 1 or 2 on a KitchenAid). If the motor still smells hot, turn it off immediately. Divide the dough into two smaller batches and knead them separately. Forcing a large, stiff batch of bagel dough through a standard tilt-head mixer can strip the internal gears.
If your dough is sticking to your hands, the counter, or the sides of the mixing bowl, it contains too much water. This makes it impossible to shape neat rings, and the bagels will flatten out rather than rise high.
- The Fix: Add extra bread flour one tablespoon at a time while the mixer runs. Wait until the flour is completely incorporated before adding more. The ideal bagel dough should be firm, smooth, and tacky to the touch, but it should not leave any wet residue on your fingers.
If your dough looks shaggy, has dry flour resting at the bottom of the bowl, or breaks apart instead of stretching, it does not have enough moisture. This usually happens if the flour was scooped directly with a measuring cup instead of being fluffed and leveled.
- The Fix: Add warm water one teaspoon at a time while the mixer is running. Go slowly, as a tiny amount of water goes a long way. The dough hook needs time to work the moisture into the center of the dense dough.
If your bagels look beautiful after rising but deflate into flat discs the moment they hit the boiling water or the oven, they are over-proofed. The yeast ran out of food and the air bubbles collapsed.
- The Fix: Keep a close eye on your dough during the rising stage. Because this is a big batch, the dough can warm up fast. If your kitchen is hot, check the dough early. If the dough has already over-risen, punch it down, reshape the bagels immediately, and reduce the final rest time before boiling.
If your finished bagels lack air pockets and feel like heavy stones, the dough was likely under-kneaded, or the yeast failed to activate.
- The Fix: First, always make sure your yeast is foaming and active in Step 1. Second, don’t rush the mixer. Stiff dough takes time to develop gluten. Knead until the dough is completely smooth and passes the “windowpane test” (you should be able to stretch a small piece of dough thin enough to see light through it without it tearing).
Bagel dough expands rapidly when it hits the boiling water and expands even more in the hot oven. If your shaped dough has a small hole, it will completely disappear, leaving you with an onion dinner roll instead of a bagel.
- The Fix: When shaping your bagels, stretch the center hole until it is about two inches wide. It will look ridiculously large at first, but it will shrink down to the perfect proportions as the dough springs up during boiling and baking.
If your bagels turn out soft and crusty like standard sandwich bread, the exterior starches did not gelatinize properly during the boiling phase.
- The Fix: Never skip or shorten the boil. Ensure your water is at a vigorous, rolling boil before dropping the dough in. Boil each bagel for a full 60 seconds per side. For an even chewier, shinier crust, make sure you add the honey or sugar to the boiling water as directed, as this helps caramelize the exterior.
Storage
- Store in an airtight container for up to 3 days
- To freeze: Slice bagels, wrap each 2-halves individually in plastic wrap, and freeze for up to 1 month
- To reheat: Toast straight from frozen or bake at 350°F for 8 to 10 minutes
Serving Ideas
- Toasted with cream cheese
- Breakfast sandwiches
- With butter and jam
- Alongside soups or salads
- Quick grab-and-go breakfasts
Why You’ll Love This Recipe?!
- Big batch perfect for meal prep
- Freezer friendly and practical
- Classic chewy bagel texture
- Savory onion flavor
- Budget friendly homemade option
- Naturally dairy-free!
FAQ
Yes, you can use unbleached all-purpose flour if that is what you have in your pantry, but your bagels will have a softer, more roll-like texture. Bread flour has a much higher protein content, which is essential for developing the strong gluten network that gives traditional bagels their signature dense, chewy bite. If you use all-purpose flour, you may also need to add a tablespoon or two extra, as it absorbs slightly less liquid than bread flour.
Absolutely. Leaving out the dried minced onion turns this into a fantastic, versatile plain bagel base. You can leave them entirely plain, or use the exact same dough to make sesame, poppyseed, or everything bagels by adding your favorite toppings right after the egg wash step before they go into the oven.
Yes, this big batch recipe adapts perfectly to smaller sizes. Instead of dividing the dough into 12 large bakery-sized bagels, you can divide it into 16 standard-sized bagels or up to 24 mini bagels. Keep in mind that smaller bagels will require a slightly shorter boiling time (about 30 to 45 seconds per side) and their baking time in the oven will drop by a few minutes. Watch for them to turn a deep golden brown.
Yes, boiling is the one step you cannot skip if you want real bagels instead of circular bread rolls. Boiling water gelatinizes the starches on the outside of the dough, locking in the shape and creating a barrier that prevents the bagels from rising too much more in the oven. This process is exactly what creates that thick, shiny, and beautifully chewy bakery crust.
Because this makes a big batch, freezing them correctly is key! Let the baked bagels cool completely on a wire rack so they do not trap steam. Slice each bagel in half first, this makes it much easier to toast them straight from the freezer. Flash-freeze them on a baking sheet for an hour so they do not stick together, then transfer them into a heavy-duty freezer bag for up to three months. When you are ready for breakfast, just pop a frozen slice right into your toaster.
This recipe is written specifically for active dry yeast, which needs to be activated in warm water and sugar until it foams up in Step 1. If you only have instant yeast or rapid-rise yeast on hand, you can absolutely use it. With instant yeast, you can skip the 5-minute waiting step entirely and mix it right in with your flour and dry ingredients.
Easy Big Batch Onion Bagels Recipe Made With a KitchenAid Stand Mixer!

Ingredients
Equipment
Method
- Add the warm water, sugar, and yeast to the bowl of your stand mixer. Stir gently, cover, and leave for 5 minutes until foamy. If it does not foam, start again with fresh yeast.
- Add the bread flour, dried minced onion, and salt. Attach the dough hook and knead on low speed for about 5 minutes until the dough comes together.
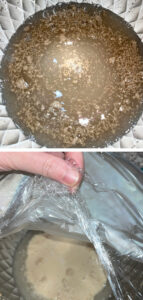
- Turn the dough out onto the counter and knead by hand for 2 minutes until smooth and elastic.
- Shape the dough into a ball, place it back into the bowl, cover with plastic wrap or a damp towel, and let it rise for 1 hour.
- Punch down the dough and divide it into 12 equal pieces. Shape each piece into a bagel, making the hole slightly larger than you want it in the end.
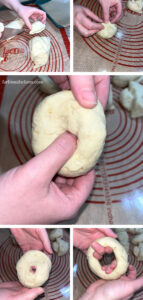
- Place the shaped bagels on parchment-lined trays, cover, and let them rest for 20 minutes.
- Bring a large pot of water to a boil and add the honey. Preheat the oven to 375°F.
- Boil each bagel for 30 seconds per side, then remove with a spider strainer and place onto a clean parchment-lined tray.
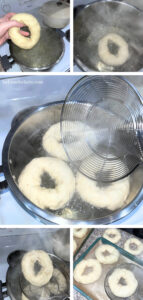
- Brush each bagel with egg wash and sprinkle with sesame seeds or everything bagel seasoning.
- Bake for 20 to 25 minutes until golden brown.
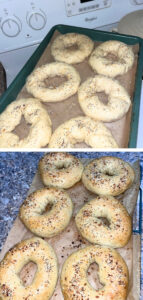
- Transfer to a cooling rack and allow to cool before slicing and freezing if desired.
Notes
- Dried onion adds a subtle savory flavor without overpowering
- Bread flour gives the best chewy texture
- The dough should feel firm but smooth
Storage
- Store in an airtight container for up to 3 days
- To freeze: Slice bagels, wrap individually in plastic, and freeze in labelled freezer bags for up to 1 month
- To reheat: Toast straight from frozen or bake at 350°F for 8 to 10 minutes
Related Recipes
- Check out all our fantastic Bagel Recipes!
Nutrition information is automatically calculated, so should only be used as an approximation.
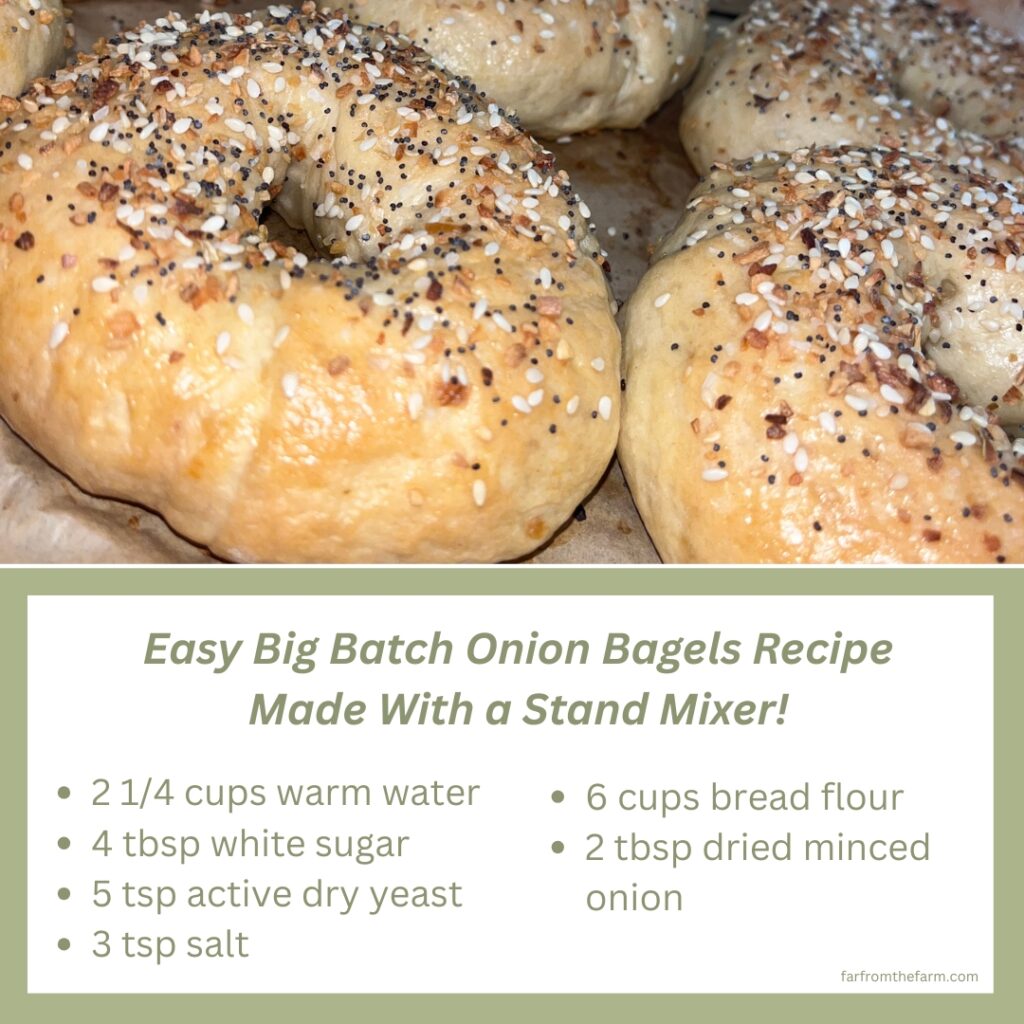
The Takeaway
Making bagels at home does not have to be complicated.
With a stand mixer doing the heavy lifting, you can make a full batch in one go, stock your freezer, and make busy mornings that little bit easier.
And once you taste that fresh, chewy texture, it is very hard to go back to store bought!
What To Try Next?!

Share & Rate This Recipe!
If you tried this recipe, please share your feedback with a quick star rating or comment below. And if you loved it, don’t forget to share it with friends and family too!
Last update on 2026-10-14 / Affiliate links / Images from Amazon Product Advertising API