
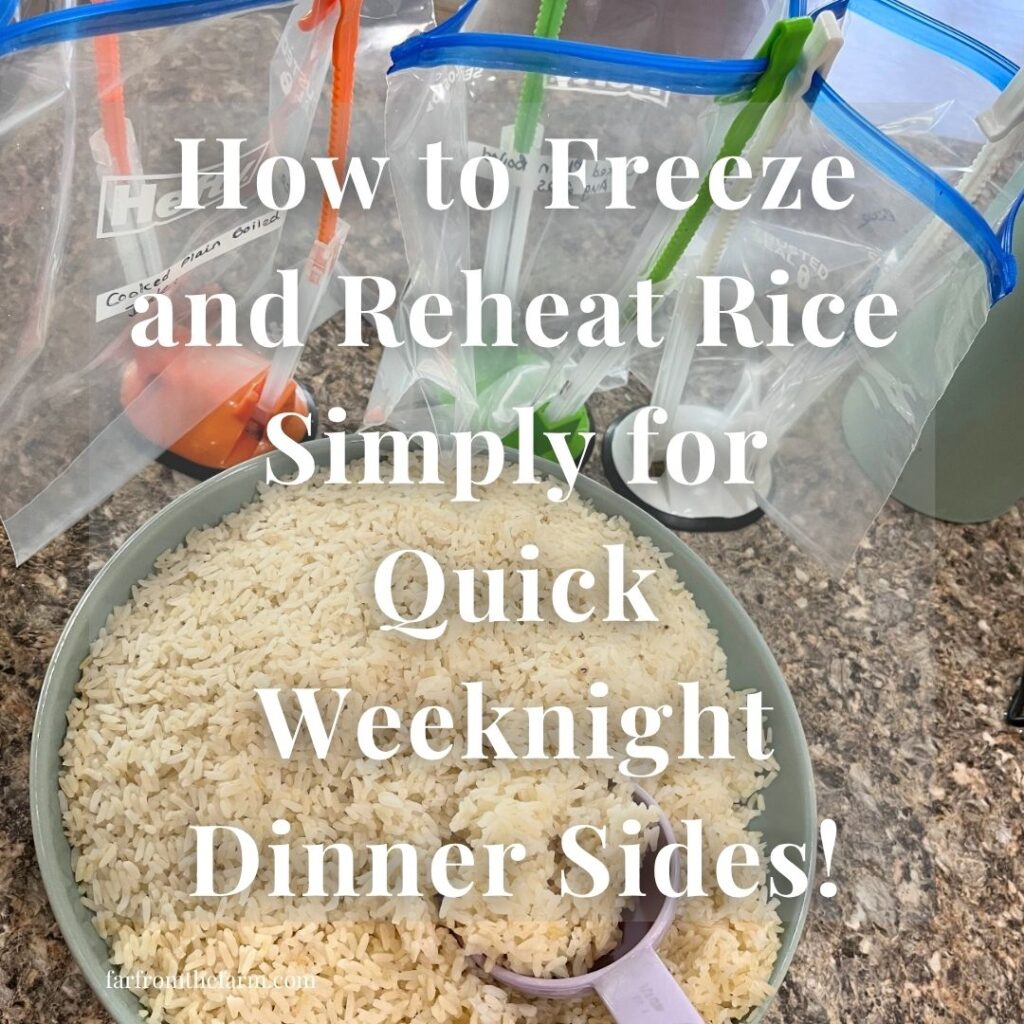
How to Take the Pressure off Busy Nights By Preparing Your Rice Ahead of Time and Storing in the Freezer!
Hi! If you’ve been following me for long you’ll already know this, but for those who are new, welcome to Far From The Farm. I’m Mona, the Brit behind the recipes, learning life and food in the States while sharing our debt-free journey and what’s on the menu in our home today!
Sometimes I share full recipes here as I learn to cook and manage our household budget, and sometimes, like today, I share the simple tips that keep me sane while sticking to that budget
Often the day can just get ahead of me and I find myself scrambling to put dinner together in a hurry. Keeping ground beef dishes like my Easy Korean Ground Beef and White Rice Bowl Recipe in the freezer has been a total game-changer, but I still need a quick, budget-friendly side that’s ready in minutes.
So now, about once a month, I make a massive batch of fluffy white rice and freeze it in meal-sized portions for those crazy evenings when I’m short on time but still trying to keep our grocery bill in check.
It’s one of those frugal habits that feels small but makes such a big difference, especially on our family’s current debt-free journey where every saved dollar counts!
And just a reminder that if you’re struggling and you need help with managing your budget or starting your own debt free journey then here’s some FREE resources below you may find helpful!
living frugally and fully
free tips and resources to make the most of what you have
You don’t need any fancy equipment for this, just a large stock pot. I often use the big insert from my 8QT Instant Pot Pro because it’s sturdy and deep enough to handle a big batch all at once.
The best part? Freezing rice actually helps lock in the freshness and fluffy texture, so you can have homemade rice ready in under ten minutes on a busy weeknight without the clumpy or mushy texture that reheated rice can sometimes get.
And yes, freezing rice is completely safe as long as you handle it correctly. The key is to cool it quickly after cooking and freeze it within 1 to 2 hours.

Avoid letting it sit at room temperature or storing it in the fridge for long periods before freezing. That’s when bacteria can form, and we definitely don’t want that!
Once frozen, it’s perfectly safe to store for up to a month and can be reheated straight from frozen.
As always, these photos are from my real kitchen here in our sweet military base home. No AI recipe images or staged lighting or spotless marble counters. Just real life and real food made in a small space. Proof that you can feed your family well without needing a dream kitchen or fancy tools!
Alright, so grab your biggest pot, stock up on that box of boil-in-bag rice, and come cook with me as we prepare an entire month’s worth of ready-to-go rice sides that’ll make those weeknight dinners smoother, cheaper, and easier!
Equipment
- Large stock pot
- Measuring cup
- Colander or strainer
- Mixing bowl
- Large spoon
- Freezer-safe ziplock bags or reusable freezer containers
- Permanent marker for labeling
Available on Amazon.com [ad]








INGREDIENTS (Makes 4 large family meal batches)
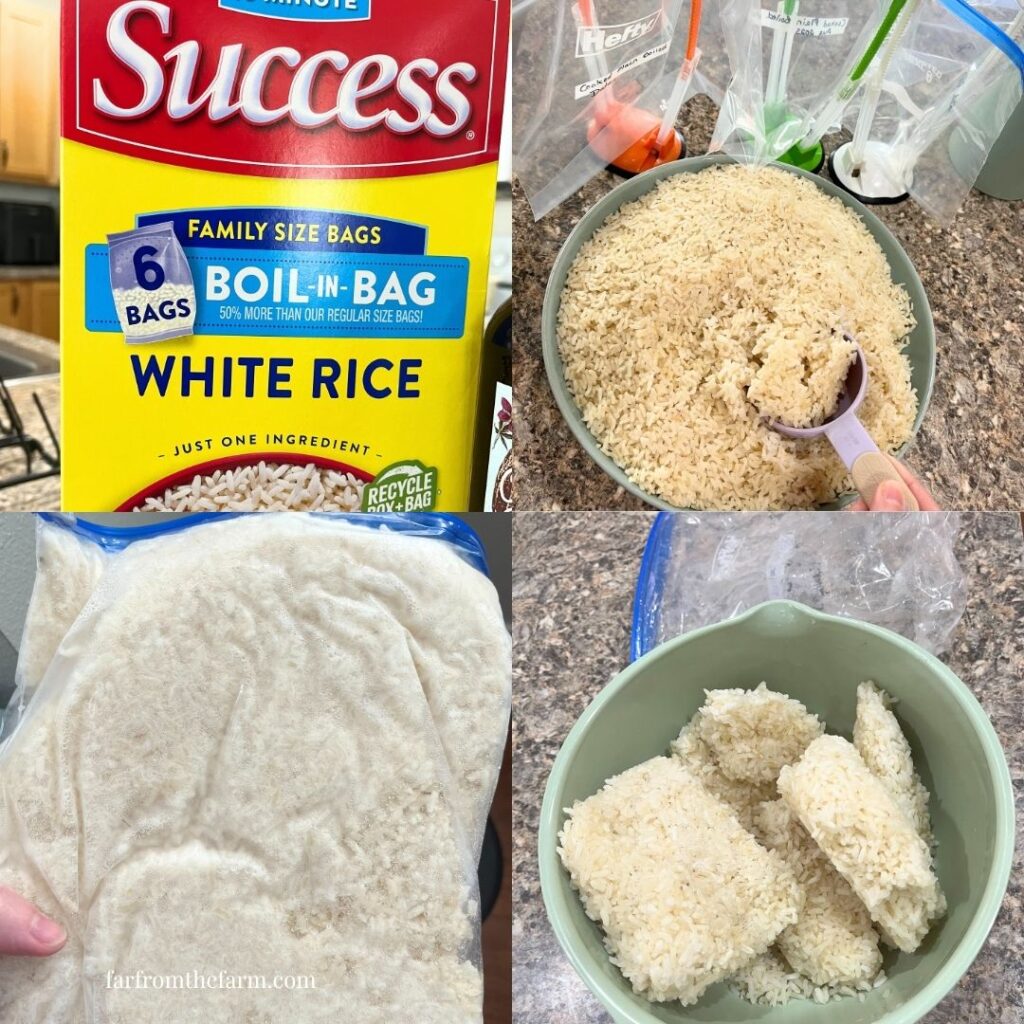
- 1 large family-size box of Success Boil-in-Bag White Rice (6 bags total)
- 20 cups of water
(Any plain white rice works fine, but boil-in-bag makes cleanup quicker and portioning easier!)
Step-by-Step Instructions
Step 1. Boil the water.
Fill your large stock pot halfway with water and bring it up to a nice rolling boil. Some folks add salt or oil, others don’t, I’ll leave that call to you!
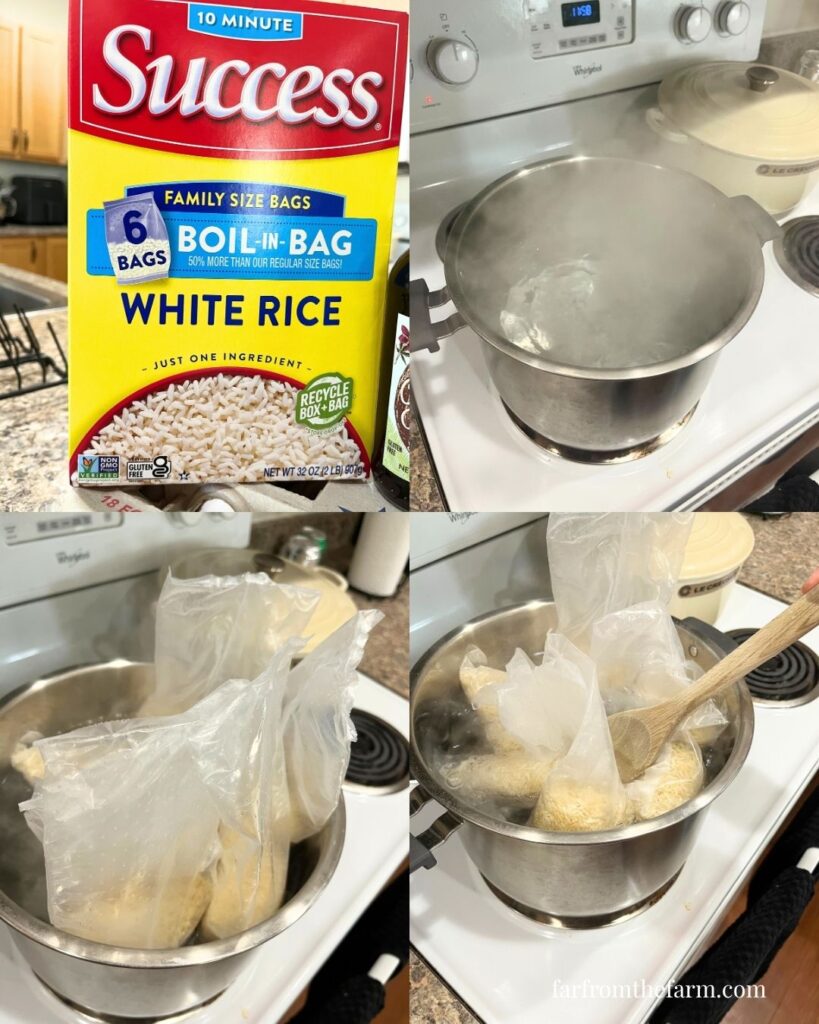
Step 2. Add the rice.
Once the water is boiling, carefully add in your rice bags. I usually cook all six at once since it saves time and energy for the rest of the month.
Step 3. Cook the rice.
Boil the rice for 8 to 10 minutes if you’re using the same brand I do, adjusting the time depending on how soft you like it. If you’re using another brand, just follow the timing on the box.
We usually stop right at 8 minutes because it gives a firmer grain that reheats beautifully after freezing without ever turning mushy.
Step 4. Drain the rice.
Use tongs to remove the bags from the pot and place them in a large bowl or colander to drain fully.
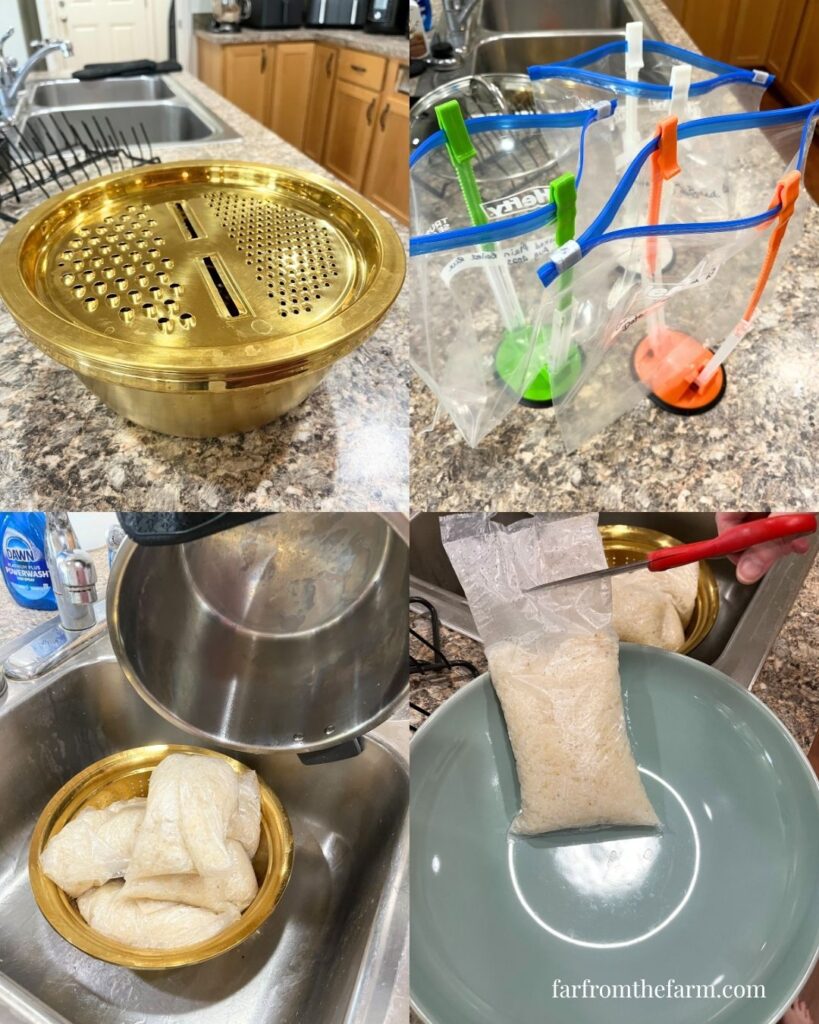
Step 5. Cool quickly and safely.
Cut open the bags and empty the cooked rice into a large mixing bowl. You can leave it plain or toss it with a bit of salt and garlic for flavor. Stir occasionally to help it cool faster.
Food safety tip: Always cool your rice quickly and freeze within 1 to 2 hours of cooking. Avoid refrigerating for long periods before freezing, as that can allow bacteria to multiply.
Step 6. Portion and freeze.
Once completely cool, scoop the rice into freezer-safe ziplock bags. I usually do 3 to 4 cups per bag for family-sized portions.
I love my little handy bag holders for when I’m working solo in the kitchen, it just helps to speed things up when I can fill all the bags quickly in a hands-off manner.
Flatten each bag for easier storage and faster reheating, then label with the date and reheating instructions.
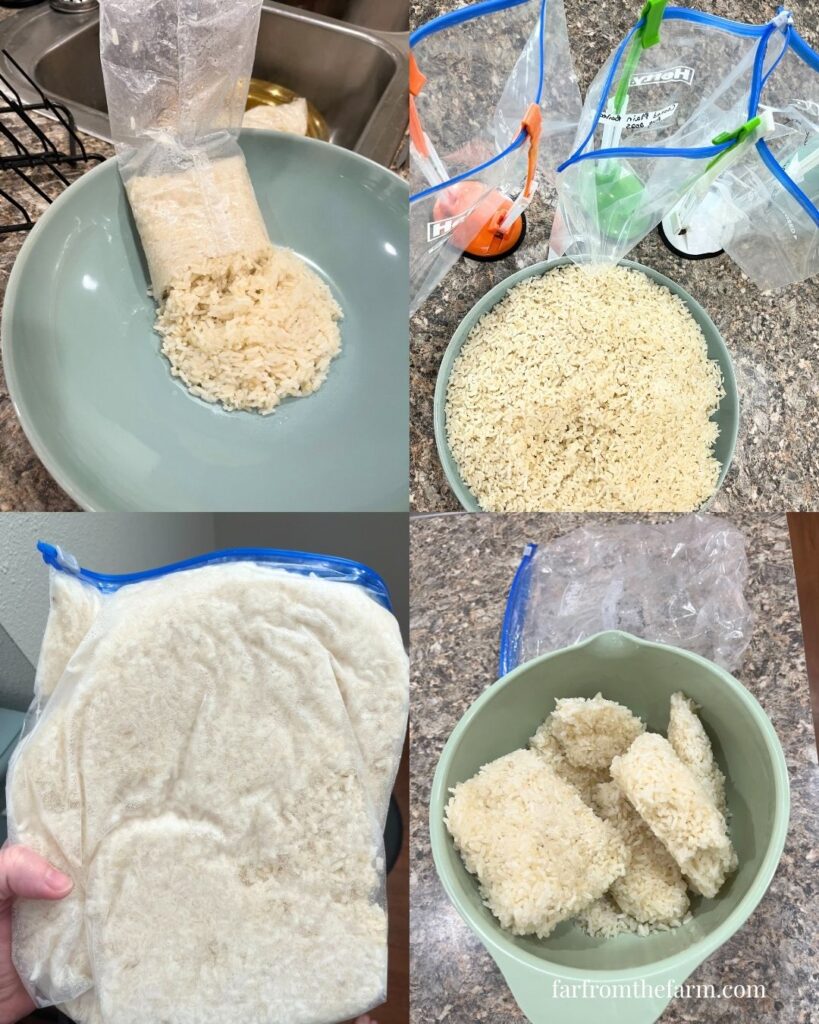
Step 7. Reheat from frozen.
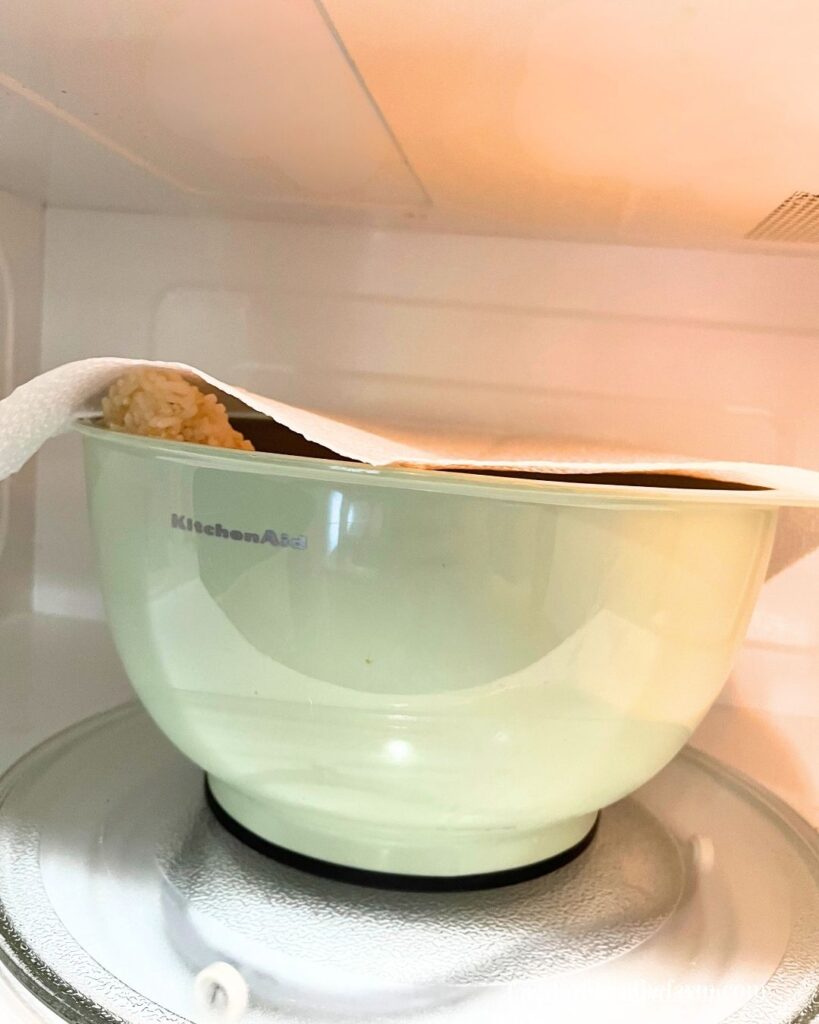
When you’re ready to use it, grab a bag straight from the freezer and break it up slightly so it fits into a microwave-safe bowl. Add 2 tablespoons of water and cover with a kitchen paper towel.
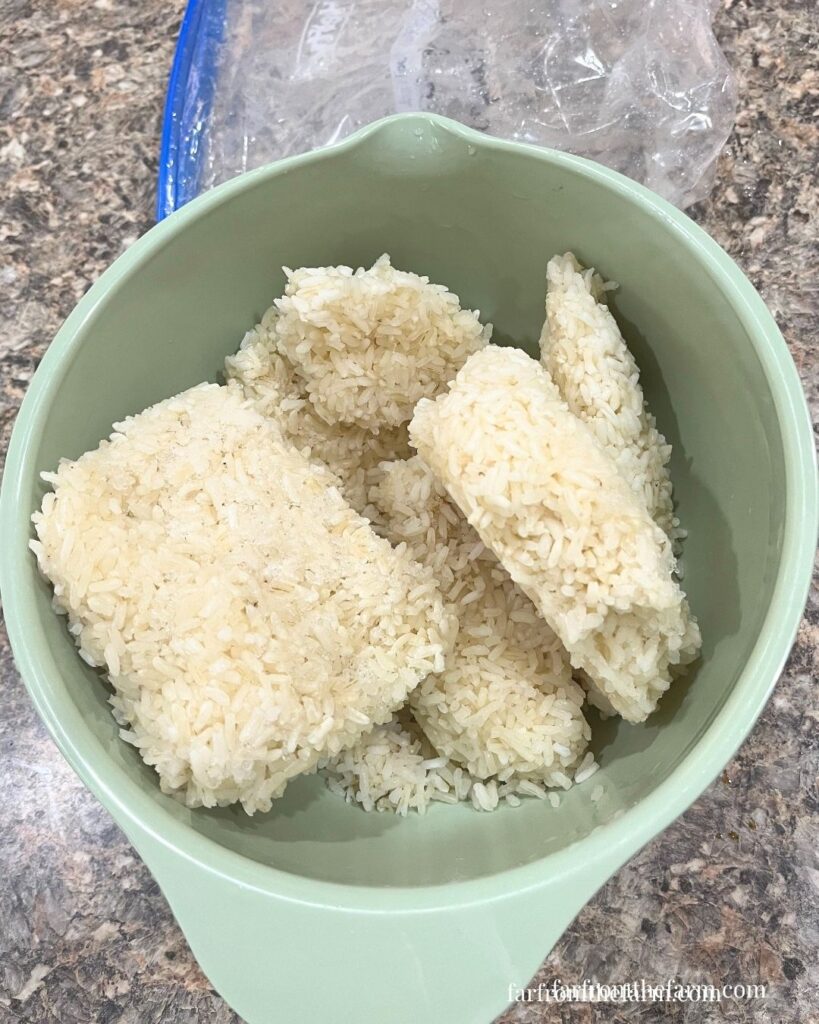
Microwave for 5 minutes, stir, and then continue heating in 1 to 2 minute bursts until piping hot throughout. Fluff with a fork before serving.
Notes and Troubleshooting
Notes:
- Always freeze rice within 1 to 2 hours of cooking to keep it safe.
- For extra flavor, toss in a touch of garlic, salt, or even a drizzle of sesame oil before freezing.
- Flattening bags helps them thaw evenly and saves freezer space.
Troubleshooting:
- If the rice seems dry when reheated, sprinkle an extra teaspoon or two of water before microwaving again.
- If your rice clumps together, fluff it halfway through reheating with a fork to separate the grains.
Storage
Frozen cooked rice keeps well for up to 1 month for the best texture and flavor. Reheat only what you need, and never refreeze rice once it’s been thawed and reheated.
Serving Ideas
Use this frozen rice base for:
- Easy Korean Ground Beef and Rice Bowls
- Quick Chicken Fried Rice
- Curry nights
- Budget-friendly taco or chili sides
It’s the simplest prep-ahead side dish that pairs with just about anything!
Why You’ll Love This Recipe?!
- Perfectly portioned for busy weeknights
- Frugal, safe, and simple
- Cuts down cooking time for last-minute dinners
- Helps you stick to your budget and avoid takeout temptation
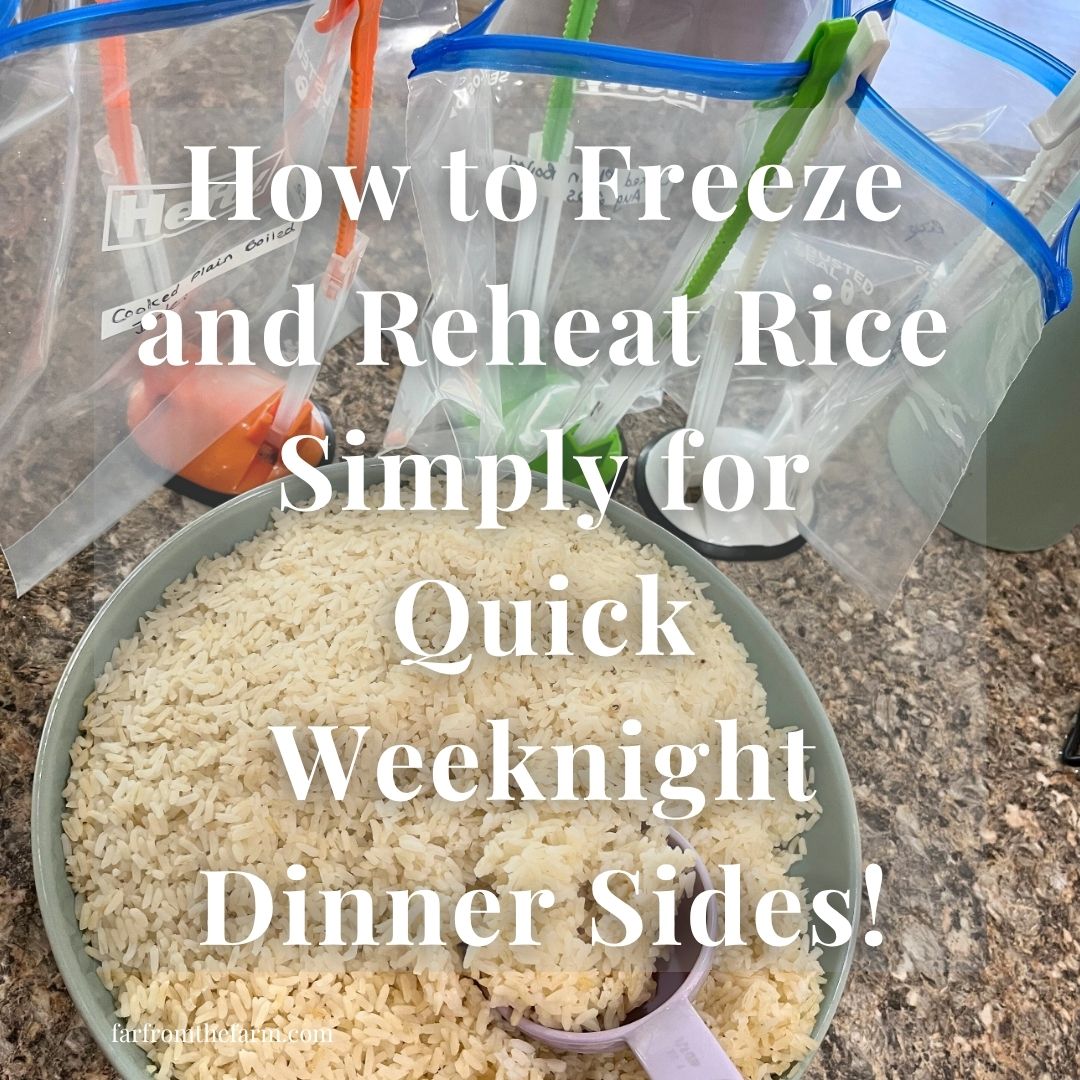
How to Freeze and Reheat Rice Simply for Quick Weeknight Dinner Sides!

Ingredients
Equipment
Method
- Fill your large stock pot halfway with water and bring it up to a nice rolling boil. Some folks add salt or oil, others don’t, I’ll leave that call to you!
- Once the water is boiling, carefully add in your rice bags. I usually cook all six at once since it saves time and energy for the rest of the month.
- Boil the rice for 8 to 10 minutes if you’re using the same brand I do, adjusting the time depending on how soft you like it. If you’re using another brand, just follow the timing on the box.We usually stop right at 8 minutes because it gives a firmer grain that reheats beautifully after freezing without ever turning mushy.
- Use tongs to remove the bags from the pot and place them in a large bowl or colander to drain fully.
- Cut open the bags and empty the cooked rice into a large mixing bowl. You can leave it plain or toss it with a bit of salt and garlic for flavor. Stir occasionally to help it cool faster.
- Once completely cool, scoop the rice into freezer-safe ziplock bags. I usually do 3 to 4 cups per bag for family-sized portions.Flatten each bag for easier storage and faster reheating, then label with the date and reheating instructions.
- When you’re ready to use it, grab a bag straight from the freezer and break it up slightly so it fits into a microwave-safe bowl. Add 2 tablespoons of water and cover with a kitchen paper towel.Microwave for 5 minutes, stir, and then continue heating in 1 to 2 minute bursts until piping hot throughout. Fluff with a fork before serving.a
Notes
- Always freeze rice within 1 to 2 hours of cooking to keep it safe.
- For extra flavor, toss in a touch of garlic, salt, or even a drizzle of sesame oil before freezing.
- Flattening bags helps them thaw evenly and saves freezer space.
Storage
- Frozen cooked rice keeps well for up to 1 month for the best texture and flavor.
- Reheat only what you need, and never refreeze rice once it’s been thawed and reheated.
Nutrition information is automatically calculated, so should only be used as an approximation.
The Takeaway
Making and freezing rice ahead of time is one of those small but mighty time-savers that keeps dinner stress-free.
When life gets busy, having a bag of ready-to-go rice in the freezer is the difference between eating out and keeping on track with your home-cooked meals and grocery budget!
What to Try Next?!


Share and Rate this Recipe!
If this freezer rice trick helps make your weeknights easier, leave a quick rating or comment below! Share it with another busy homemaker who could use a little less chaos at dinnertime too.
Last update on 2026-10-14 / Affiliate links / Images from Amazon Product Advertising API






One Comment