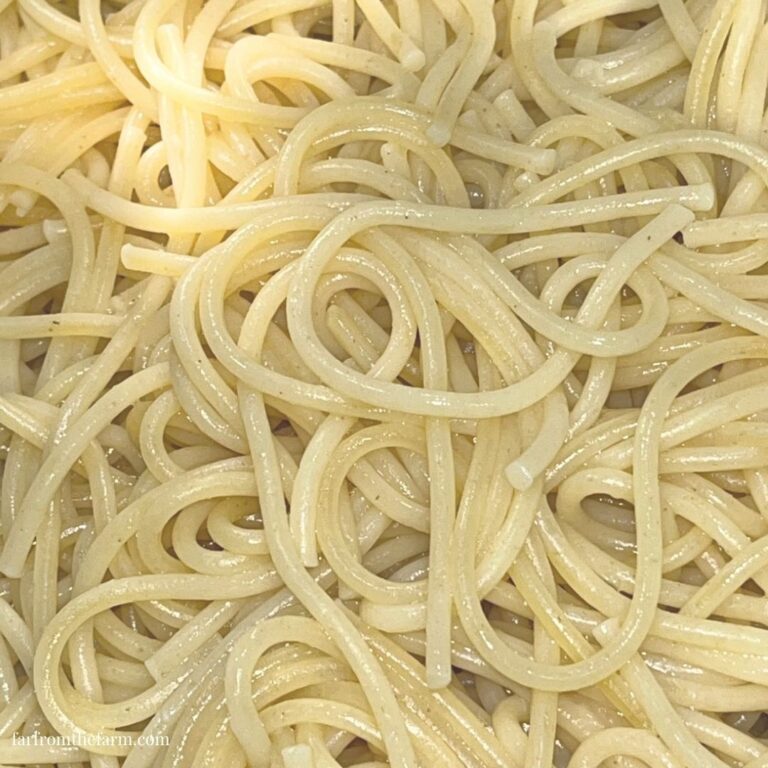
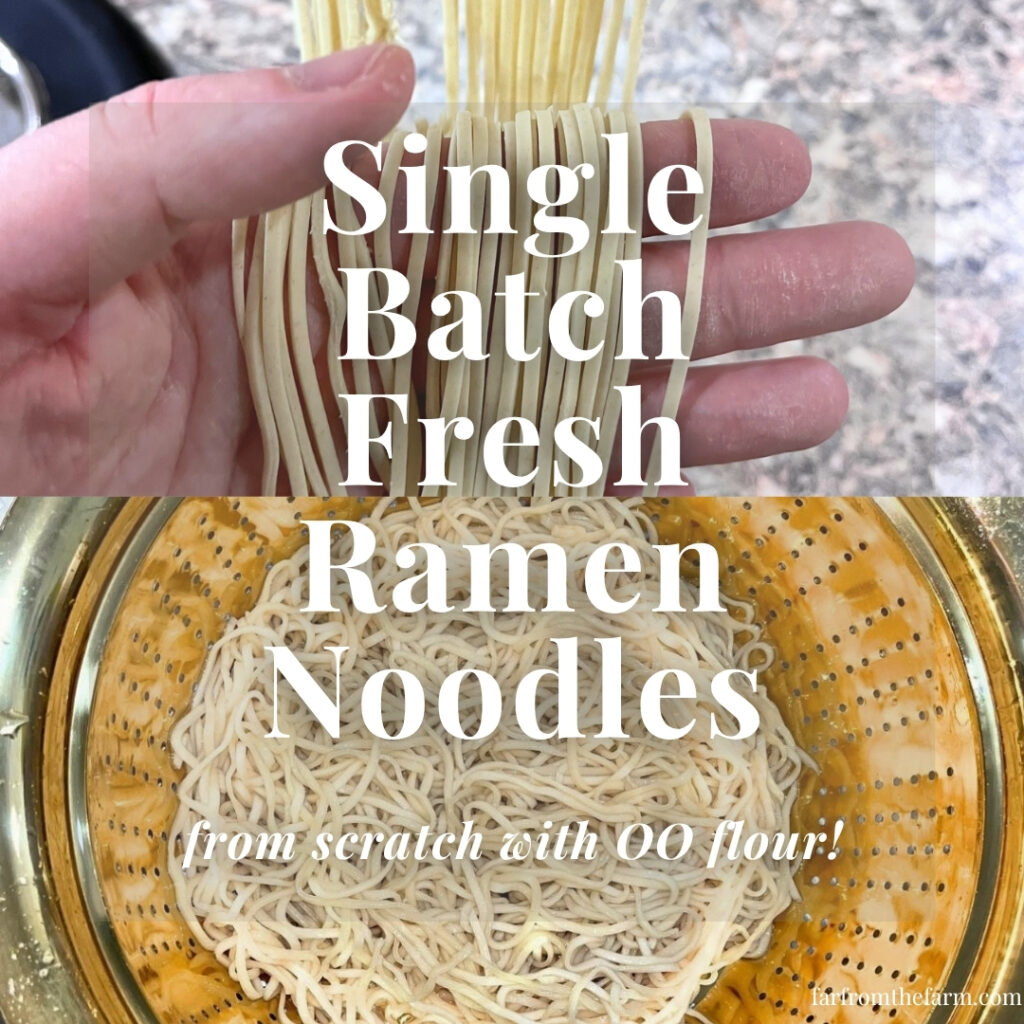
How to make perfect chewy, egg-free alkaline ramen noodles completely from scratch by hand or with a pasta roller.
“You don’t need a professional kitchen or fancy equipment to make incredible, chewy ramen. With just a cup of 00 flour, a pinch of baked baking soda, and a bit of hand-kneading, you can create silky, authentic ramen noodles that rival your favorite noodle shop for just pennies a batch.”
Hi! If you’ve been following me for long you’ll already know this, but for those who are new, welcome to Far From The Farm. I’m Mona, the Brit behind the recipes, learning life and food in the States while sharing our debt-free journey and what’s on the menu in our home today!
My husband is a huge ramen fan. Most of the time he prefers ramen-style noodles tossed through a stir fry rather than served in a broth, so if that sounds like your kind of dinner too, be sure to try these noodles in my Beef and Broccoli Stir Fry recipe.
Making your own noodles can sound like one of those things that belongs in a professional kitchen. Thankfully that couldn’t be further from the truth.
We already have a growing collection of From Scratch Pasta Recipes here on Far From The Farm and once you’ve made one or two of them, homemade dough starts feeling like a completely normal part of life rather than some complicated weekend project.
The ingredients are simple. The method is straightforward. The dough comes together quickly by hand.
One of the biggest secrets to achieving that classic ramen-style texture is using baked baking soda.
Traditional ramen noodles are alkaline noodles. That alkaline environment helps create the chewy texture and distinctive bite that makes ramen different from ordinary pasta.
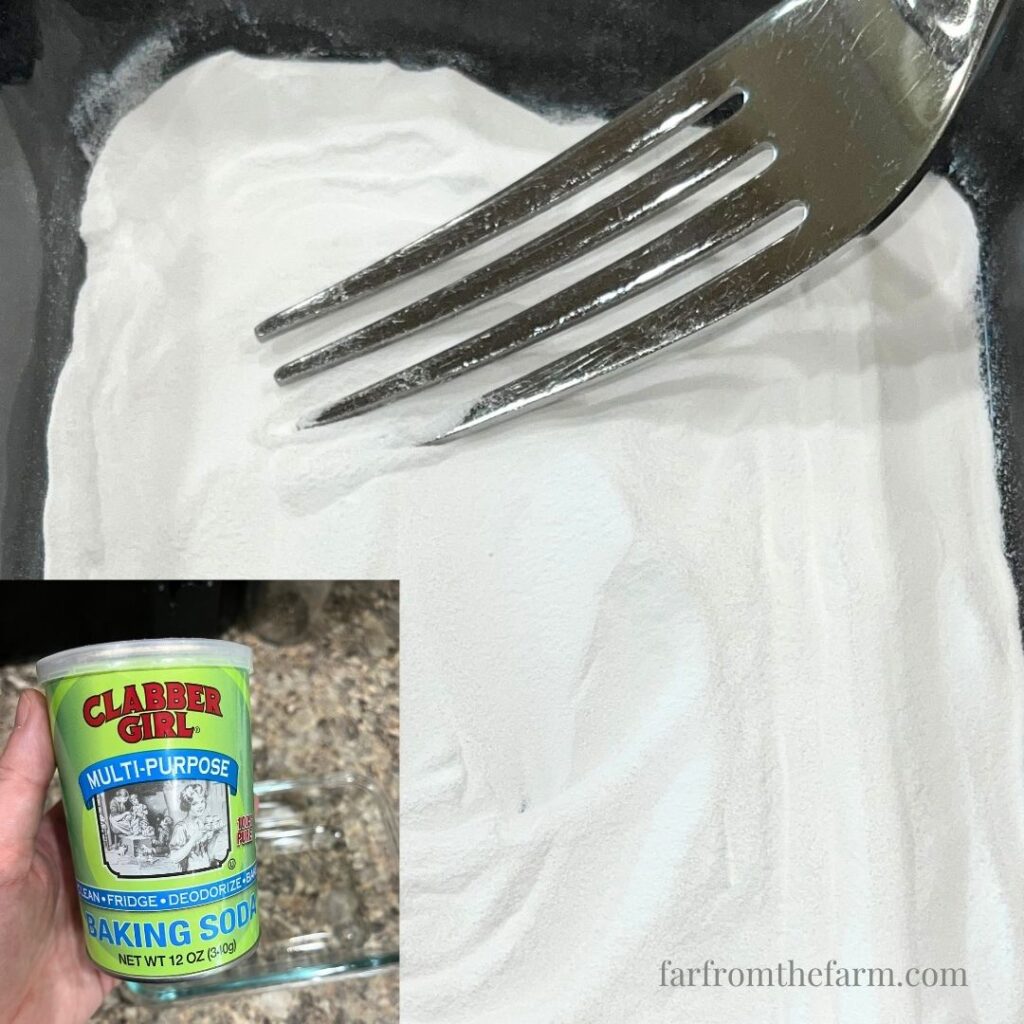
For this recipe I use baked baking soda, which is simply regular baking soda that has been baked in the oven to make it more alkaline. It stores beautifully and is incredibly easy to make at home. I’ll link my baked baking soda recipe here so you can make a batch for yourself.
The other ingredient that really helps is 00 flour.
00 flour is milled much more finely than regular all-purpose flour. That fine texture creates a smoother, silkier dough that rolls beautifully and produces wonderfully smooth noodles.
Oh and this recipe is intentionally small. Many homemade noodle recipes make a huge amount of dough. That’s fantastic if you’re feeding a crowd, meal prepping for the week, or stocking the freezer.
Sometimes though, you simply want enough noodles for dinner.
This recipe makes one generous serving or can stretch to two lighter servings when used in a stir fry packed with beef, vegetables, and sauce.
If you’re feeding two hungry adults and the noodles are the star of the meal, simply double the recipe and keep all the ratios exactly the same.
As a military family working through baby step 2 of our debt free journey, making more food at home has become one of the ways we stretch our grocery budget further. A simple bowl of homemade noodles costs very little to make and can turn an ordinary weeknight into something that feels a little special.
And just a reminder that if you’re struggling and you need help with managing your budget or starting your own debt free journey then here’s some FREE resources below you may find helpful!
living frugally and fully
free tips and resources to make the most of what you have
As always, these photos are from my real kitchen here in our sweet military base home. No AI recipe images or staged lighting or spotless marble counters. Just real life and real food made in a small space. Proof that you can feed your family well without needing a dream kitchen or fancy tools!
One thing worth mentioning before we start is that this dough is simply too small for most KitchenAid mixers and stand mixers to handle well.
For this recipe, your hands really are the best tool.
You can cut the noodles thin like spaghetti for traditional ramen bowls or a little wider like fettuccine for stir fry dishes. I often use my KitchenAid pasta roller attachments because they save time and help create wonderfully even noodles.
So roll up your sleeves and head into the kitchen with me to make a batch of fresh homemade ramen noodles from scratch!
Recipe Disclaimer
All Far From The Farm recipes are shared as a guide based on what works in my home kitchen. Results may vary depending on your ingredients, equipment, and cooking setup, so always use your own judgement. Please check all ingredients for allergies, intolerances, or dietary needs before making any recipe. Far From The Farm is not responsible for any reactions or outcomes from the use of these recipes. Nutritional information is an estimate only.
Mona – Far From The Farm
Equipment
- Mixing bowl
- Measuring cups
- Measuring spoons
- Spoon
- Fork
- Plastic wrap or clean kitchen towel
- Rolling pin
- Sharp knife or KitchenAid pasta roller attachments
- Large pot
- Colander
Available on Amazon.com [ad]




Ingredients
Serves 1 generously or 2 lightly with a stir fry
- 1 cup 00 flour
- 4 1/2 – 5 1/2 tbsp water
- 1/4 tsp salt
- 1/2 tsp baked baking soda
Available on Amazon.com [ad]


Step-By-Step Instructions
Step one:
Add 4 1/2 tbsp water, the salt, and the baked baking soda to a medium mixing bowl. Stir together until mostly dissolved.
Step two:
Add the 00 flour.
Mix with a fork until a shaggy very dry dough begins to form.
Step three:
Use your hands to bring the dough together into a rough ball.
Now this is a dry dough, but if it’s too dry to clump together at all then you can add the last tbsp of water a 1/2 tsp at a time until everything comes together.
Step four:
Knead by hand for approximately 5 minutes until smooth, either in a large mixing bowl or on a clean surface.
The dough should feel firm rather than soft.
Step five:
Cover the dough with plastic wrap, a clean towel, or an upside-down bowl.
Allow it to rest in the fridge for at least 1 hour but up to overnight before processing.
Step six:
After the dough has rested, it’s time to roll it out.
Because authentic ramen dough has a low hydration level, it is notoriously stiff and difficult to roll out by hand at first. It will feel incredibly firm and resistant, but try to persevere, it gets much easier to manage as the dough slowly warms up from your hands.
Because of how much muscle power it takes to roll manually, many home cooks, myself included, highly prefer using a mechanical helper like the KitchenAid pasta roller attachment to do the heavy lifting!
If you’re using KitchenAid pasta roller attachments:
Divide your stiff dough into 2 or 3 manageable pieces. Flatten a piece as much as you can with your palm, then feed it through the rollers starting at the widest setting (1).
Don’t worry if it looks rough on the first pass! Fold the dough sheet over on itself and run it through setting 1 a few more times until it becomes smooth and cohesive. Gradually click your way down down to setting 6, or until your noodle sheet is beautifully thin and uniform.
If you’re rolling the dough by hand:
Lightly flour your work surface and rolling pin with a tiny bit of extra 00 flour or starch. Roll the dough firmly into a large rectangle, making sure to lift and rotate it occasionally so it doesn’t stick to the counter.
Keep pressing and rolling until it is paper-thin, about 1/16-inch thick. Fresh ramen noodles need to be rolled significantly thinner than standard Italian pasta because the alkaline properties cause them to puff up and swell quite a bit when they hit the boiling water!
Step seven:
Now that your dough is rolled thin, it’s time to cut your noodles.
Just like the rolling process, using specialized cutting tools makes this step incredibly quick and satisfying. However, whether you choose to let a machine do the precision work or you prefer the mindful process of slicing them with a sharp knife by hand, you can achieve fantastic results right on your counter.
If you’re using KitchenAid pasta cutter attachments:
This is by far the easiest way to get uniform strands without any stress. Simply feed your rolled dough sheets straight through your chosen cutter attachment.
- Use the spaghetti cutter if you are prepping traditional ramen bowls with a delicate broth.
- Swap to the fettuccine cutter if you are making a hearty stir-fry and want a slightly wider noodle that can hold onto thick sauces.
If you’re cutting the noodles by hand:
Don’t worry if you don’t own an attachment, hand-cutting is incredibly simple if you use the right technique. Lightly dust both sides of your rolled dough sheet with a bit of flour or cornstarch.
Loosely fold the sheet into thirds like a letter, or gently roll it up into a loose, flat cylinder. This clever folding step is the secret to cutting even strands without the dough sticking to itself.
Using your sharpest chef’s knife or a cleaver, slice cleanly across the folded dough into clean strips:
- For traditional ramen bowls, slice them thin, about 1/8-inch wide (similar to spaghetti).
- For stir-fries, slice them a bit wider, about 1/4-inch wide for a sturdier noodle.
Once sliced, carefully unfold the noodles, gently fluffing and separating the strands with your fingers. Give them one final light dusting of flour or starch to ensure they stay completely separate and ready for the pot!
Step eight:
Separate the noodles gently and dust lightly with flour if needed.
Step nine:
Cook immediately or store for later following the storage instructions below.
Step ten:
For broth-based ramen, boil the noodles for approximately 2-3 minutes before adding to your hot broth.
For stir fry dishes, boil for approximately 1 1/2-2 minutes, drain, then finish cooking in the stir fry sauce.
Notes
- 00 flour creates a smoother, silkier dough than all-purpose flour.
- Baked baking soda is what helps create the classic ramen-style texture.
- The dough should feel firm. This is normal.
- This recipe is best mixed by hand.
- For two hungry adults, double the recipe.
Troubleshooting
Ramen noodle dough has a notoriously low hydration rate (around 35-40%), making it much dryer and stiffer than regular Italian pasta dough. When working with ultra-fine 00 flour, it can feel like trying to knead damp sand at first. Do not panic and dump water in. Continue pressing and kneading the shaggy pieces in your bowl for a full 3 to 5 minutes; your hand warmth will help the flour absorb the moisture. If it still won’t hold together after a few minutes of solid effort, add warm water 1/2 teaspoon at a time.
If your dough feels sticky, it means too much liquid was added, or your measuring cup was packed too tightly with flour. Lightly dust your work surface with a tiny pinch of 00 flour and continue kneading. Be very conservative; adding too much extra flour can throw off the alkaline balance created by your baked baking soda, which gives the noodles their classic yellow hue and signature bite.
This is a classic sign of over-activated, tight gluten that hasn’t had time to relax. Because ramen dough is heavily kneaded and contains alkaline agents, the gluten network is incredibly strong. Wrap the dough tightly in plastic wrap and let it rest for an additional 30 to 45 minutes at room temperature (or up to 2 hours in the fridge). This allows the gluten strands to relax, letting you roll it thin without it shrinking back or tearing.
Noodles shatter or break if the dough was too dry during the kneading phase or if it didn’t rest long enough for the hydration to distribute completely evenly. Next time, ensure you let the dough rest for at least 1 full hour in the refrigerator so the moisture penetrates every particle of the 00 flour. For your current batch, handle the cut noodles very gently and cook them immediately.
Fresh ramen noodles are prone to sticking because of the moisture trapped inside. The second your noodles leave the knife or the KitchenAid pasta cutter attachment, toss them immediately in a generous amount of cornstarch, potato starch, or extra 00 flour. Gently fluff and separate the strands with your fingers. Shake off the excess powder right before dropping them into the boiling water.
Available on Amazon.com [ad]

Fresh homemade ramen noodles cook exceptionally fast, usually in just 2 to 3 minutes. If they are mushy, they were left in the boiling water too long. Keep a close eye on them, start tasting a strand at the 90-second mark, and remember that if you are adding them to a hot broth or a stir-fry later, you should deliberately undercook them by 30 seconds so they finish cooking in the sauce.
A bitter or soapy flavor means the baked baking soda wasn’t fully dissolved in the water before you added the flour, creating concentrated pockets of alkaline powder in the dough. Always stir your salt and baked baking soda into your water until the liquid is completely clear before incorporating your 00 flour.
Don’t worry, your dough hasn’t gone bad! This is a natural process called oxidation, which happens when the enzymes in wheat flour react with oxygen over time. It is completely safe. To prevent this, make sure your dough is wrapped airtight with plastic wrap pressing directly against the surface of the dough, and don’t store raw dough in the fridge for longer than 24 hours.
Your ramen dough sheet is likely too thick or too cold for the setting you are using. Never force thick chunks of stiff ramen dough straight into the machine. Flatten the dough as much as possible with a rolling pin by hand first until it’s less than 1/4-inch thick, ensure it’s at room temperature, and always start on Setting 1 (the widest setting) before working your way down.
Ramen noodles will puff up slightly in boiling water, but if they expand into thick, soft logs, they were rolled too thick. Authentic ramen needs to be rolled incredibly thin, about 1/16-inch thick (around Setting 6 on a KitchenAid roller), because the alkaline properties cause the starch to swell significantly during the cooking process.
Storage
- The dough can rest at room temperature for up to 2 hours but it is better in the fridge.
- For longer storage, wrap tightly and refrigerate for up to 24 hours before rolling.
- Freshly cut noodles can be left lightly floured and covered for 2-3 hours at room temperature.
- For next-day use, store cut noodles in an airtight container in the refrigerator for up to 24 hours.
- For freezing, dust lightly with flour, shape into nests, freeze on a tray, then transfer to a freezer-safe bag for up to 1 month.
Serving Ideas
- Beef and Broccoli Stir Fry
- Homemade ramen bowls
- Garlic soy noodles
- Chicken ramen
- Pork ramen
- Sesame noodle bowls
- Vegetable stir fry
- Quick lunch noodle bowls
- Julie from Our Beautiful Chaos has a delicious Dairy-Free Birria Ramen Recipe to check out too!
Why You’ll Love This Recipe!
- Small batch recipe
- No eggs required
- Uses simple pantry ingredients
- Smooth silky dough thanks to 00 flour
- Chewy ramen-style texture
- Budget friendly
- Easy to double
- Perfect for broth or stir fry
- Works with or without pasta attachments
- Great introduction to homemade noodles
The Ultimate Homemade Ramen Noodle FAQs
Yes, 00 flour makes incredible homemade ramen noodles. While traditional Japanese ramen shops use specific high-protein wheat flours, Italian 00 flour is ground so finely that it yields a beautifully smooth, silky dough that is much easier to roll out thin by hand in a home kitchen.
Yes, you can absolutely swap 00 flour for regular all-purpose flour using the exact same measurements. Just note that your dough might feel a little rougher while you are kneading it, and the final noodle won’t have quite the same ultra-silky, smooth texture.
Baking regular baking soda in the oven turns it into sodium carbonate, a much stronger alkaline compound. This alkaline agent raises the pH level of the dough, which changes the gluten structure to give ramen its signature springy, chewy texture and classic yellow color without needing eggs.
No, straight baking soda from the pantry will not work. It isn’t alkaline enough to change the flour’s proteins properly, and using too much of it will leave your noodles tasting unpleasantly metallic, salty, or soapy. Taking a few minutes to bake it first is essential.
No, traditional Japanese ramen noodles are naturally egg-free and dairy-free. The iconic yellow color, rich flavor, and firm structure come entirely from the scientific reaction between the wheat flour and the alkaline water (baked baking sodadissolved in water).
This specific small-batch recipe is designed to make one very generous single serving for a big ramen bowl, or two lighter servings if you are tossing the noodles into a busy stir-fry packed with beef and veggies.
Because this is an intentionally small, single-batch recipe, the amount of dough is too small for a large KitchenAid stand mixer bowl to grab and knead properly. For this specific recipe, your hands are the absolute best tool to bring the dry, shaggy dough together.
Ramen dough is famously stiff because it uses a very low amount of water (low hydration). This tight, dense structure is exactly what keeps the starch packed close together, ensuring your noodles stay firm and hold their prize “al dente” bite even when submerged in hot soup broth.
Your dough needs to rest for at least 1 hour in the refrigerator to hydrate properly, but you can safely leave it wrapped tightly in the fridge for up to 24 hours if you want to break up the work and make it ahead of time.
If you skip the resting step, your dough will be a crumbly, uncooperative mess that tears apart when you try to roll it. The resting period gives the water time to sink into the flour completely and lets the tense gluten relax so it can stretch.
Yes! While a KitchenAid pasta roller attachment makes getting an even thickness a lot faster, you can easily make this recipe using a heavy rolling pin, a flat counter, and a very sharp chef’s knife.
When using the KitchenAid pasta roller attachment, start at Setting 1 (the widest) and feed the dough through, folding it over on itself a few times. Roll it sequentially through the numbers, finishing on Setting 6 for the perfect authentic ramen thickness.
Lightly dust your rolled dough sheet with flour, then loosely fold it into thirds like a letter. Using a very sharp chef’s knife or cleaver, slice across the folded dough into thin strips. Avoid serrated knives, which will tear and fray the edges of your noodles.
Cut them thin (about 1/8-inch wide, like spaghetti) if you are making traditional broth-based soup bowls. Cut them a bit wider (about 1/4-inch wide, like fettuccine) if you are making a heavy stir-fry so the noodles can hold onto the sauce.
While extra 00 flour works great, dusting your cut noodles with cornstarch or potato starch is a professional trick. Starch doesn’t melt into the raw dough as quickly as flour does, keeping your noodle nests perfectly separated.
Fresh homemade noodles cook incredibly fast. Boil them in a large pot of rolling water for 2 to 3 minutes for hot soup, or just 1 1/2 to 2 minutes if you are transferring them right into a hot stir-fry skillet to finish cooking.
No, you do not need to salt the boiling water. Unlike Italian pasta water which needs heavy salting, ramen dough already has fine salt mixed directly into the dough ingredients.
Yes. Rinsing the boiled noodles under cold tap water instantly stops the cooking process and washes away excess surface starch, preventing them from turning gummy or sticking together before you plate them.
Absolutely. Gather your freshly cut, floured noodles into loose, single-serving nests and freeze them flat on a baking sheet. Once frozen solid, transfer them to a freezer-safe bag for up to 1 month. Cook them straight from frozen, just add 30 seconds to the boil time!
If you have leftover cooked noodles that haven’t been mixed into broth yet, toss them with a tiny drop of sesame oil to stop them from clumping. Store them in an airtight container in the refrigerator for up to 2 days.
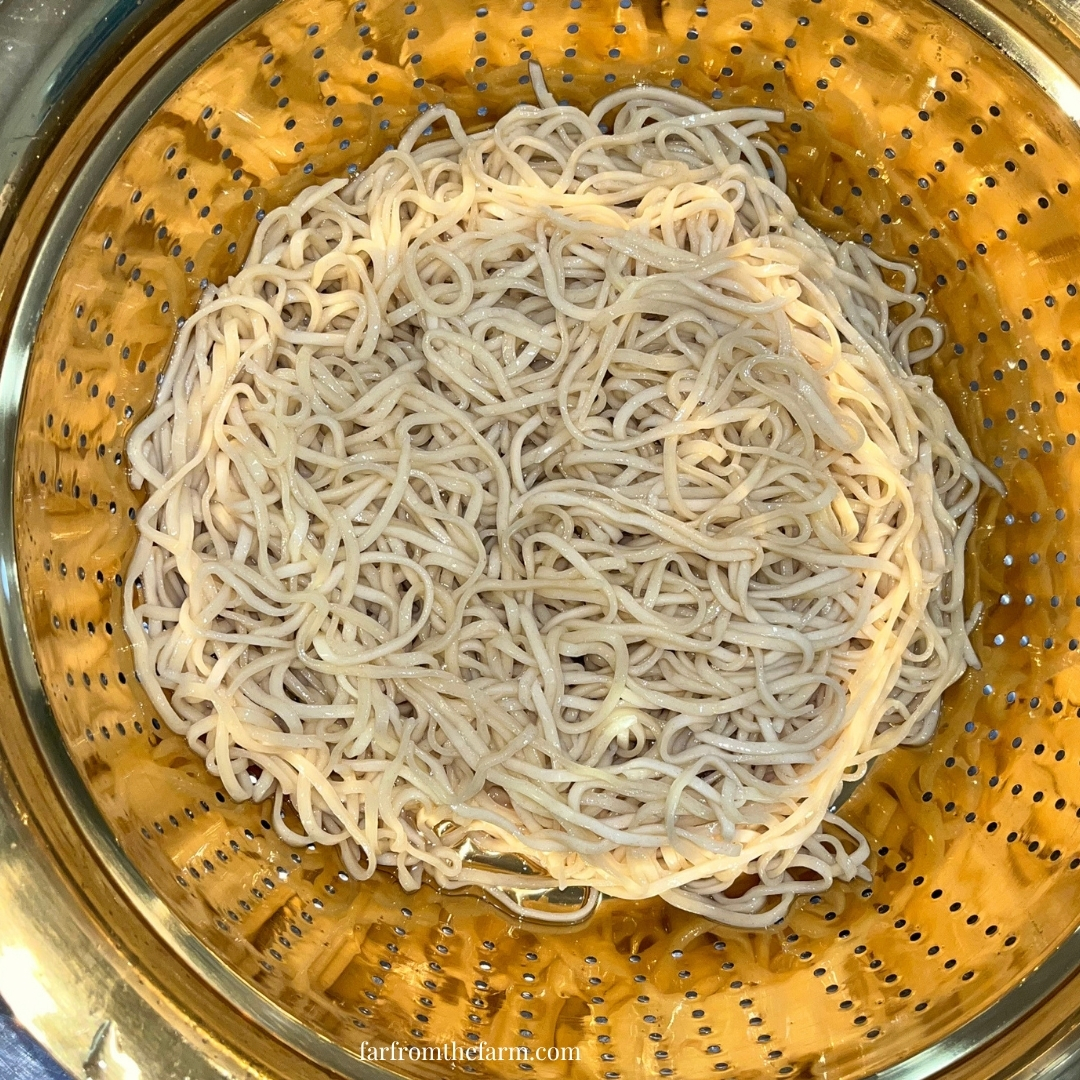
Single Batch Fresh Ramen Noodles Recipe From Scratch with 00 Flour!

Ingredients
Equipment
Method
- Add 4 1/2 tbsp water, salt, and baked baking soda to a medium mixing bowl. Stir until mostly dissolved.
- Add the 00 flour and mix with a fork until a very dry shaggy dough forms.
- Use your hands to bring the dough together into a rough ball. If it is too dry to clump together, add the remaining water 1/2 tsp at a time until the dough holds together when pressed.
- Knead by hand for approximately 5 minutes until smooth, either in a large mixing bowl or on a clean surface. The dough should feel firm rather than soft.
- Cover the dough with plastic wrap, a clean towel, or an upside-down bowl. Rest in the refrigerator for at least 1 hour, or up to overnight, before rolling.
- After resting, roll out the dough:If using KitchenAid pasta roller attachments, divide the dough into 2 or 3 smaller pieces and feed each piece through the rollers, starting at setting 1 and gradually working down to about setting 6. If rolling by hand, lightly flour your work surface and rolling pin, then roll into a thin rectangle about 1/16 inch thick.
- Cut the noodles: If using KitchenAid pasta cutter attachments, feed each sheet through the spaghetti cutter for traditional ramen bowls or the fettuccine cutter for wider stir fry noodles. If cutting by hand, lightly dust the sheet with flour, loosely fold it into thirds or roll it into a loose cylinder, then slice into thin strips with a sharp knife. Cut about 1/8 inch wide for ramen bowls or about 1/4 inch wide for stir fries.
- Carefully unfold the noodles, separate them gently with your fingers, and dust lightly with flour if needed to prevent sticking.
- Cook immediately or store for later following the storage instructions.
- For broth-based ramen, boil the noodles for approximately 2 to 3 minutes before adding to hot broth. For stir fry dishes, boil for approximately 1 1/2 to 2 minutes, drain, then finish cooking in the stir fry sauce.
Notes
- 00 flour creates a smoother, silkier dough than all-purpose flour.
- Baked baking soda helps create the chewy texture associated with ramen noodles.
- The dough should feel firm and fairly dry, but it needs to hold together when pressed.
- This recipe is best mixed by hand due to the small batch size.
- For two hungry adults, double the recipe and keep the same ingredient ratios.
Storage
- The dough can rest at room temperature for up to 2 hours, but chilling in the fridge gives better results.
- Wrap tightly and refrigerate unrolled dough for up to 24 hours.
- Fresh cut noodles can be lightly floured, covered, and left at room temperature for 2-3 hours.
- Store cut noodles in an airtight container in the refrigerator for up to 24 hours.
- Freeze lightly floured noodle nests for up to 1 month.
Related Recipes
- Learn how to make DIY Baked Baking Soda
- Easy Beef and Broccoli Stir Fry
- Browse All Pasta Recipes
Nutrition information is automatically calculated, so should only be used as an approximation.
Looking for more homemaking inspiration?

It’s so important to be part of a community that not only understands you but that champions you, encourages, challenges and cheers you on. We couldn’t find one – so we created it instead!
Join the Side Hustle Homemakers Team Julie, Sam and I over at the Recipes, Homesteading and More! Facebook Group for Food Blogging Tips, Homesteading and Homemaking content and encouragement!
We’re 3 very different US/UK military families who met and became instant forever friends. We share what’s working in our kitchens, gardens, homes and more!
We created the group to share real life around recipes, homesteading, homemaking and more. Head on over, say Hi, share you tips and gain some friends and knowledge along the way!
The Takeaway
Homemade ramen noodles don’t require special equipment, unusual ingredients, or years of experience.
A little 00 flour, baked baking soda, and a few minutes of hands-on work can produce noodles with wonderful texture and flavor right in your own kitchen.
Once you’ve made them a couple of times, you’ll wonder why you ever thought homemade noodles were difficult in the first place!
What to Try Next?!


Share & Rate This Recipe!
If this recipe earns a regular spot in your kitchen, tap the stars on the recipe card and leave a quick comment below. I love hearing how these recipes turn out in real kitchens like ours!
Last update on 2026-11-10 / Affiliate links / Images from Amazon Product Advertising API