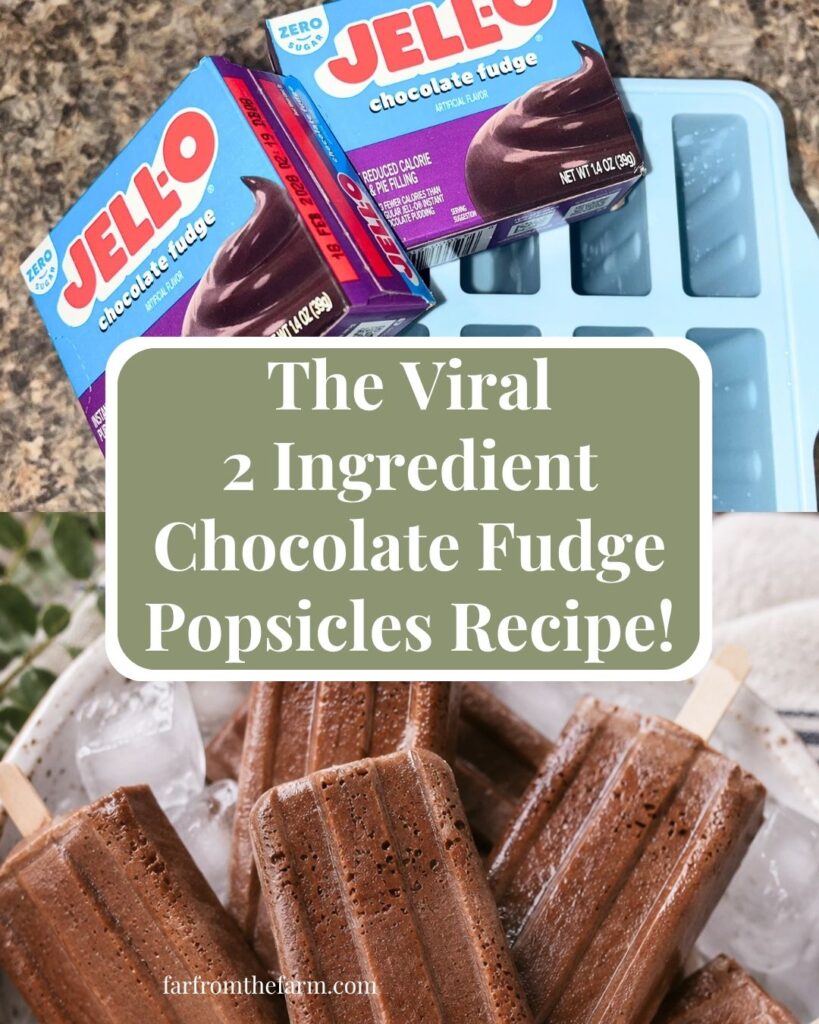
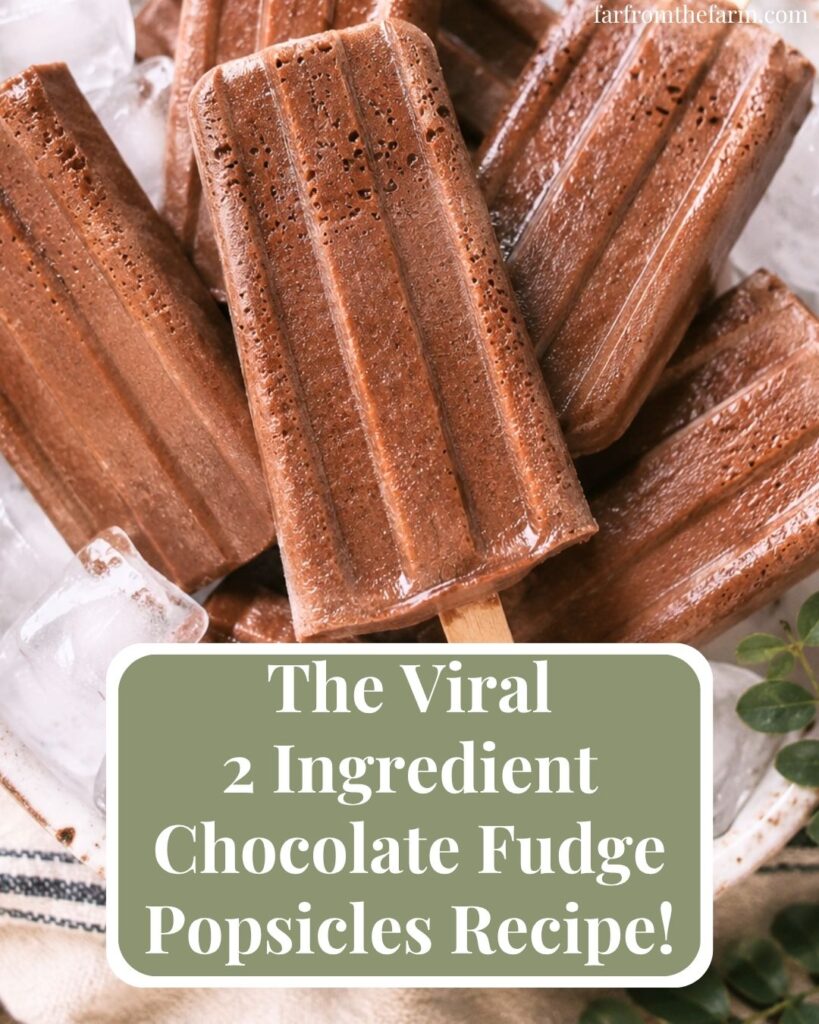
How to Make the Viral Copycat Homemade Fudgesicles with Just 2 Ingredients!
The Easy and Budget-Friendly Fudge Pops Method!
Hi! If you’ve been following me for long you’ll already know this, but for those who are new, welcome to Far From The Farm. I’m Mona, the Brit behind the recipes, learning life and food in the States while sharing our debt-free journey and what’s on the menu in our home today!
I hadn’t been in the States too long before I realized just how serious America is about fudge pops. Or maybe that was just my family!
Fudgesicles are in every grocery store freezer section. Every kid seems to grow up eating them.
Cold. Creamy. Super chocolatey. That soft fudgy bite that somehow feels richer than regular ice cream popsicles. The problem was the price.
When you’re feeding a family and trying to stay intentional with money, those little boxes add up fast. Especially during warmer months when everyone seems to want one after dinner every single night.
As a military family deep into baby step 2 of our debt free journey, we’ve been making more and more things from scratch at home lately. Not in a sad “never buy anything fun again” kind of way either. More in a “how can we recreate the things we already love for less money?” sort of way.
And this recipe became one of our biggest wins!
Now there are plenty of homemade from-scratch fudge popsicle recipes online using cocoa powder, melted chocolate, heavy cream, organic ingredients, fancy techniques and all kinds of things I genuinely tried. But none of them really tasted like the fudge pops my family actually wanted.
Mine wanted that thick freezer aisle texture. That slightly chewy creamy chocolate center. The kind that melts slowly instead of turning icy straight away.
So one evening I started experimenting with pantry ingredients instead.
I found two boxes of chocolate fudge instant pudding mix sitting in the cabinet and started adjusting the milk ratio from what the box recommended. After a couple of attempts we landed on this version and honestly it is shockingly close to the real thing.
Maybe even better!
The pudding mix creates that rich fudgy texture without needing tons of cream or complicated ingredients. The reduced milk amount is the secret here. That’s what gives these popsicles their thick creamy bite instead of turning them into plain chocolate ice pops.
And the cost difference compared to store bought fudge pops? Huge.
We make these constantly now.
I usually keep a batch tucked away in the freezer beside our freezer meal prep because having homemade treats ready to grab makes life feel easier somehow. Especially during chaotic seasons.
And just a reminder that if you’re struggling and you need help with managing your budget or starting your own debt free journey then here’s some FREE resources below you may find helpful!
living frugally and fully
free tips and resources to make the most of what you have
As always, these photos are from my real kitchen here in our sweet military base home. No AI recipe images or staged lighting or spotless marble counters. Just real life and real food made in a small space. Proof that you can feed your family well without needing a dream kitchen or fancy tools!
So roll up your sleeves, clear a little freezer space, and head into the kitchen with me to make these easy homemade fudge popsicles!
Equipment
- Stand mixer or hand mixer
- Mixing bowl
- Measuring jug
- Silicone popsicle mold
- Popsicle sticks
- Baking sheet
- Plastic wrap
- Large freezer-safe zip top bag
Available on Amazon.com [ad]


Ingredients
Makes 10 popsicles
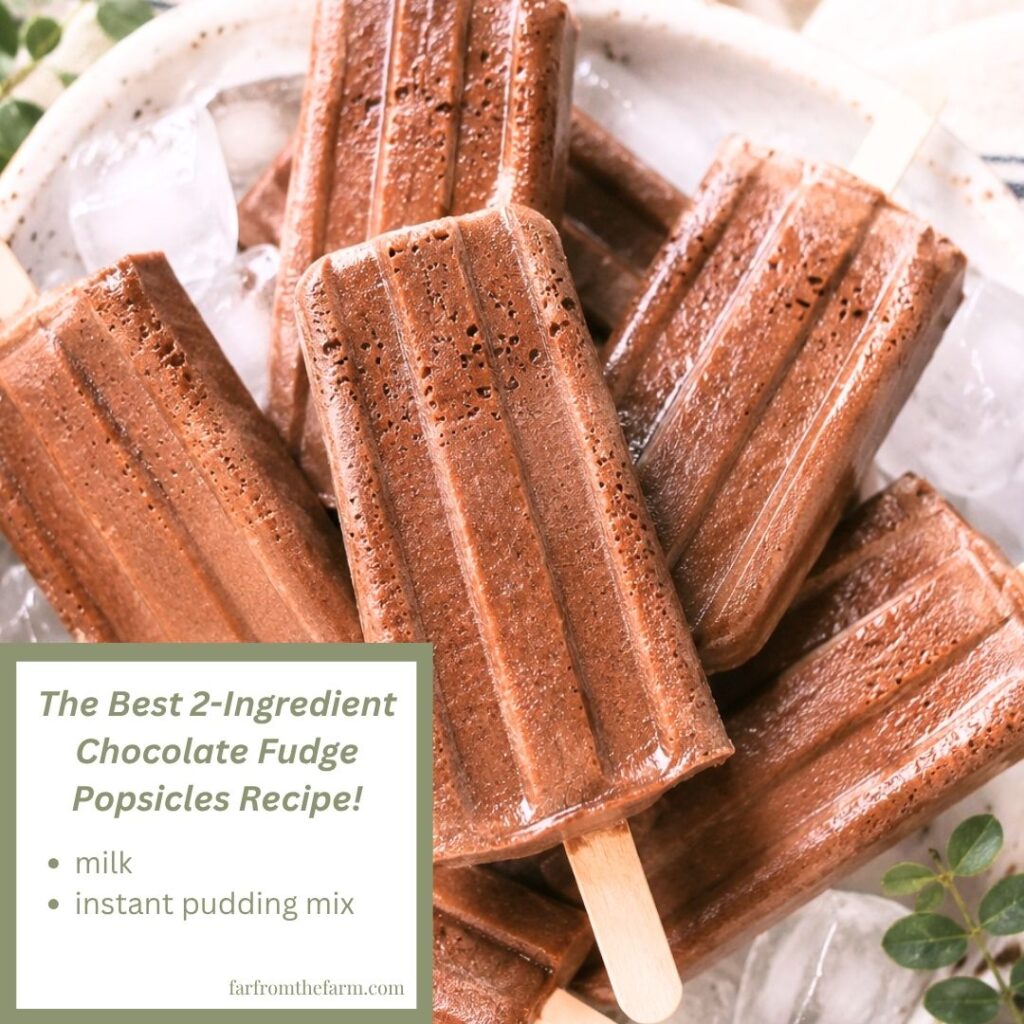
- 3 cups milk (whole, 2% or 1% are all fine)
- 2.8 oz chocolate fudge Jello instant pudding mix (2 x 1.4 oz boxes)
Available on Amazon.com [ad]

Step-by-Step Instructions
Step 1: Add the milk and pudding mix
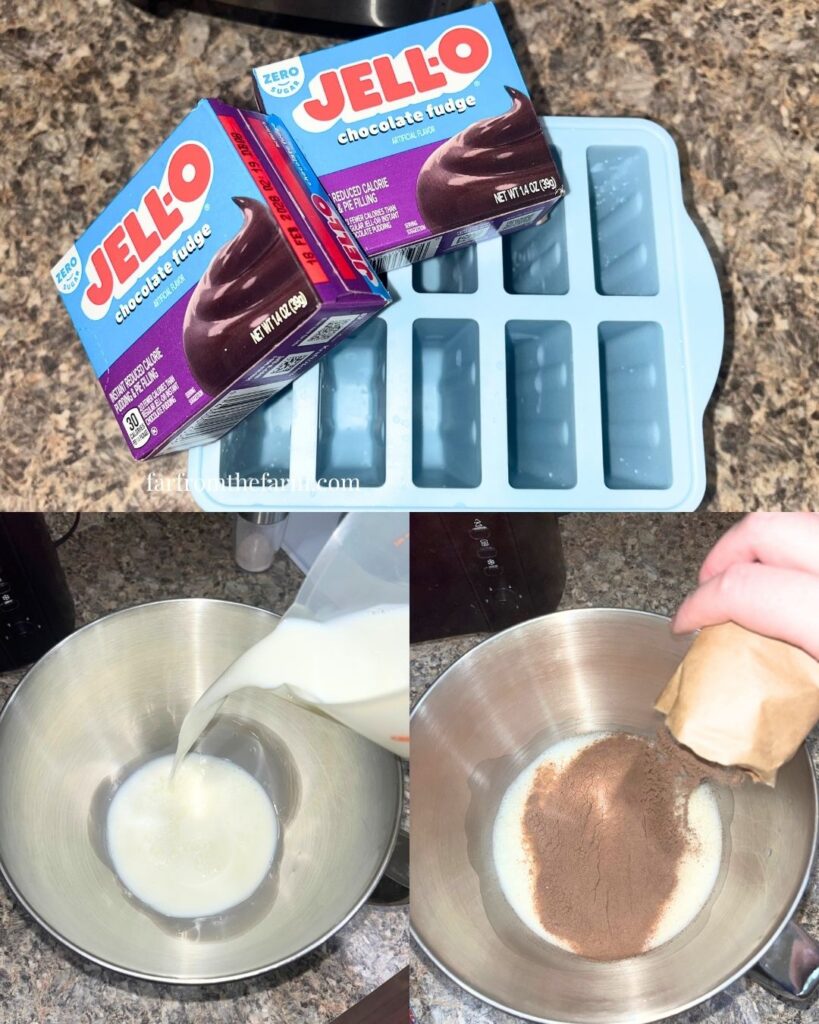
Pour the milk into your mixing bowl and add both boxes of chocolate fudge pudding mix.
You’ll notice we are using less milk than the package directions call for and that is completely intentional. This smaller amount is what creates that thick fudgy texture once frozen.
Step 2: Mix until thick and bubbly
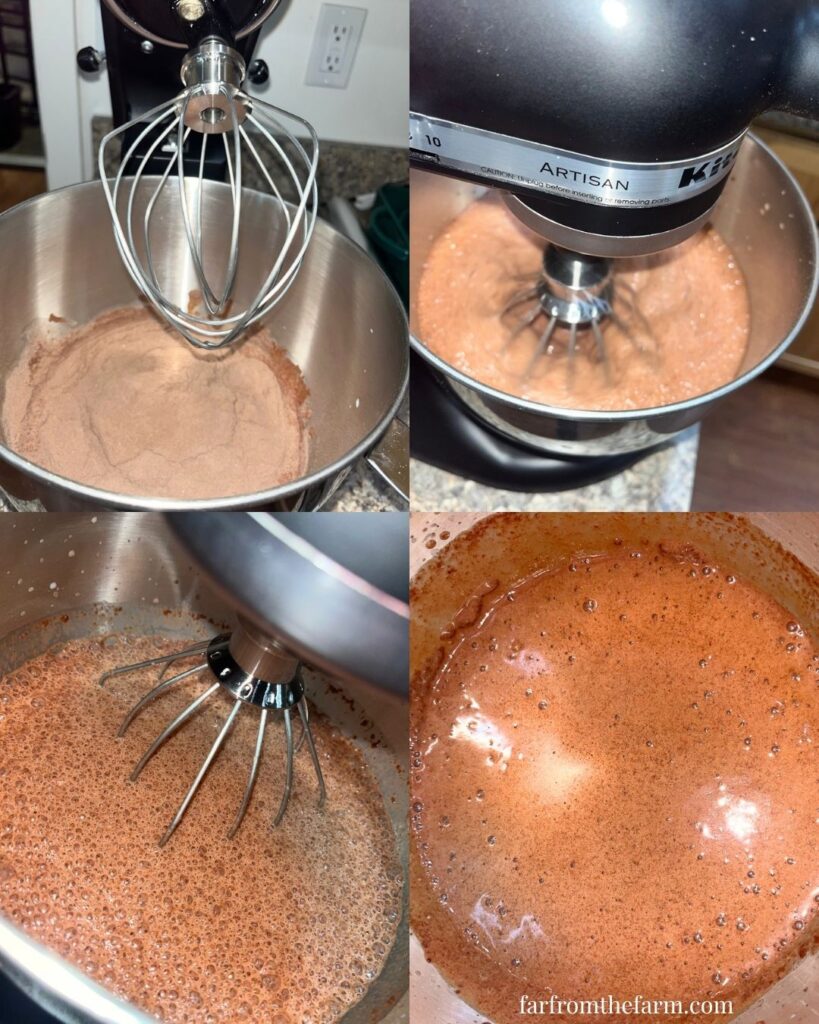
Using a stand mixer or hand mixer, beat the mixture for about 2 to 3 minutes.
It should start looking slightly fluffy and bubbly around the edges. The pudding mixture thickens pretty quickly so don’t wander off.
Step 3: Pour into the popsicle mold
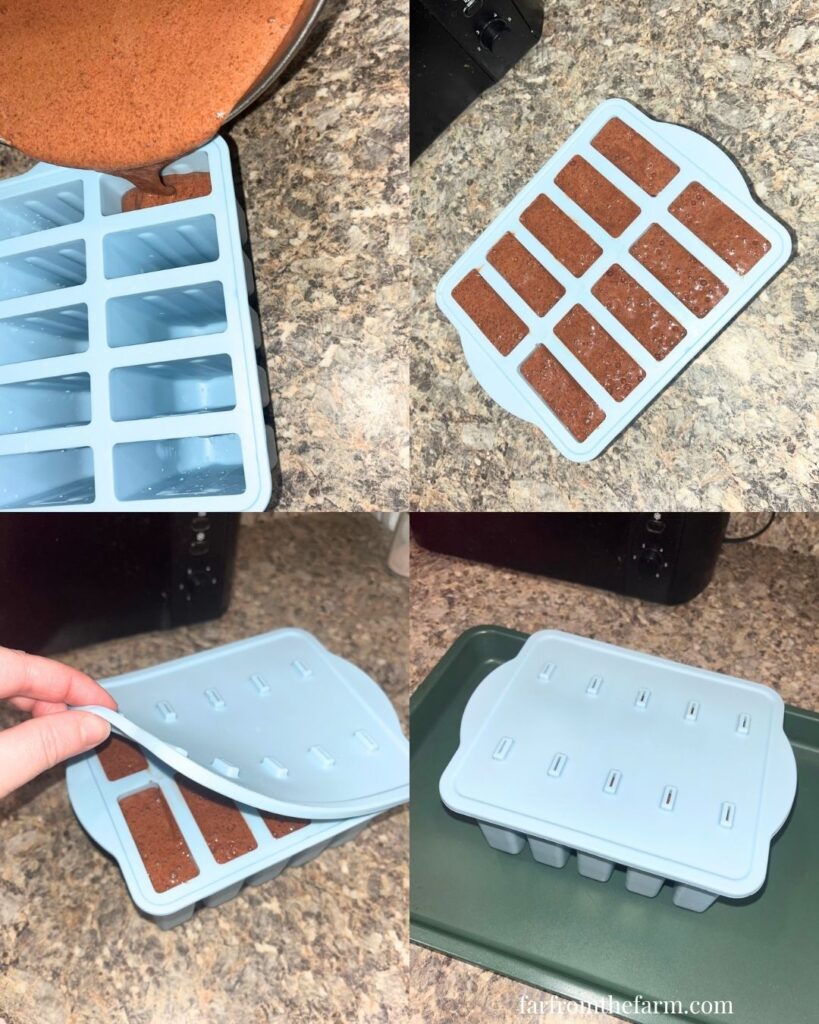
Act fast! Before the mixture fully sets, carefully pour it into your silicone popsicle mold.
A measuring jug helps massively here if you want less mess on the counters.
Step 4: Add the lid and popsicle sticks
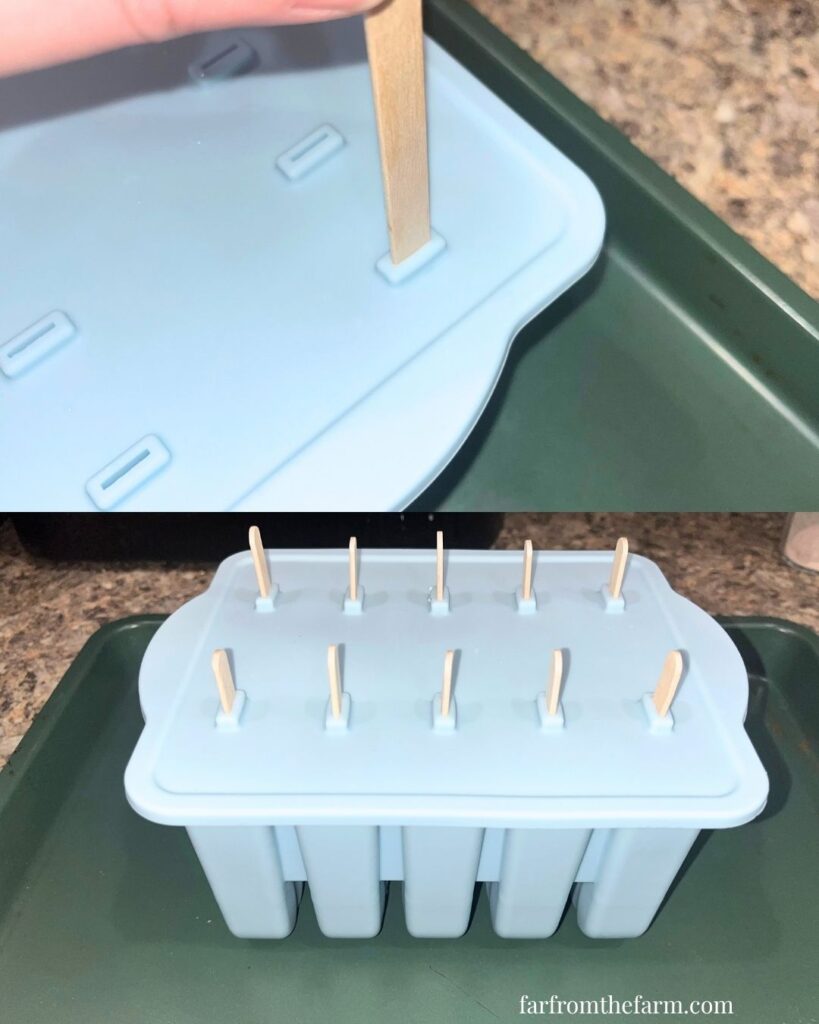
Place the silicone lid onto the mold and slide the popsicle sticks into place.
If your mold has small guide slots like mine, the sticks should stay centered nicely while freezing.
Step 5: Place onto a baking sheet
Set the filled mold onto a baking tray or cookie sheet before transferring it to the freezer.
This keeps everything flat and balanced so you do not end up carrying a wobbly tray of chocolate pudding through the kitchen.
Step 6: Freeze until solid
Freeze for 8 to 10 hours or overnight until completely firm.
I usually make these in the evening and leave them overnight.
Step 7: Loosen the popsicles
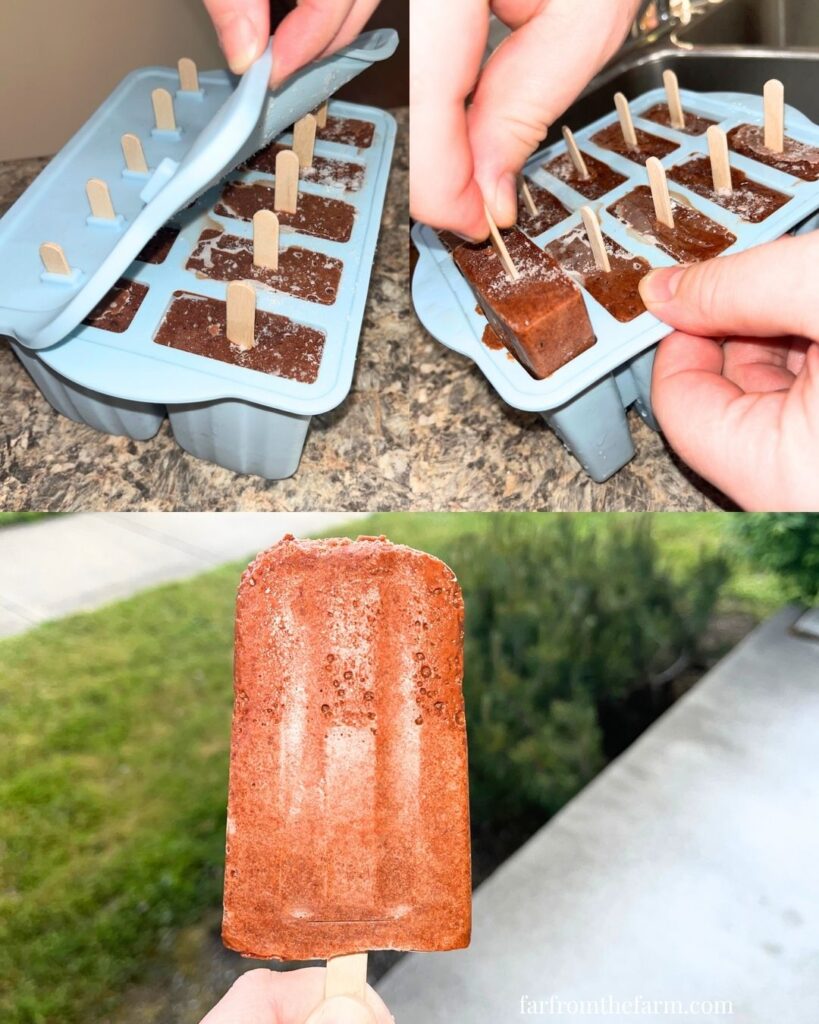
Once frozen solid, run the outside of the silicone mold briefly under lukewarm water or sit it in shallow lukewarm water for a few seconds.
Do not soak it for long or the popsicles will start melting too fast.
Step 8: Wrap and store
Remove the fudge pops one at a time and wrap individually in plastic wrap.
Place the wrapped popsicles into a large freezer-safe zip top bag and store in the freezer until needed.
Then try not to eat three in one evening. Easier said than done!
Notes and Troubleshooting
Notes
- Whole milk gives the creamiest texture but 2% and 1% both work well too.
- Chocolate fudge pudding mix specifically gives the closest flavor to classic fudge pops.
- These freeze surprisingly firm and creamy considering how simple the ingredients are.
- Silicone molds make removal much easier than hard plastic molds.
Troubleshooting
- My popsicles froze icy! Too much milk is usually the issue. Stick closely to the 3 cup measurement for the thickest texture.
- The pudding mixture got too thick before pouring. Work fairly quickly after mixing. If needed, whisk briefly again before pouring.
- My popsicles will not release from the mold. Run lukewarm water over the outside of the mold for a few seconds only. Silicone molds loosen much faster than expected.
- My popsicle sticks moved around. Place the filled mold onto the baking tray before inserting sticks so you are not moving the mold afterwards.
Storage
- Store the wrapped fudge popsicles in a freezer-safe zip top bag for up to 2 months.
- Wrapping them individually first helps stop freezer burn and keeps them from sticking together.
- If you want the best texture, allow them to sit at room temperature for 1 to 2 minutes before eating.
Serving Ideas
- After dinner during hot weather
- As a budget-friendly summer treat for kids
- Alongside backyard cookouts and BBQ nights
- With crushed cookies sprinkled over the top
- Drizzled with chocolate syrup for a homemade sundae vibe
- Straight from the freezer after a long military spouse day honestly
Why You’ll Love This Recipe!
- Only 2 ingredients needed
- Tastes shockingly close to store bought fudge pops
- Budget friendly for families
- Easy enough for kids to help make
- Rich creamy texture without heavy cream
- Great freezer treat to prep ahead
- No cooking required
- Perfect for hot weather and summer snacking
FAQ
Can I use sugar free pudding mix?
Yes! That is actually what I used here and it works beautifully.
Can I make it taste more chocolatey?
Absolutely – if it’s your preference add additional packages of instant pudding mix. Make sure for each additional 1.4 oz instant pudding mix that you add another 1 1/2 cups of milk.
Can I use chocolate pudding instead of chocolate fudge?
You can, but chocolate fudge pudding gives a richer flavor and thicker texture closer to classic fudge pops.
Can I make these without a stand mixer?
Absolutely. A hand mixer works perfectly.
How long do they take to freeze?
Usually around 8 to 10 hours depending on your freezer.
Can I double the recipe?
Yes, very easily. Just make sure you have enough popsicle molds or freeze in batches.
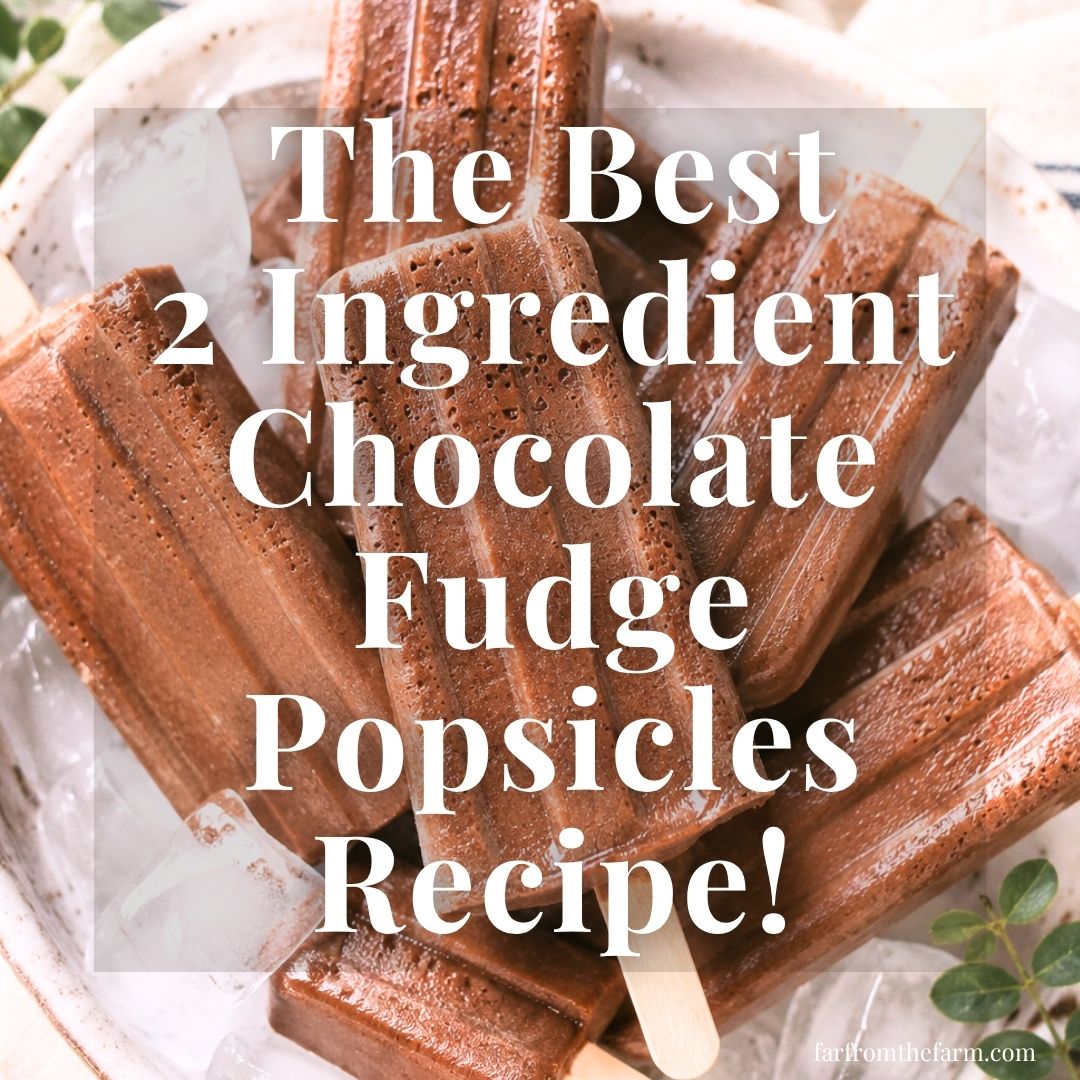
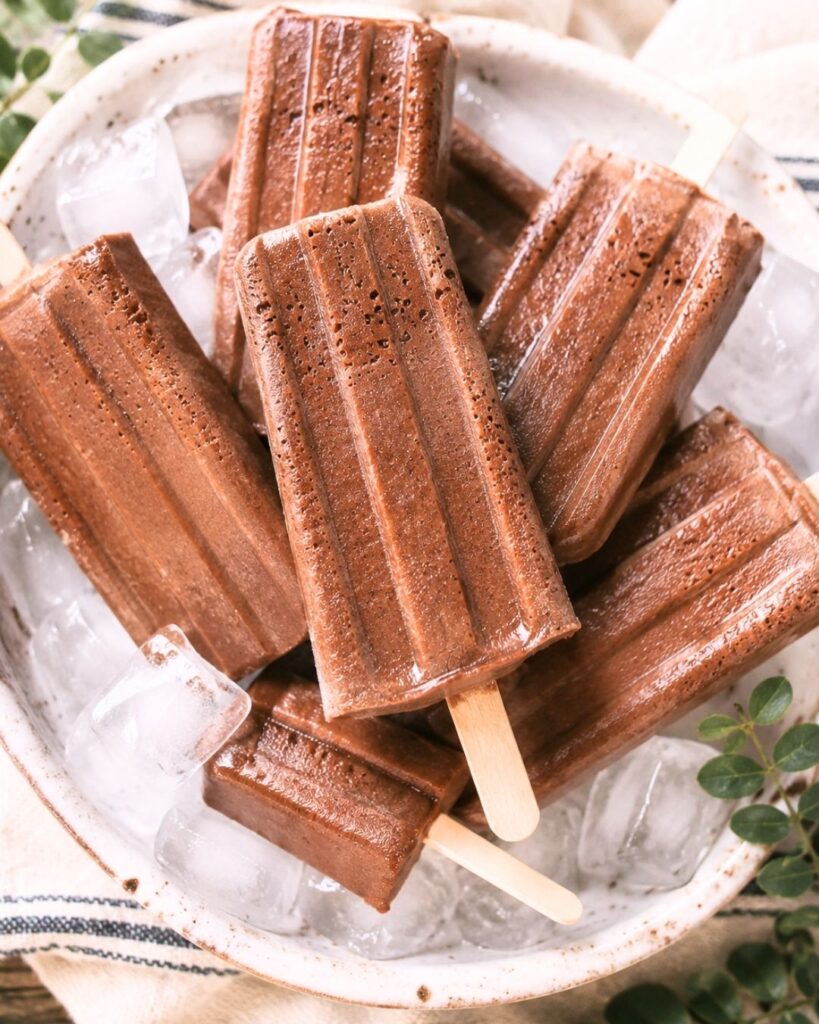
The Best 2-Ingredient Chocolate Fudge Popsicles Recipe!
Ingredients
Equipment
Method
- Pour the milk into a large mixing bowl and add both boxes of chocolate fudge instant pudding mix.
- Using a stand mixer or hand mixer, beat the mixture for 2 to 3 minutes until slightly thickened and bubbly.
- Quickly pour the pudding mixture into a silicone popsicle mold before it fully sets.
- Place the lid on the mold and insert the popsicle sticks.
- Transfer the filled mold onto a baking sheet or tray to keep it level.
- Freeze for 8 to 10 hours or overnight until fully solid.
- To remove, briefly run the outside of the mold under lukewarm water for a few seconds.
- Remove popsicles one at a time and wrap individually in plastic wrap.
- Store wrapped popsicles in a freezer-safe zip top bag in the freezer for up to 2 months.
Notes
- Whole milk gives the creamiest texture but 2% and 1% both work well too.
- Chocolate fudge pudding mix specifically gives the closest flavor to classic fudge pops.
- These freeze surprisingly firm and creamy considering how simple the ingredients are.
- Silicone molds make removal much easier than hard plastic molds.
Storage
- Store the wrapped fudge popsicles in a freezer-safe zip top bag for up to 2 months.
- Wrapping them individually first helps stop freezer burn and keeps them from sticking together.
- If you want the best texture, allow them to sit at room temperature for 1 to 2 minutes before eating.
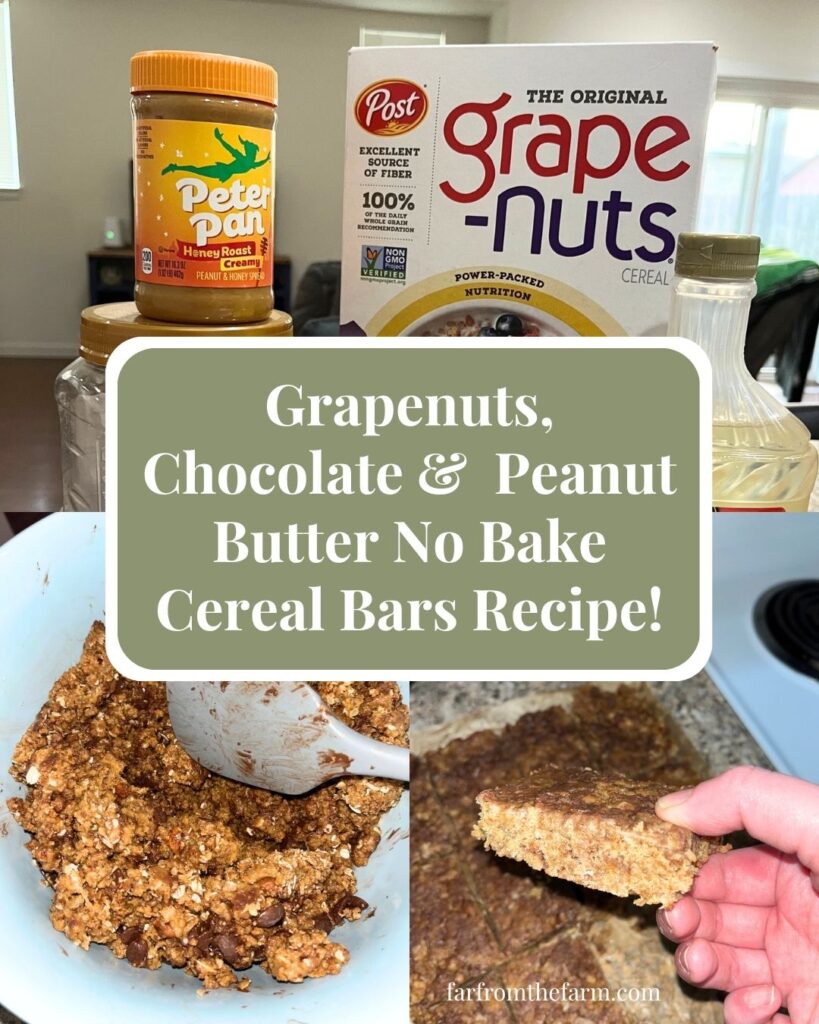
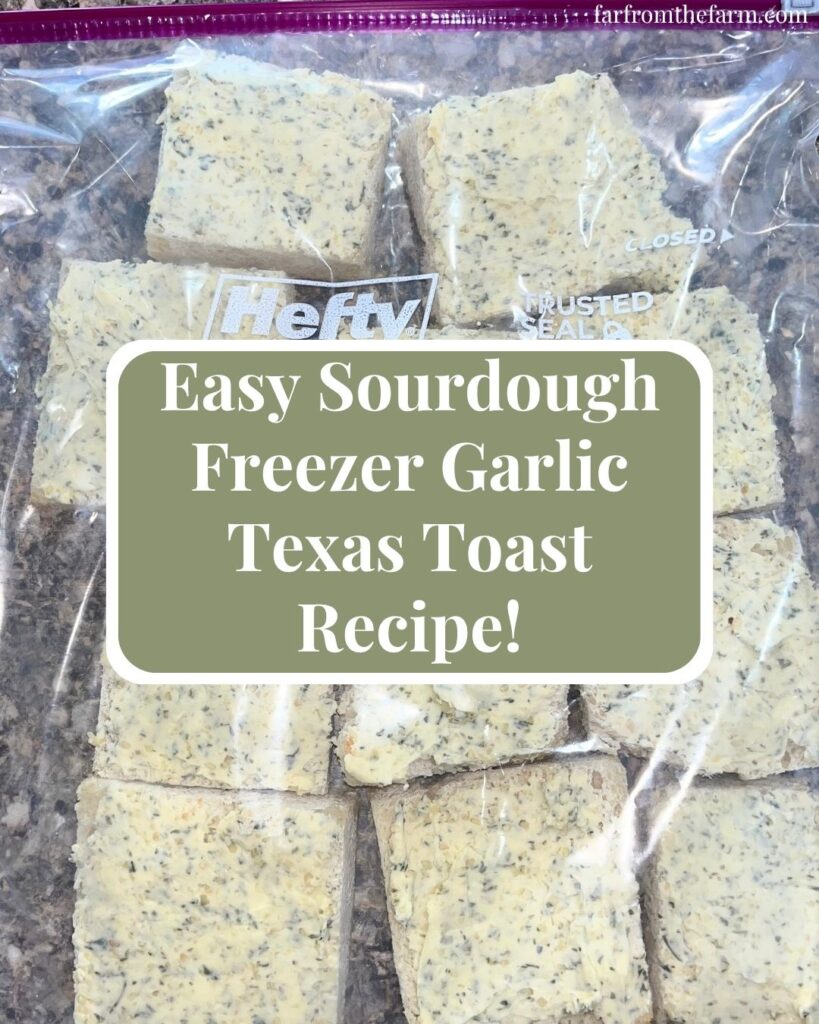
Related Recipes
- Check out all our other Easy Dessert Recipes!
Nutrition information is automatically calculated, so should only be used as an approximation.
The Takeaway
Some of the best homemade recipes really do come from desperation and a random pantry clean out.
These easy fudge pops have saved us so much money over time and genuinely taste like a treat instead of a “budget version” of something better!
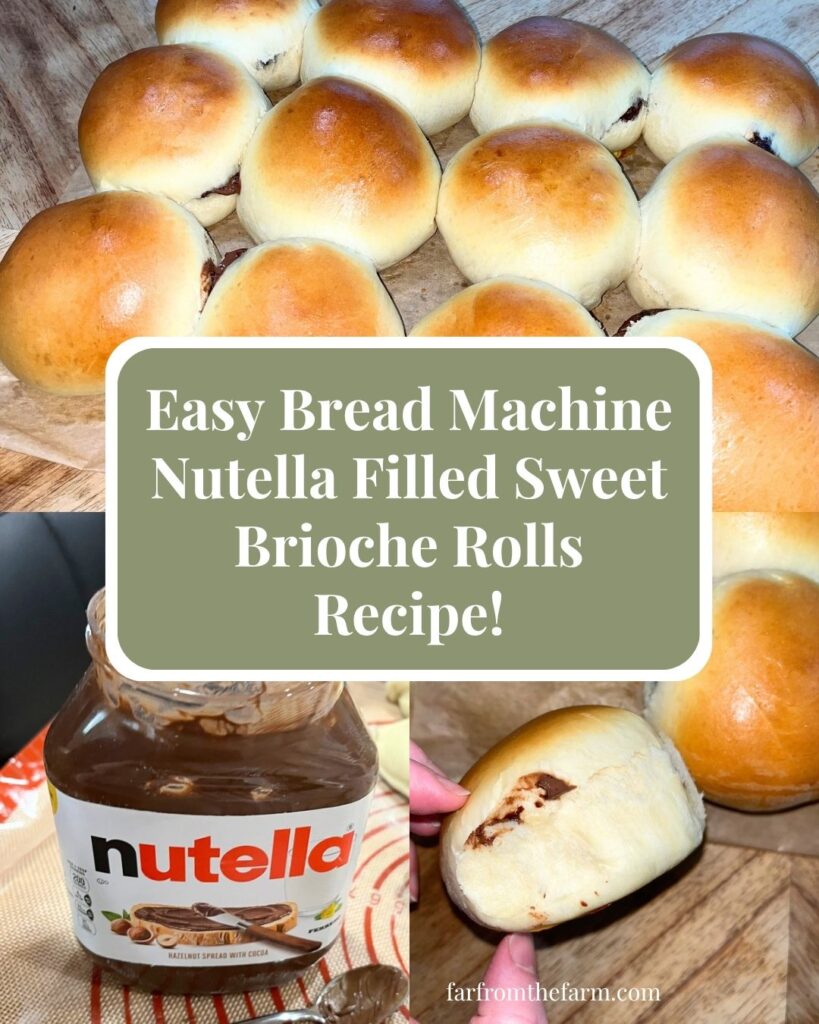
What to Try Next?!
Share & Rate This Recipe!
If these homemade fudge pops become a freezer staple in your home too, I’d love if you could leave a quick review on the recipe card and share the recipe with a fellow chocolate lover!
Last update on 2026-06-26 / Affiliate links / Images from Amazon Product Advertising API