Understanding your bread machine is the first step toward baking consistently beautiful homemade bread!
Hi! If you’ve been following me for long you’ll already know this, but for those who are new, welcome to Far From The Farm.
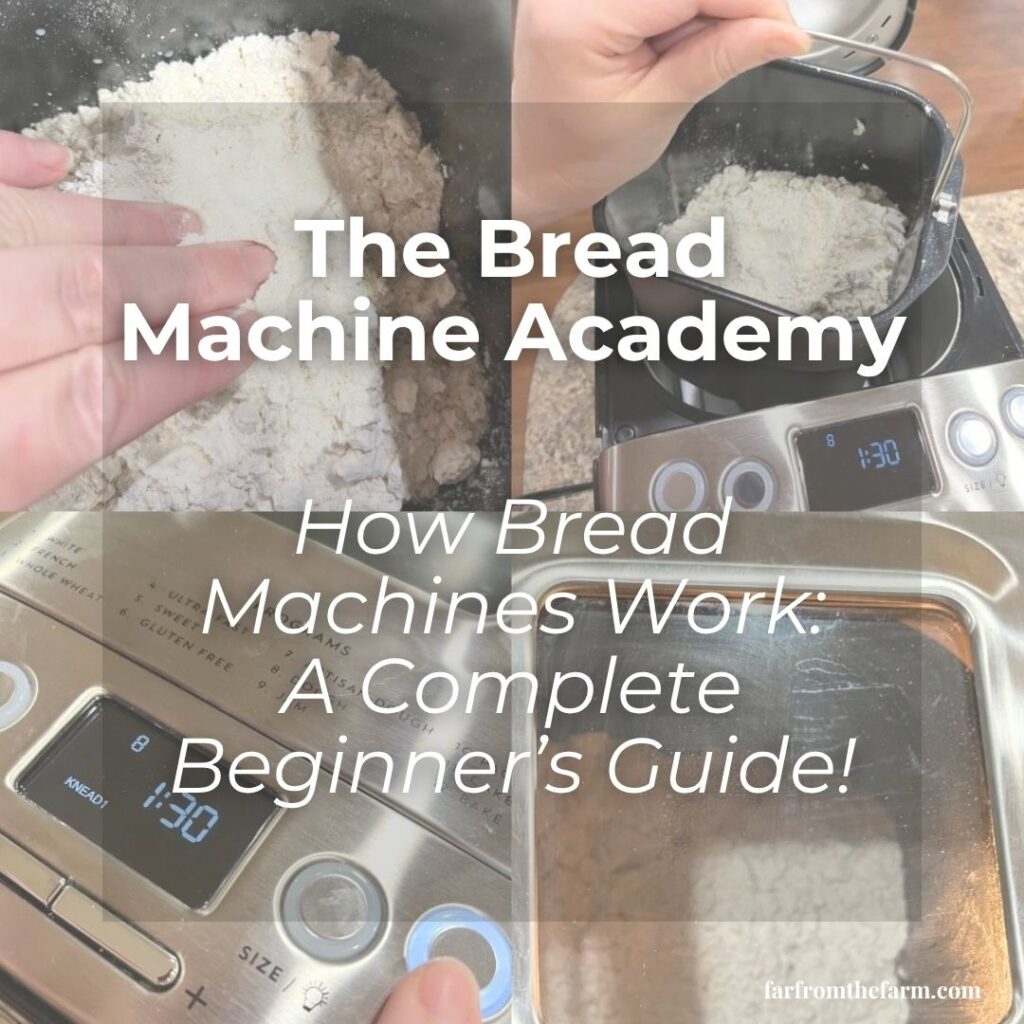
I’m Mona, the Brit behind The Bread Machine Academy. This is where I share the skills, techniques, and troubleshooting tips I’ve learned through hundreds of loaves, so you can bake with confidence and understand what’s happening every step of the way!
One of the questions I hear most often from new bread machine owners is, “What is my machine actually doing in there?”
It’s a fair question. You add a handful of simple ingredients, press Start, and a few hours later there’s a loaf of fresh bread waiting for you. It almost feels like magic.
The reality is much more interesting.
A bread machine is really a small, programmable baker. It mixes your ingredients, kneads the dough, controls the temperature while the dough rises, bakes the loaf, and then keeps it warm until you’re ready to take it out.
Once you understand what happens during each stage, it becomes much easier to troubleshoot recipes, recognize when something has gone wrong, and bake consistently good bread!

What Is a Bread Machine?
A bread machine (also called a bread maker) is a countertop appliance designed to automate the bread-making process.
Instead of mixing dough by hand or using a stand mixer, everything happens inside the removable bread pan.
Most modern bread machines can:
- Mix ingredients
- Knead dough
- Proof (rise) dough
- Bake bread
- Keep bread warm after baking
Many models can also prepare pizza dough, dinner roll dough, jam, cake, gluten-free bread, and even yogurt depending on the manufacturer.
What Happens Inside a Bread Machine?
Although every manufacturer programs their machines slightly differently, almost every loaf follows the same basic stages…
Stage 1: Mixing the Ingredients
After you press Start, the paddle at the bottom of the bread pan begins turning.
Its first job is simple.
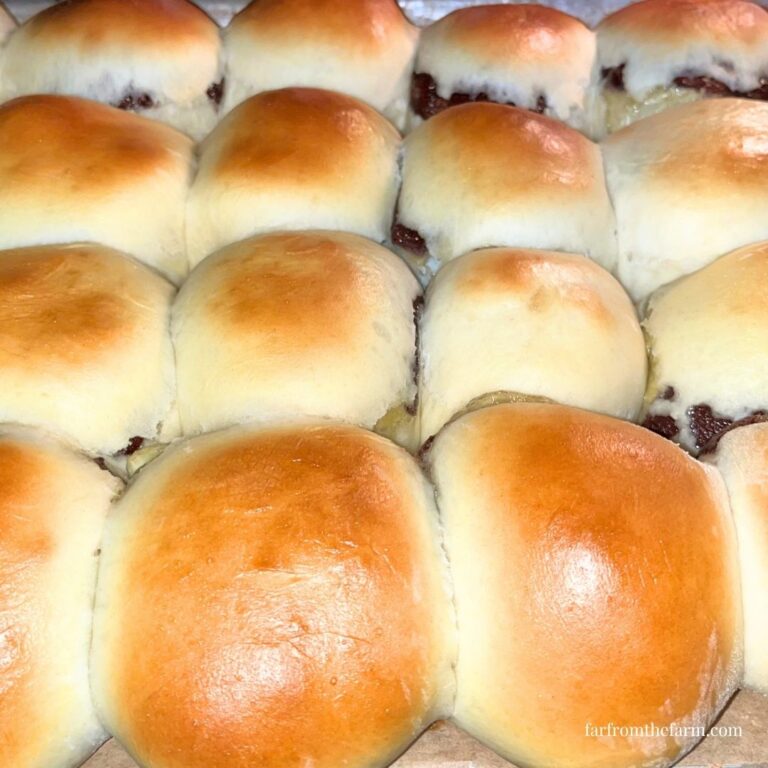
It combines the flour, water, yeast, salt, sugar, butter, eggs, milk powder, and any other ingredients into one rough dough.
At this stage the dough usually looks messy.
That’s completely normal.
Stage 2: Kneading the Dough
Once everything is combined, the paddle continues turning.
This is where the real work begins.
Kneading stretches and folds the dough over and over again, helping gluten develop into long elastic strands.
Those gluten strands are what trap the gas produced by the yeast later during the rise.
Without proper kneading, bread would be dense, crumbly, and flat.
Why Gluten Matters!
Gluten isn’t something the machine adds.
It’s naturally formed when wheat flour is mixed with liquid and kneaded.
Think of gluten as thousands of tiny elastic bands woven throughout your dough.
As the yeast produces carbon dioxide, those elastic strands stretch instead of bursting.
That’s what allows bread to rise into a soft, fluffy loaf.
The Dough Ball: The Most Important Thing You’ll Learn!
If there’s one habit that will improve your bread more than anything else, it’s checking your dough during the first kneading cycle.
Lift the lid after about 5 to 10 minutes.
The dough should form a smooth, soft ball that moves around the pan without sticking excessively to the sides.
If it’s dry and crumbly, add water one teaspoon at a time.
If it’s wet and sticky like batter, add flour one tablespoon at a time.
Even experienced bakers do this because flour absorbs moisture differently depending on the brand, humidity, altitude, and even the season.
Related lesson: How to Read a Bread Machine Dough Ball!
Stage 3: The First Rise
After kneading finishes, the paddle stops.
Now the bread machine quietly controls the temperature inside the baking chamber.
Most machines keep the dough comfortably warm, creating ideal conditions for the yeast to wake up and begin fermenting.
As yeast feeds on the sugars in the dough, it releases carbon dioxide gas.
Those tiny bubbles become trapped inside the gluten network, causing the dough to expand.
This is what makes bread rise.
Stage 4: Knock Down or Punch Down
Many bread machines briefly restart the paddle after the first rise.
This surprises new bakers, but it’s completely intentional.
The short knead gently deflates the dough.
But why?
Because large air pockets are broken up and the yeast is redistributed throughout the dough.
The second rise is usually stronger and produces a more even crumb.
Stage 5: The Final Rise
After the dough is knocked back, it rises one final time.
This is when the loaf develops its final size before baking.
It’s also the stage where many common problems become obvious.
If the dough rises too much, it may collapse during baking.
If it doesn’t rise enough, the finished loaf may be short and dense.
Understanding this stage makes troubleshooting much easier.
Stage 6: Baking
Once the final rise is complete, the heating element switches to baking mode.
The dough undergoes several changes.
The yeast continues working until the internal temperature becomes too hot.
The trapped gases expand rapidly during the first few minutes of baking, creating what’s called oven spring.
Then the proteins and starches set permanently, giving the loaf its final structure.
Finally, the outside of the loaf browns as natural sugars caramelize and the Maillard reaction creates that beautiful golden crust.
Stage 7: Keep Warm
Most bread machines automatically switch to a Keep Warm setting after baking finishes.
This keeps the loaf warm without continuing to bake it aggressively.
While it’s convenient, I usually recommend removing the bread within about 15 to 30 minutes.
Leaving bread in the pan too long can create excess condensation, resulting in a softer crust.
FAQs
The kneading paddle remains inside the loaf while it bakes.
Most bread machines leave a small hole where the paddle is removed.
Some premium machines automatically fold the paddle down before baking, but most do not.
Follow your bread machine’s manual.
Some machines are designed for room-temperature ingredients, while others include a preheat stage and can handle refrigerated ingredients without issue.
Follow your bread machine’s manual.
Some machines are designed for room-temperature ingredients, while others include a preheat stage and can handle refrigerated ingredients without issue.
Many newer bread machines include a preheat or rest period.
This often confuses first-time users because nothing appears to be happening.
Don’t worry. Your machine hasn’t frozen.
During this pause, it’s bringing cold ingredients closer to the ideal temperature for yeast activity.
Some machines skip this feature altogether, while others include it on certain cycles only.
hose beeps aren’t random. Many machines alert you when it’s time to add ingredients that shouldn’t be mixed from the beginning.
Examples include:
- Raisins
- Chocolate chips
- Nuts
- Seeds
- Dried fruit
Adding them later prevents them from being crushed during kneading.
Yes. During mixing and kneading, opening the lid briefly is perfectly safe and is actually encouraged so you can check the dough.
Once baking begins, however, avoid opening the lid unless absolutely necessary.
Opening it releases heat and may affect the final loaf.
The basic process is almost identical across brands.
However, machines vary in:
- Number of kneading cycles
- Rise times
- Heating temperatures
- Loaf sizes
- Available programs
- Paddle design
- Preheat features
That’s why a recipe may behave slightly differently in two different machines.
The Takeaway
Once you understand what your bread machine is doing behind the scenes, baking becomes much less intimidating.
You’ll know why your dough is rising, what the kneading paddle is doing, why the machine sometimes pauses, and when it’s worth lifting the lid to check on your dough.
The more you understand the process, the easier it becomes to troubleshoot recipes, make adjustments with confidence, and bake consistently delicious homemade bread!
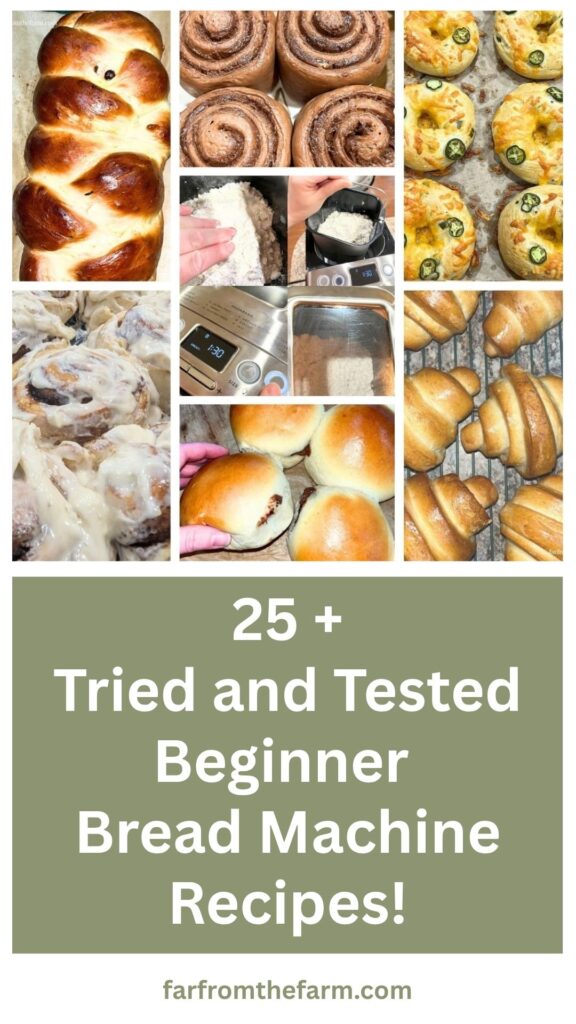
Continue Learning in the Bread Machine Academy!
Ready for the next lesson?
- Understanding Bread Ingredients
- Bake Your First Loaf
- Common Bread Machine Mistakes
- Bread Machine Recipes Hub
Why You’ll Love Using a Bread Machine In Your Kitchen!

If you’re new here, you’ll quickly learn that I am such a fan of using a bread machine for dough. It has been one of the biggest helps in my kitchen, especially during busy or overwhelming seasons.
My parents gifted me this little Compact Cuisinart Bread Machine recently when I moved from the UK to the States after getting married, and it has worked like a little powerhouse ever since!

It kneads beautifully. It rises dough evenly. It keeps everything contained in one pan so I am not dealing with flour across every surface of the kitchen.
And on days where the house feels chaotic or I am juggling too much, I can add the ingredients, press the dough button, and let it get on with the work while I focus on everything else.
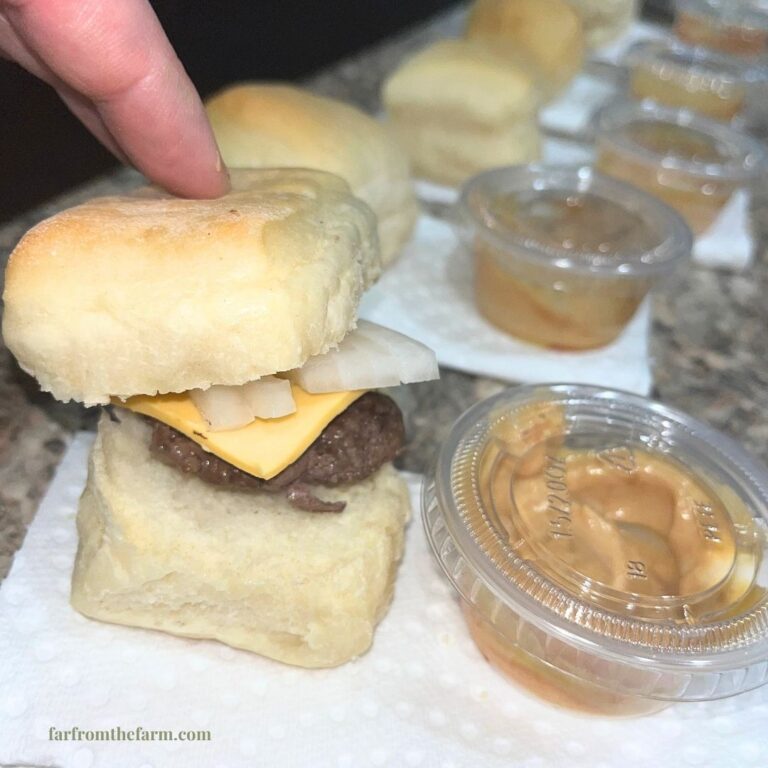
It takes away so much of the guesswork and makes homemade bread, pizza dough, cinnamon rolls, soft rolls, and sweet bakes feel much simpler.
It has also been a real blessing for our budget. Homemade dough costs pennies compared to store prepared versions and certainly compared to eating out. As a military family on baby step 2 of our debt free journey, little savings like that matter across an entire month.
Check out The Bread Machine Academy today!
Learn bread machine baking with beginner-friendly guides on flour, yeast, ingredients, troubleshooting, dough cycles, tips, and techniques!
If you have ever felt intimidated by bread making, this is your gentle nudge to give it a try. A dough cycle handles all the kneading for you.
You get soft, reliable, fluffy dough without standing over a counter for ages or worrying if things rose the way they should. It makes homemade cooking feel doable, even on days that are far from calm.
There are so many beginner friendly ideas to help you feel confident and excited about homemade dough!