Learn How to Simplify Making Stuffed Manicotti at Home with this Easy Step-By-Step Guide Complete with From-Scratch Sauce Recipe and Video Tutorial!
Hi! If you’ve been following me for long you’ll already know this, but for those who are new, welcome to Far From The Farm. I’m Mona, the Brit behind the recipes, learning life and food in the States while sharing our debt-free journey and what’s on the menu in our home today!
There are some recipes that feel so involved that you keep putting them off. Not because you do not want them, but because the idea of all the steps feels heavier than the craving. For me, manicotti was one of those dishes.
Every time I thought about it, my brain jumped straight to boiling pasta, mixing fillings, stuffing tubes, making sauce, baking, cleaning up. It felt like too much for a normal day.
So I just never made it.
Then one night my husband asked if we could try manicotti again. He loves pasta. All pasta. Especially anything Italian inspired and baked with lots of cheese. And I realised that if I wanted this to become something we could actually enjoy at home, I needed to figure out how to simplify it into something realistic.
That is where this make-ahead freezer meal version was born!
I wanted a manicotti recipe that could be prepped from start to finish in under an hour, frozen flat, and baked later without stress. I also wanted it to feel filling and satisfying enough to stand on its own, not a small portion that needed three sides to make it work.
Adding shredded chicken did exactly that. It boosts the protein, stretches the filling, and turns this into a true family meal that feeds everyone well. It also makes leftovers more substantial, which matters in real life.
Instead of the heavy Alfredo based sauces you often see paired with manicotti, this version uses a spicy marinara. My husband prefers a little heat, and honestly, it balances the richness of the ricotta and cheese beautifully. It feels lighter, brighter, and more weeknight friendly.

And do not skip the broiling step. That bubbly, golden cheese layer on top is worth the extra five minutes. I promise.
This is also one of those meals that makes sense for where we are right now. As a military family on baby step 2 of our debt free journey, cooking more meals at home and relying on freezer dinners is one of the easiest ways we stretch our grocery budget.
Every freezer meal we make ourselves is one less expensive takeout night later!
And just a reminder that if you’re struggling and you need help with managing your budget or starting your own debt free journey then here’s some FREE resources below you may find helpful!
living frugally and fully
free tips and resources to make the most of what you have
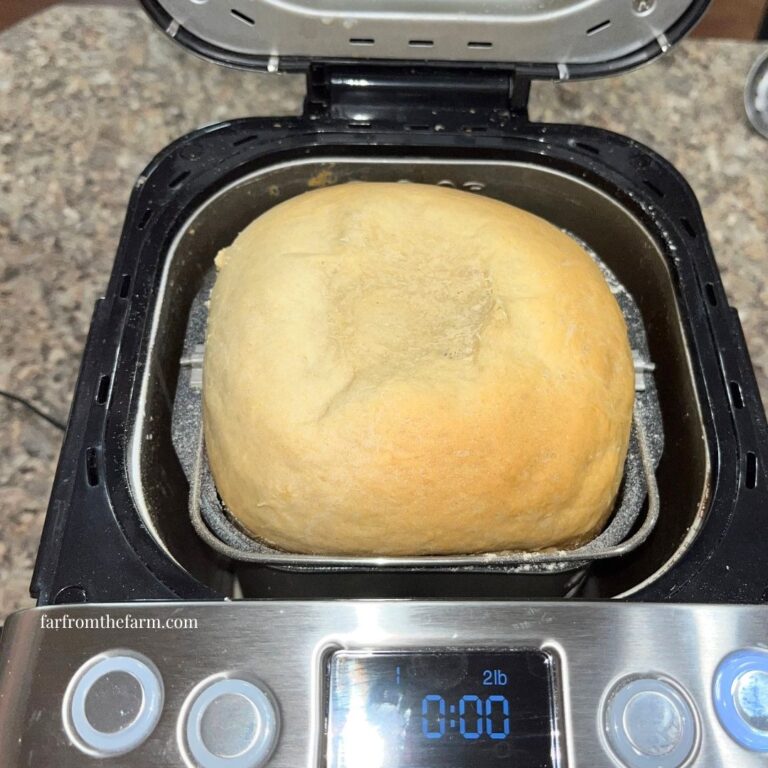
As always, these photos are from my real kitchen here in our sweet military base home. No AI recipe images or staged lighting or spotless marble counters. Just real life and real food made in a small space. Proof that you can feed your family well without needing a dream kitchen or fancy tools!
So roll up your sleeves and head into the kitchen to make a comforting, freezer friendly manicotti dinner that actually fits into busy life!
Equipment
- Large bowl
- Smaller bowls
- Measuring cups and spoons
- Large pot
- Colander
- Can opener
- Silicone spatula or spoon
- Zip top bag or piping bag
- Scissors
- Ladle
- 9 x 13 inch baking dish
Available on Amazon.com [ad]


Ingredients
Serves 4 to 6
Pasta
- 8 oz manicotti pasta
Available at Amazon.com [ad]

Filling
- 2 cups cooked shredded chicken
- 15 oz ricotta cheese
- 1 cup shredded mozzarella
- 1/4 cup grated parmesan
- 1/4 tsp salt
- 1/4 tsp ground black pepper
- pinch nutmeg
- 1 tsp garlic powder
- 2 tsp Italian Seasoning
- 1 large egg, beaten
Spicy Marinara Sauce
- 2 tbsp olive oil
- 2 tbsp butter
- 2 tbsp minced garlic
- 1 tbsp onion powder or 1/4 cup diced onion
- 2 tbsp dried oregano
- 1 to 2 tsp red pepper flakes
- 1 tsp dried basil
- 24 to 28 oz canned crushed tomatoes
- 2 tbsp white sugar
- 1 tsp balsamic vinegar
Topping
- 1 cup shredded mozzarella
Step By Step Instructions
Step 1: Prep the pasta
Bring a large pot of salted water to a boil. Add the manicotti and cook for 2 minutes less than the package instructions. For the brand you see me using here that’s about 7 minutes. You want the pasta flexible but not fully soft so it does not tear while stuffing.
Drain and rinse under cold water to stop the cooking and cool the pasta quickly.

Step 2: Make the filling
In a large bowl, mix the shredded chicken, ricotta, mozzarella, parmesan, egg, salt, pepper, nutmeg, garlic powder, and oregano. Mixing by hand works best, even though it gets a little messy.
Transfer the mixture to a zip top bag or piping bag. Snip the corner and set aside.
Step 3: Make the sauce
In a saucepan, melt the butter with the olive oil over medium heat. Add the garlic, onion powder or diced onion, oregano, red pepper flakes, and basil. Cook for 1 to 2 minutes until fragrant.
Stir in the crushed tomatoes and simmer for 5 minutes. Add the sugar and balsamic vinegar, stir well, then remove from the heat.
Step 4: Assemble
Spoon a small amount of sauce into the bottom of a 9 x 13 inch baking dish.
Step 5: Stuff the pasta
Pipe the filling into each manicotti shell and arrange them in the dish. If a shell splits, do not stress. Place it seam side down.
If you have extra pasta or filling, break the pasta and layer it in. It all bakes together beautifully and you can’t tell any how once’s all covered with sauce and cheese!

Step 6: Sauce and cheese
Pour the remaining sauce evenly over the pasta. Sprinkle the remaining mozzarella over the top.

Step 7: Cover and freeze
Cover the dish tightly with foil. Label and freeze.

Step 8: Baking Instructions
For best results, thaw the manicotti overnight in the refrigerator. Then remove it from the fridge about 30 minutes before baking so it can come to temperature.
Bake at 375°F for 30 minutes covered with foil. Remove the foil and check that the center is hot all the way through.

If the dish is fully heated, broil uncovered for 5 minutes until the cheese is golden and bubbly.
If it is not hot through yet, return it to the oven covered for an additional 5 to 10 minutes, then finish with the broiling step.
After baking, let the manicotti rest for 5 minutes before serving so the sauce can settle. We love serving this with garlic bread or a simple salad for a hearty, family friendly meal.
If you forget to thaw it overnight, you can speed things up by taking the dish out of the freezer and letting it sit on the counter for at least 6 hours before baking. Once partially thawed, bake following the same instructions above.

Notes and Troubleshooting
Notes
- This can be baked immediately without freezing, just assemble as written and skip ahead to the cooking instructions.
- Double the recipe and freeze one for later to save time.
- Rotisserie or canned chicken both work well here.
- You could use jar Marinara sauce instead of making your own to make the process a little quicker.
Troubleshooting
- Shells tearing? They were overcooked. Boil less next time.
- Too spicy? Reduce red pepper flakes.
- Dry pasta edges? Add a little extra sauce before baking.
Storage
- Refrigerate leftovers in an airtight container for up to 3 days.
- Freeze assembled manicotti for up to 3 months.
- Reheat covered to keep the pasta tender.
Serving Ideas
- Serve with garlic bread or breadsticks
- Pair with a simple green salad
- Add roasted vegetables on the side
- Perfect as a standalone freezer dinner

Why You’ll Love This Recipe?!
- Hearty and filling
- Freezer friendly
- Simplified prep
- Protein packed
- Family approved comfort food
FAQ
Can I skip the chicken?
Yes. Replace with extra ricotta or spinach.
Can I make this less spicy?
Absolutely. Use less red pepper flakes or omit entirely.
Can I use store bought sauce?
Yes. Choose a spicy marinara you enjoy.
Make This Recipe With Me!
Sometimes it’s just easier to watch a video than read a recipe card isn’t it?! So here’s a quick tutorial on how to make this simple and delicious recipe at home and on a budget – thank you for joining me in the kitchen today!

Make Ahead Stuffed Chicken and Ricotta Manicotti Freezer Meal Recipe with a Spicy Marinara Sauce!
Ingredients
Equipment
Method
- Bring a large pot of salted water to a boil. Cook manicotti for 2 minutes less than package directions so the shells stay flexible. Drain and rinse under cold water to stop cooking. Set aside.
- In a large bowl, mix shredded chicken, ricotta, mozzarella, parmesan, beaten egg, salt, pepper, nutmeg, garlic powder, and oregano until well combined. Transfer the mixture to a zip top bag or piping bag and snip the corner.
- Heat olive oil and butter in a saucepan over medium heat. Add garlic, onion powder or diced onion, oregano, red pepper flakes, and basil. Cook for 1 to 2 minutes until fragrant. Stir in crushed tomatoes and simmer for 5 minutes. Add sugar and balsamic vinegar, mix well, then remove from heat.
- Spoon a small amount of sauce into the bottom of a 9 x 13 inch baking dish. Pipe the filling into each manicotti shell and arrange in the dish. If shells split, place seam side down. If extra pasta breaks, layer it into the dish.
- Pour the remaining sauce evenly over the manicotti. Sprinkle with the remaining shredded mozzarella.
- Cover tightly with foil. Freeze for up to 3 months. If you want to make this straight away skip the freezing and go to the next step.
- If frozen, thaw overnight in the refrigerator. Remove from the fridge 30 minutes before baking.If you forget to thaw it overnight, set the dish on the counter for at least 6 hours before baking, then continue with the same baking steps below.Bake at 375°F for 30 minutes covered with foil.Remove the foil and broil for 5 minutes until the cheese is golden and bubbly.Let rest for 5 minutes before serving. Enjoy!
Video
Notes
- This recipe can be baked immediately without freezing.
- Rotisserie or canned chicken both work well.
- Double the recipe to make two freezer meals at once.
- You could use jar Marinara sauce instead of making your own to make the process a little quicker.
Storage
- Refrigerate leftovers up to 3 days in an airtight container.
- Freeze assembled manicotti up to 3 months.
- Reheat covered to keep pasta tender.
Related Recipes
- Learn how to easily make Instant Pot Shredded Chicken
- Check out all our delicious Pasta Recipes
Nutrition information is automatically calculated, so should only be used as an approximation.

The Takeaway
This manicotti recipe and step-by-step guide takes something that once felt overwhelming and turns it into a doable, freezer friendly dinner that fits real life. It is comforting, filling, and practical.
Exactly the kind of meal that keeps busy weeks running smoothly, fills your family’s bellies with good home cooked food, and keeps food costs under control!
What to Try Next?!


Share & Rate This Recipe!
If this freezer manicotti earns a spot in your dinner rotation, tap the stars and leave a quick comment. Sharing helps other families cook well at home too.
Last update on 2026-06-28 / Affiliate links / Images from Amazon Product Advertising API