
How to Make Beginner-Friendly Homemade Bagels with a Bread Machine
So Why Make Bagels in the Bread Machine?
Hi! If you’ve been following me for long you’ll already know this, but for those who are new, welcome to Far From The Farm. I’m Mona, the Brit behind the recipes, learning life and food in the States while sharing our debt-free journey and what’s on the menu in our home today!
And If you’ve been here for a while, you already know how much I’ve fallen in love with American baked goods.
The sheer variety here is something else, and bagels are near the top of my list.
From corner delis to supermarket bakeries, every town seems to have its own spin. But those bakery trips add up fast!
So when my parents surprised me with a little compact bread maker shortly after I moved here from the UK, I decided to see if I could make bakery-style bagels at home.
After a few messy attempts and some trial runs, this recipe finally hit the sweet spot for our family.
Making food at home is one of the ways that we’re able to stay on track with our minimal grocery budget whilst saving on baby step 2 of our debt free journey. So every bagel or loaf or pizza dough we make at home really helps!
And just a reminder that if you’re struggling and you need help with managing your budget or starting your own debt free journey then here’s some FREE resources below you may find helpful!
living frugally and fully
free tips and resources to make the most of what you have
These plain bagels are the best place to start if you’re new to bread machine baking. The boiling step can sound intimidating, but I’ll walk you through it.
And once you’ve got this base recipe down, you’ll have a solid foundation to experiment with flavors later!
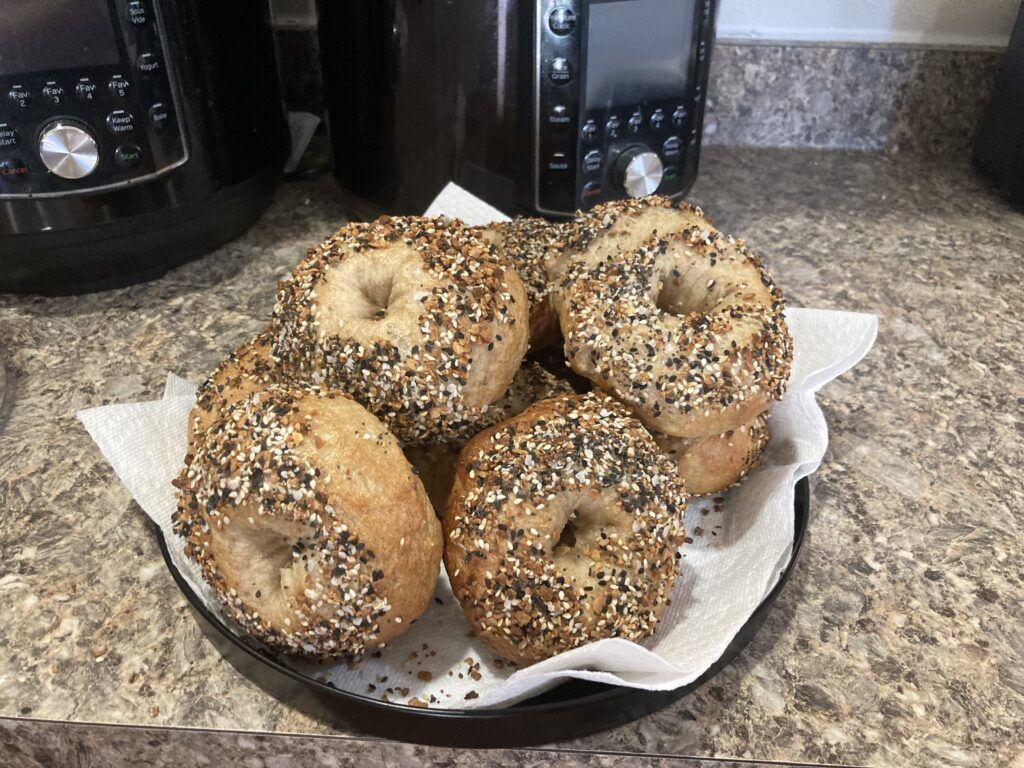
As always, these photos are from my real kitchen here in our sweet military base home. No AI recipe images or staged lighting or spotless marble counters. Just real life and real food made in a small space. Proof that you can feed your family well without needing a dream kitchen or fancy tools!
So let’s head in to the kitchen to make the tastiest homemade bagels the whole family will love!
Recipe Disclaimer
All Far From The Farm recipes are shared as a guide based on what works in my home kitchen. Results may vary depending on your ingredients, equipment, and cooking setup, so always use your own judgement. Please check all ingredients for allergies, intolerances, or dietary needs before making any recipe. Far From The Farm is not responsible for any reactions or outcomes from the use of these recipes. Nutritional information is an estimate only.
Mona – Far From The Farm
Why You’ll Love Using a Bread Machine In Your Kitchen!
If you’re new here, you’ll quickly learn that I am such a fan of using a bread machine for dough. It has been one of the biggest helps in my kitchen, especially during busy or overwhelming seasons.
My parents gifted me this little Compact Cuisinart Bread Machine recently when I moved from the UK to the States after getting married, and it has worked like a little powerhouse ever since!

It kneads beautifully. It rises dough evenly. It keeps everything contained in one pan so I am not dealing with flour across every surface of the kitchen.
And on days where the house feels chaotic or I am juggling too much, I can add the ingredients, press the dough button, and let it get on with the work while I focus on everything else.
It takes away so much of the guesswork and makes homemade bread, pizza dough, cinnamon rolls, soft rolls, and sweet bakes feel much simpler.
It has also been a real blessing for our budget. Homemade dough costs pennies compared to store prepared versions and certainly compared to eating out. As a military family on baby step 2 of our debt free journey, little savings like that matter across an entire month.
Check out The Bread Machine Academy today!
Learn bread machine baking with beginner-friendly guides on flour, yeast, ingredients, troubleshooting, dough cycles, tips, and techniques!
If you have ever felt intimidated by bread making, this is your gentle nudge to give it a try. A dough cycle handles all the kneading for you.
You get soft, reliable, fluffy dough without standing over a counter for ages or worrying if things rose the way they should. It makes homemade cooking feel doable, even on days that are far from calm.
Browse Bread Machine Recipe Type
There are so many beginner friendly ideas to help you feel confident and excited about homemade dough – join the Facebook group today and share recipes and tips for perfect bread, every time!
Join our new Facebook Group!
THE BEST BREAD STARTS WITH THE RIGHT COMMUNITY…
Beginner-Friendly Bread Machine and Bread Recipes is our new Facebook group for home bakers who want bread baking to feel simple, doable, and encouraging.

Equipment
- Bread machine with a dough cycle (I use my Cuisinart Compact Bread Maker daily)
- Measuring spoons, cups and 1 cup measuring jug
- Plastic wrap
- 2 baking sheets lined with parchment paper
- Large pot for boiling bagels
- Spider strainer ladle (saves time and burns)
- Fork and pastry brush (for egg wash)
- Cooling rack
Available on Amazon.com [ad]


Ingredients
For the Dough:
- 1 cup plus 2 tbsp warm water (from faucet, not too hot, about 100–110°F is perfect)
- 2 tbsp white granulated sugar
- 2 & 1/4 tsp bread machine yeast (equivalent to 1 packet)
- 3 cups flour (all purpose or bread flour, both work fine)
- 1 & 1/2 tsp table salt
For Boiling:
- 3 tbsp honey (or substitute with 3 tbsp granulated white or brown sugar)
For Baking:
- 1 egg, beaten with 1 tbsp water (for egg wash)
Toppings:
- 4 tbsp everything bagel seasoning (or sesame, poppy, sunflower seeds, etc.)
Quick Glance Instructions (for experienced bread machine bakers)
- Bloom yeast with warm water and sugar.
- Add flour and salt, run on dough cycle.
- Rest dough, divide into 8, shape into bagels.
- Boil in honey water for 30 seconds per side.
- Brush with egg wash, sprinkle toppings.
- Bake at 375°F for 20–25 minutes.
Step-by-Step Instructions for Bread Machine Beginners
Step 1 – Remove the insert from your bread machine before adding ingredients. Check that your paddle is in place.
Step 2 – Add 1 cup plus 2 tbsp warm water, 2 tbsp sugar, and 2 & 1/4 tsp yeast. Stir and cover with plastic wrap for 5 minutes.
If it froths, your yeast is alive. If not, start over with fresh yeast.
Step 3 – Add 3 cups flour (bread or all-purpose).
Step 4 – Make a small well in the flour. Add 1 & 1/2 tsp salt, cover lightly with flour.
Step 5 – Place insert into bread machine, select “dough” cycle (mine runs 1 hr 30 mins).
Step 6 – When done, remove dough, fish out paddle, shape into a ball, cover with plastic wrap, and rest 20 minutes.
Step 7 – Divide dough into 8 equal pieces, roll into balls, keep under wrap until ready.
Step 8 – Shape into bagels.
- Option 1: Roll each ball into a sausage, join ends, press seam together.
- Option 2: Poke a hole in the middle of a ball and gently widen it in circles until larger than you think (it will shrink).
Step 9 – Place shaped bagels on a floured parchment sheet. Line another baking sheet with parchment for after boiling.
Step 10 – Boil a large pot of water, add 3 tbsp honey (or substitute 3 tbsp granulated sugar).
Step 11 – Preheat oven to 375°F.
Step 12 – Boil bagels 30 seconds per side (1 minute total). Remove with spider strainer and place on clean lined baking sheet.
Step 13 – Brush tops with egg wash (1 beaten egg + 1 tbsp water). Add toppings.
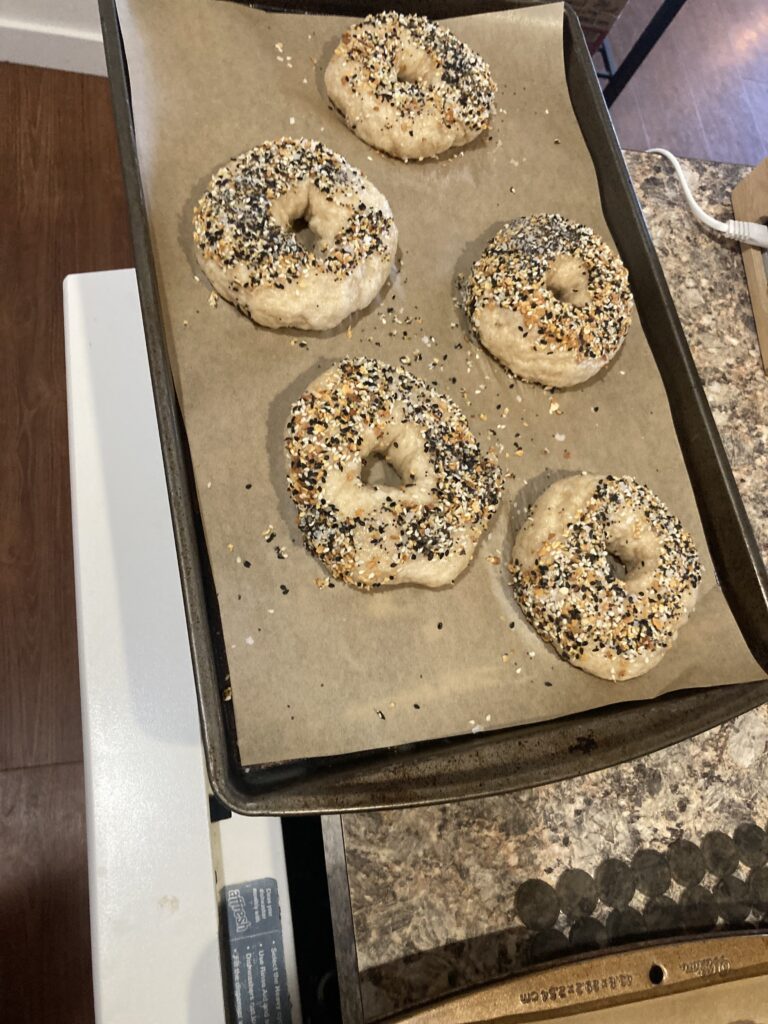
Step 14 – Bake 20–25 minutes until golden.
Step 15 – Cool on a rack before slicing.
Storage
- Store cooled bagels in an airtight container up to 3 days.
- Freeze for up to 1 month: wrap bagels (whole or sliced) individually in plastic wrap, place in a freezer bag.
- To reheat: take straight from freezer, split if sliced, toast, or bake at 350°F for 8–10 minutes.
Extra Tips
- Don’t fear the boiling step, it’s what gives bagels their classic chew.
- Make the hole larger than you think, it shrinks during boiling/baking.
- Try different toppings: sesame, garlic flakes, sunflower seeds, or classic plain.
Serving Suggestions
Best enjoyed warm with cream cheese, toasted for breakfast sandwiches, or sliced with butter.
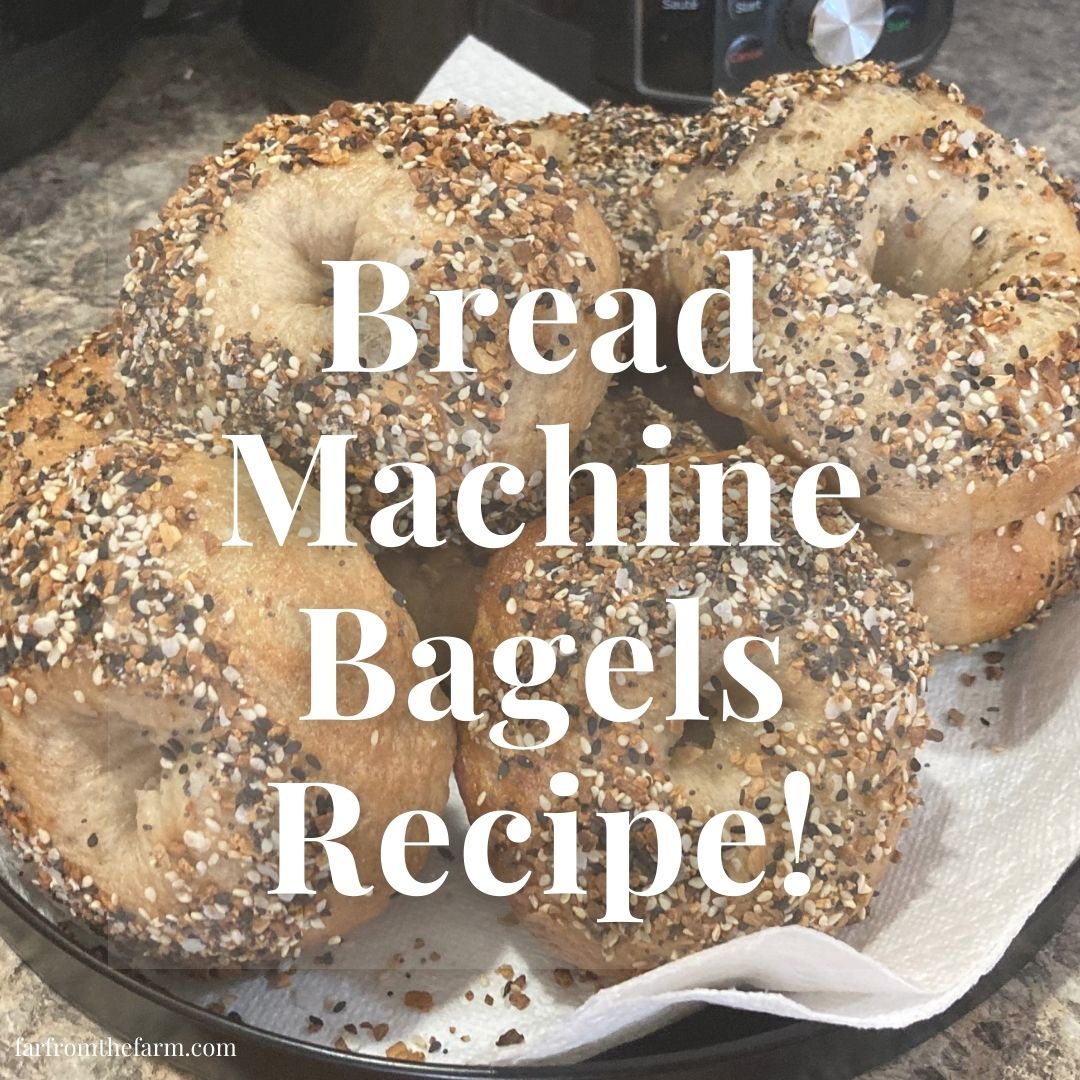
Easy Bread Machine Bagels Recipe!
Ingredients
Equipment
Method
- Remove the insert from your bread machine before adding ingredients.
- Add 1 cup plus 2 tbsp warm water, 2 tbsp sugar, and 2 & 1/4 tsp yeast. Stir and cover with plastic wrap for 5 minutes. If it froths, your yeast is alive. If not, start over with fresh yeast.
- Add 3 cups flour (bread or all-purpose) on top of the yeast mixture. Do not mix.
- Make a small well in the top of the flour. Add 1 & 1/2 tsp salt, cover lightly with some of the flour.
- Place insert into bread machine, select “dough” cycle (mine runs 1 hr 30 mins).
- When done, remove dough, fish out paddle, shape into a ball, cover with plastic wrap, and rest 20 minutes.
- Divide dough into 8 equal pieces, roll into balls, keep under wrap until ready.
- Shape into bagels by:Option 1: Rolling each ball into a sausage, join ends, press seam together.Option 2: Poking a hole in the middle of a ball of dough and gently widen it in circles until larger than you think (it will shrink).
- Place shaped bagels on a floured parchment sheet. Line another baking sheet with parchment for after boiling.
- Boil a large pot of water, add 3 tbsp honey (or substitute 3 tbsp granulated sugar).
- Preheat oven to 375°F.
- Boil bagels 30 seconds per side (1 minute total). Remove with spider strainer and place on clean lined baking sheet.
- Brush tops with egg wash (1 beaten egg + 1 tbsp water). Add toppings.
- Bake 20–25 minutes until golden.
- Cool on a rack before eating – enjoy!
Notes
Storage:
Store cooled bagels in an airtight container up to 3 days. Freeze for up to 1 month: wrap bagels (whole or sliced) individually in plastic wrap, place in a freezer bag. To reheat: take straight from freezer, split if sliced, toast, or bake at 350°F for 8–10 minutes.Extra Tips:
- Don’t fear the boiling step, it’s what gives bagels their classic chew.
- Make the hole larger than you think, it shrinks during boiling/baking.
- Try different toppings: sesame, garlic flakes, sunflower seeds, or classic plain.
Nutrition information is automatically calculated, so should only be used as an approximation.
The Takeaway
Bagels might seem tricky, but with a bread machine doing the mixing and kneading, all you have to do is shape, boil, and bake.
The result? Perfectly chewy, golden bagels without leaving your kitchen!
What to Read Next

Share & Rate This Recipe!
If you tried this recipe, please share your feedback with a quick star rating or comment below. And if you loved it, don’t forget to share it with friends and family too!
Last update on 2026-07-27 / Affiliate links / Images from Amazon Product Advertising API


One Comment