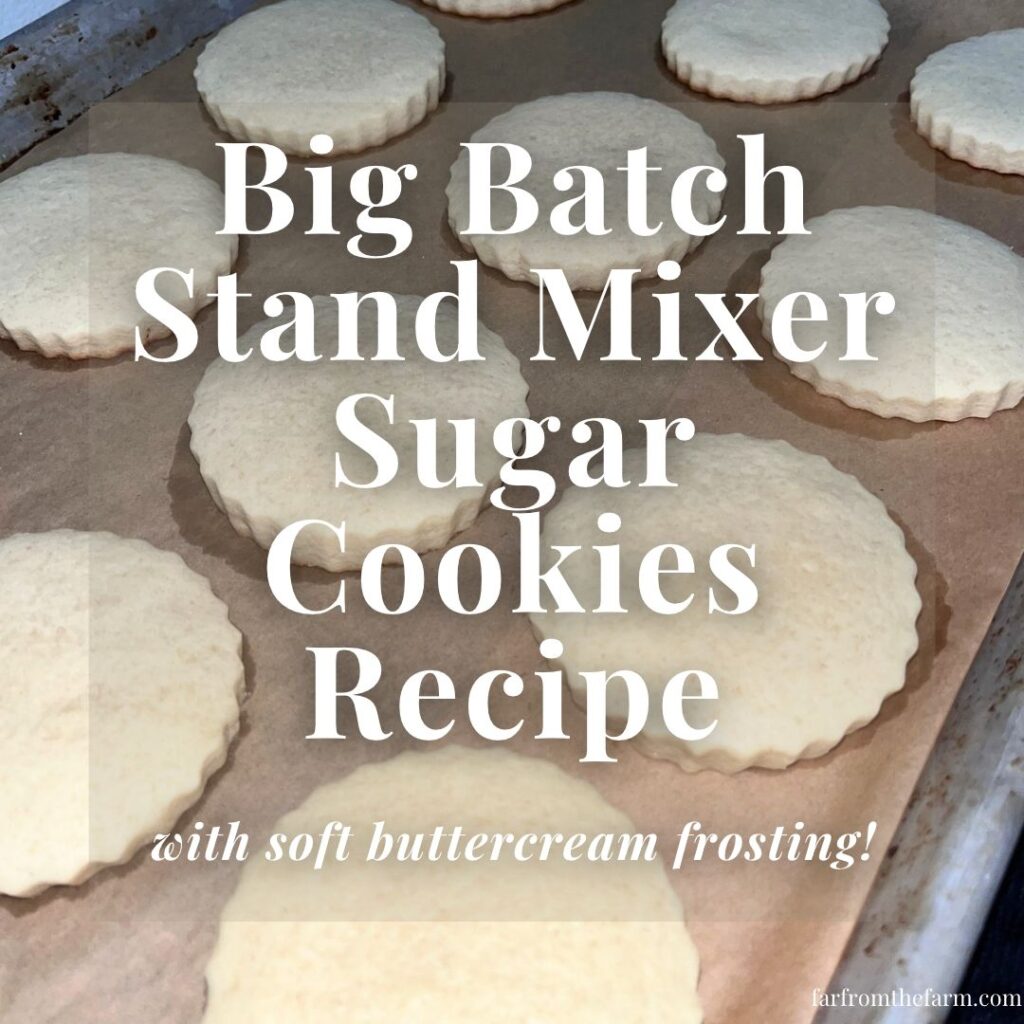
How to Make The Best Easy, No-Spread Big Batch Cut Out Sugar Cookies in Your Stand Mixer with Soft Vanilla Buttercream
“Your stand mixer does all the heavy lifting for this huge traditional American sugar cookie batch, just chill the dough for a full 24 hours so your cut-out shapes never spread, pull them while they still look slightly soft, and spread on rich vanilla buttercream instead of hard royal icing.” – Mona, Far From The Farm.
Hi! If you’ve been following me for long you’ll already know this, but for those who are new, welcome to Far From The Farm. I’m Mona, the Brit behind the recipes, learning life and food in the States while sharing our debt-free journey and what’s on the menu in our home today!
My mother in law makes the very best sugar cookies and she is the family’s go to baker for every seasonal event. You should see her cookie production. It is quite the set up!
Hundreds of cookies at a time, trays everywhere, dough chilling in batches, and my father in law icing them at his own frosting station like it is a proper little bakery line.
It is something we all look forward to at Easter, Christmas, and any special event where you need food that feels like a tradition.
This is the big batch version. Enough dough to make a serious amount of cookies without needing to double anything or do maths in the middle of baking.
And even though my mother in law makes an even bigger batch than this, unless you are feeding a small army or hosting a huge extended family, this amount is more than enough for a full cookie session!
It is also an easy one bowl recipe. Minimal dishes, minimal fuss. The stand mixer does the work, the dough chills, and then you roll, cut, bake, and frost. But there’s a few points you’ll need to pay attention to, for the best results.
First, do not skip the chill. Chilling is what stops them spreading so they keep their cut out shapes.
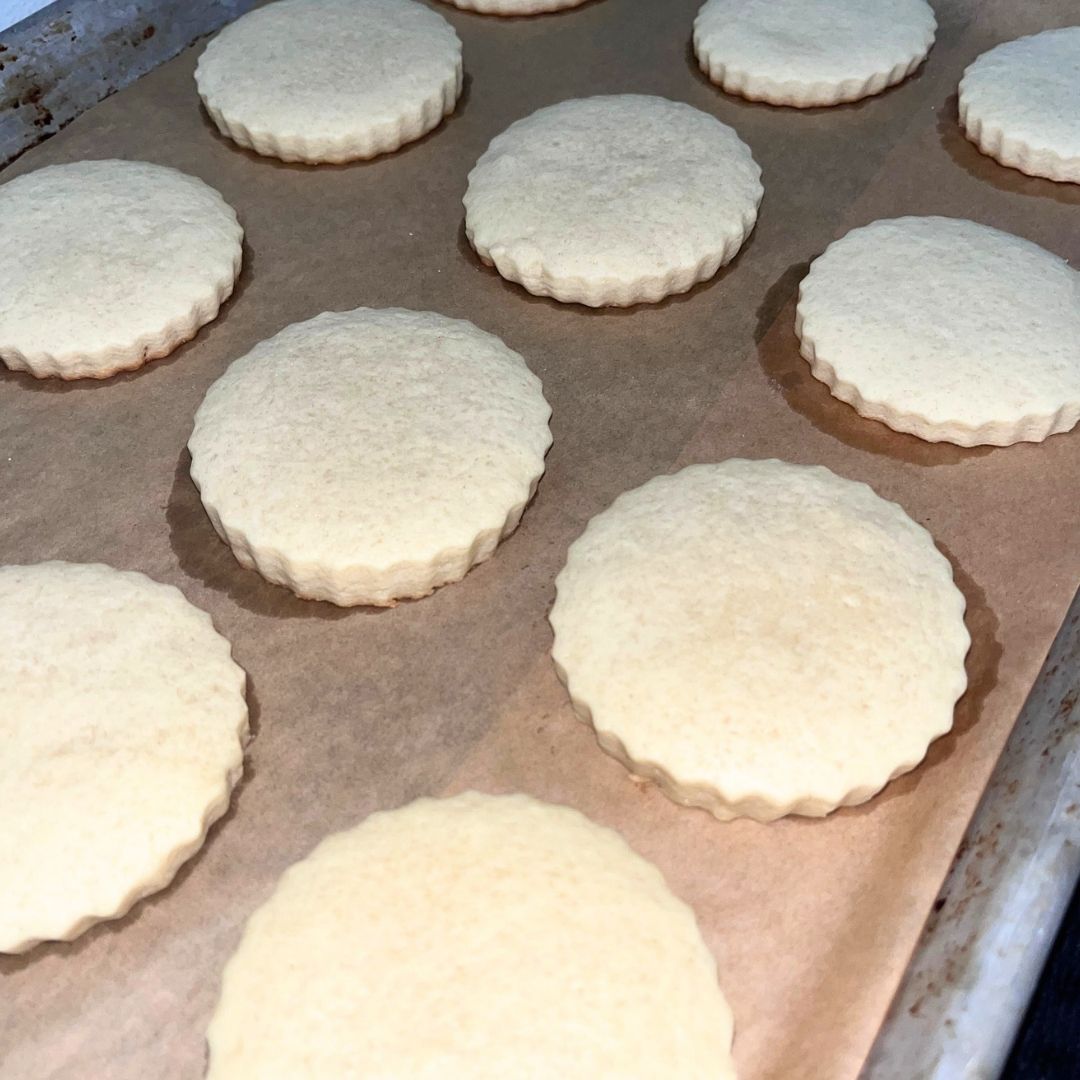
Second, do not overbake. These cookies will look soft when they come out of the oven. That is correct. A sugar cookie baked to death is dry and sad, and no one wants that.
And lastly do not forget the buttercream frosting!
These do not set hard like royal icing, but it is worth sacrificing the perfect sharp Instagram finish for this delicious buttercream, because the richness from the butter gives you a soft bite and real flavor in every mouthful.
Making cookies at home also saves us buying store bought treats, and as we’re a military family on baby step 2 of our debt free journey every penny saved goes towards our goals.
These big batch bakes are one of the easiest ways to stretch a grocery budget while still giving the kids and family something special.
And just a reminder that if you’re struggling and you need help with managing your budget or starting your own debt free journey then here’s some FREE resources below you may find helpful!
living frugally and fully
free tips and resources to make the most of what you have
As always, these photos are from my real kitchen here in our sweet military base home. No AI recipe images or staged lighting or spotless marble counters. Just real life and real food made in a small space. Proof that you can feed your family well without needing a dream kitchen or fancy tools!
So roll up your sleeves and head into the kitchen to make the only sugar cookie recipe you’ll ever need!
Recipe Disclaimer
All Far From The Farm recipes are shared as a guide based on what works in my home kitchen. Results may vary depending on your ingredients, equipment, and cooking setup, so always use your own judgement. Please check all ingredients for allergies, intolerances, or dietary needs before making any recipe. Far From The Farm is not responsible for any reactions or outcomes from the use of these recipes. Nutritional information is an estimate only.
Mona – Far From The Farm
Equipment
- KitchenAid stand mixer with bowl and paddle attachment
- Measuring jugs, cups and spoons
- Plastic wrap or airtight container for chilling
- Rolling pin
- Cookie cutters
- Parchment paper
- Cookie sheets
- Cooling rack
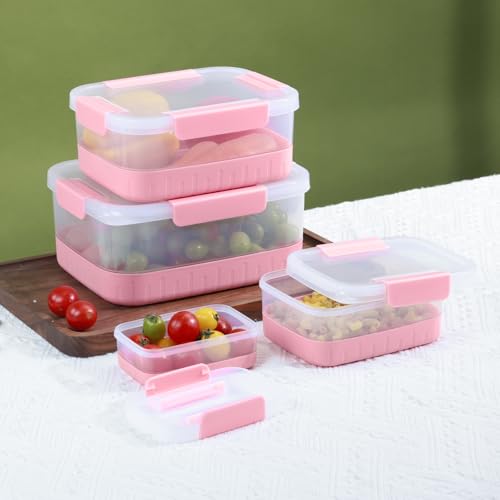
Available on Amazon.com [ad]




Ingredients
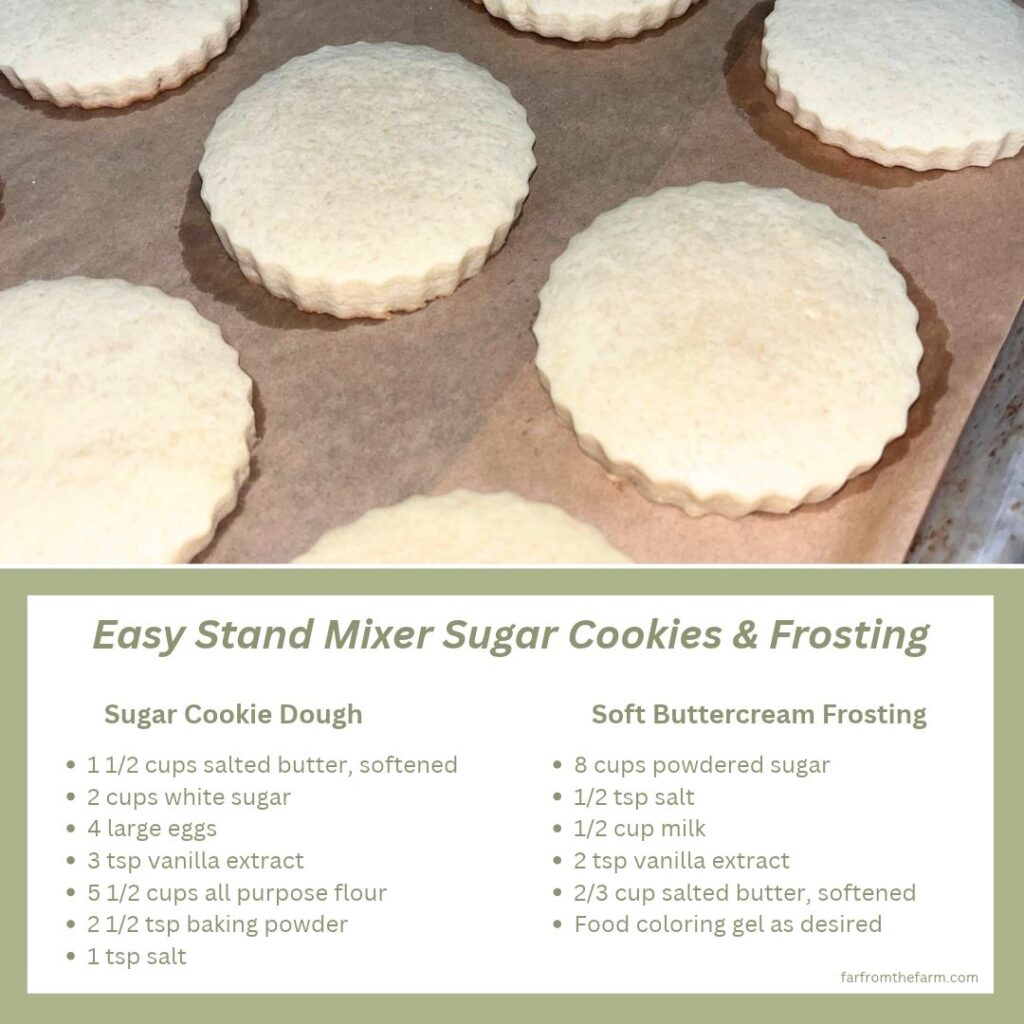
Big Batch Sugar Cookie Dough
Makes approx 50 medium sized sugar cookies
- 1 1/2 cups salted butter, softened
- 2 cups white sugar
- 4 large eggs
- 3 tsp vanilla extract
- 5 1/2 cups all purpose flour
- 2 1/2 tsp baking powder
- 1 tsp salt
Big Batch Vanilla Buttercream Frosting
- 8 cups powdered sugar
- 1/2 tsp salt
- 1/2 cup milk
- 2 tsp vanilla extract
- 2/3 cup salted butter, softened
- Food coloring gel as desired
Step By Step Instructions
Step One: Cream the wet ingredients
Beat together the softened butter, white sugar, eggs, and vanilla in the bowl of a stand mixer using the paddle attachment, until well combined.
Step Two: Add the dry ingredients
Add the flour, baking powder, and salt. Swap to the dough hook attachment.
Step Three: Knead the dough
Knead on low for 3 to 4 minutes until well combined, scraping down the bowl once or twice as needed. The dough should look smooth and feel pliable.
Step Four: Chill the dough
When the dough is smooth and pliable like stiff play dough, form it into 1 or 2 disc shapes and chill for 24 hours. Any less and you risk them spreading.
Step Five: Roll and cut
When it’s time to bake, remove dough from the fridge and roll out to 1/4 inch thickness. Cut out your shapes. This recipe works best with medium to large cookie shapes.
Step Six: Arrange
Place cut cookies onto parchment lined cookie sheets, leaving at least 1/2 inch between each cookie.
Step Seven: Bake
Bake in a preheated 375°F oven for 8 to 10 minutes.
Step Eight: Remove from oven
Remove from the oven and allow to cool on the tray for at least 10 minutes before moving to a cooling rack. They will still be soft. Do not bake longer, this is how they stay buttery soft.
Step Nine: Cool fully before frosting
Allow cookies to cool completely before adding frosting.
Step Ten: Make the buttercream
Add powdered sugar, salt, milk, vanilla, and softened butter to your stand mixer bowl and beat with the paddle attachment until smooth and fully combined.
Step Eleven: Color if desired
Use the frosting as is, or divide and add a few drops of food coloring gel.
Step Twelve: Frost
This is a no frills buttercream frosting. Grab a knife and spread a generous layer over each cookie. Enjoy!
How to Freeze These Sugar Cookies!
One of the best things about this big batch recipe is that it freezes beautifully. That means you can do the work once and enjoy the cookies later.
Freezing the Dough
After mixing, divide the dough into thick discs or a long sausage shape, and wrap each one tightly in plastic wrap. Place the wrapped dough inside a freezer bag and freeze for up to 3 months.
When you’re ready to bake, transfer the dough to the fridge overnight to thaw. Once it’s cold but workable, roll, cut, and bake exactly as written. The texture stays just as soft. If you freeze it into a sausage shape you can even just cut round pieces off it and bake round cookies without needing to shape them.
Freezing Baked Unfrosted Cookies
If you prefer to bake first, allow the cookies to cool completely. Layer them in an airtight container with parchment paper between each layer so they do not stick together.
Freeze for up to 3 months. Let them thaw at room temperature before frosting or serving.
Freezing Frosted Cookies
Since this recipe uses buttercream instead of royal icing, the frosting stays soft. To freeze frosted cookies successfully, place them in a single layer on a tray and freeze until the frosting firms up.
Once firm, you can gently stack them with parchment between layers. Always thaw in a single layer so the buttercream stays neat and does not smudge.
Notes
- Chilling the dough for 24 hours is the best way to keep shapes sharp.
- Cookies look slightly soft when they come out. That is what you want.
- Buttercream tastes richer than royal icing, even though it stays soft.
Troubleshooting Sugar Cookies and Buttercream Frosting
Your butter warmed up too much before baking. When butter melts faster than the flour sets, sugar cookies lose their sharp edges and spread out flat. Chill the dough for a full 24 hours, roll it out quickly on a cool counter, and pop your cut shapes on the tray into the fridge for 10 minutes before baking if your kitchen feels warm.
They were either overbaked or had too much flour scooped into the bowl. Because these sugar cookies bake at 375°F, just two extra minutes in the oven can dry them out. Pull them when the edges are barely set and the centers still look pale and soft, and always spoon your flour into the measuring cup instead of scooping straight from the bag.
The dough hasn’t chilled long enough or your butter was too warm when mixing. Chilling firms up the butter and gives the 5½ cups of flour time to absorb the moisture from the 4 eggs. If it still feels tacky after chilling, knead in 1 to 2 tablespoons of flour, dust your rolling pin lightly, and roll the dough between two sheets of parchment paper.
The dough is straight-from-the-fridge cold and just needs a few minutes to warm up slightly. After 24 hours in the fridge, a thick disc of dough will feel rock-hard at first. Let it sit on the counter for 5 to 10 minutes before rolling, and press any cracked edges back together with your hands as you go.
Your counter needs a light dusting of flour or the dough is warming up while you roll. Sprinkle a little flour (or powdered sugar for extra softness) onto your counter and turn the dough a quarter-turn after every few passes with your rolling pin. Rolling between two sheets of parchment paper stops sticking completely without adding extra flour.
Your baking sheet is dark-colored or sitting too close to the bottom of the oven. Dark nonstick pans hold onto heat and brown the bottoms of sugar cookies before the middles bake through. Use light-colored aluminum baking sheets lined with parchment paper and bake on the center oven rack.
Too much air was beaten into the butter and sugar or trapped while rolling. When mixing the butter, sugar, and eggs, beat them just until smooth rather than whipping them fluffy like cake batter. Before cutting out your shapes, give the rolled dough one gentle roll with your rolling pin to press out any air pockets.
The dough needed more salt or vanilla, or your baking powder is old. Salt is key in sugar cookies because it balances the sweetness and brings out the rich butter flavor, especially if you used unsalted butter without adding extra salt. Check the date on your baking powder and use real vanilla extract for that proper bakery taste.
Your frosting needs a splash more milk or your butter was still too cold. Stiff frosting drags across soft sugar cookies and pulls up crumbs. Beat in 1 tablespoon of milk at a time until your buttercream frosting spreads easily with a butter knife without tugging at the cookie.
Your butter was too warm or the cookies were not completely cool before frosting. Even slightly warm sugar cookies will melt buttercream on contact. Let your cookies cool for at least 30 to 45 minutes first, and beat ½ cup of powdered sugar at a time into your frosting until it holds soft peaks.
The butter and milk were at different temperatures when you mixed them. Cold milk hitting softened butter makes the fat clump up, which makes sugar cookies and buttercream frosting look curdled. Let both your butter and milk sit at room temperature before mixing, and beat the frosting on medium speed for 2 minutes until smooth.
Storage
- Unfrosted cookies: Store in an airtight container at room temperature for up to 5 days.
- Frosted cookies: Because buttercream does not set hard, store frosted cookies in single layers, or use parchment between layers so they do not stick.
- Leftover dough: Store tightly wrapped in the fridge up to 3 days, or freeze for longer storage.
- Leftover frosting: Store in an airtight container in the fridge up to 5 days. Let come to room temperature, then rewhip before using.
Serving Ideas
- Holiday cookie platters
- Easter baskets
- Christmas cookie trays
- Bake sales
- School parties
- Decorating night with the kids
Why You’ll Love This Recipe?
- Soft cookies that stay tender
- Cut out shapes hold their form
- Big batch for holidays and parties
- Simple one bowl mixer method
- Buttery frosting that actually tastes good
Frequently Asked Questions About Sugar Cookies and Buttercream Frosting
This recipe nails that classic American bakery balance of a thick, buttery, soft cookie topped with rich vanilla buttercream. Unlike crunchy biscuits or hard iced cookies, these sugar cookies stay soft in the middle with clean edges. They are ideal for Christmas Eve plates for Santa, Easter baskets, and big family get-togethers.
Yes – and a full 24-hour chill will give you the cleanest cut-out shapes, though 4 to 6 hours works in a pinch. Letting the dough rest overnight allows the flour to absorb the moisture from the eggs and chills the butter completely so your sugar cookies hold their sharp edges in the oven.
Roll your dough to an even ¼-inch thickness. Rolling sugar cookies thinner than ¼ inch makes them crisp up like crackers, while a ¼-inch thickness keeps the centers soft and sturdy enough to hold a generous layer of buttercream frosting.
Look at the tops and bottom edges rather than waiting for a golden color. Your sugar cookies are ready when the centers no longer look wet or shiny and the bottom edges are just set. They will finish firming up on the warm pan after you pull them from the oven.
Baking powder gives sugar cookies a gentle, even lift without making them spread. Baking soda can cause cookies to spread wide and brown too quickly, whereas baking powder keeps thick cut-out sugar cookies soft, pale, and tender.
Yes, you can mix sugar cookie dough with a hand mixer and finish stirring in the flour with a sturdy wooden spoon. A stand mixer with the paddle and dough hook attachments just makes handling this big 5½-cup flour batch much faster and easier on your arms.
Yes, just add an extra ¼ teaspoon of salt to the cookie dough and a pinch of salt to the buttercream frosting. This recipe is tested with salted butter because it balances the sweetness of the sugar so well, so adding a little extra salt keeps the flavor rich.
Yes, you can gather and re-roll sugar cookie dough scraps up to two times. Press the scraps gently back together without overworking them, and pop the dough in the fridge for 15 minutes if it starts feeling warm from your hands before cutting more sugar cookies.
No, always let your sugar cookies cool completely for at least 30 to 45 minutes before frosting. Even slightly warm sugar cookies will melt the butter in your buttercream frosting, causing it to slide right off the tops instead of holding a smooth, fluffy layer.
Butter gives you the best flavor and helps the cookies hold their shape, while margarine has higher water content that can cause spreading. If you need a dairy-free swap, use firm plant-based butter sticks rather than soft tub margarine for both your sugar cookies and your buttercream frosting.
Sugar cookies usually lose their shape when the butter in the dough is too warm before going into the oven, or when the dough was not chilled long enough. Chilling your dough for a full 24 hours firms up the butter so the edges bake cleanly before the fat melts, giving you sharp cut-out sugar cookies every time.
Yes, heavy whipping cream makes vanilla buttercream frosting even richer, thicker, and fluffier than regular milk. You can swap the ½ cup of milk for heavy cream at a 1-to-1 ratio when frosting your sugar cookies, adding an extra splash if needed until it spreads smoothly.
Yes, wrapped sugar cookie dough freezes well for up to 3 months. Shape the dough into thick discs or a log, wrap tightly in plastic wrap, and place inside a freezer bag. Thaw it in the fridge overnight before rolling, cutting, and baking, or slice rounds straight from a frozen log.
Yes, you can freeze frosted sugar cookies for up to 3 months. Freeze them in a single layer on a baking sheet for 1 hour until the buttercream frosting firms up, then pack them in an airtight container with parchment paper between each layer. Thaw in a single layer so the frosting stays neat.
Keep frosted sugar cookies in an airtight container at room temperature for up to 5 days. Because sugar cookies and buttercream frosting stay soft rather than hardening like royal icing, place a sheet of parchment paper between layers so the frosting does not smudge.
No, sugar cookies and buttercream frosting are safe at room temperature for up to 5 days. The high sugar ratio in the buttercream frosting acts as a natural preservative, so you can safely leave them on the counter or on a Christmas Eve plate for Santa without refrigerating them.
Soft buttercream forms a light outer crust after 2 to 3 hours while staying soft and creamy underneath.Once the tops feel lightly set to the touch, you can gently stack your sugar cookies and buttercream frosting in a container with parchment paper between each layer.
Yes – buttercream holds piping tips really well. If you want neat piped swirls or borders, hold back 1 to 2 tablespoons of milk when mixing so the buttercream frosting stays slightly firmer.
Use gel food coloring instead of liquid food coloring drops. Liquid coloring adds extra water that thins out your buttercream frosting, whereas a small dab of concentrated gel gives bright colors without changing the spreadable texture.
Almond extract, peppermint extract, or fresh lemon zest all work wonderfully. Swap ½ teaspoon of the vanilla for pure almond extract for a classic bakery flavor, or use peppermint extract at Christmas to customize your sugar cookies and buttercream frosting.
Professional bakers tend to use royal icing for weddings, custom orders, and intricate designs because it dries rock-hard and holds sharp details, while buttercream is much better when you are baking at home to eat with family and kids. Royal icing gives you that flawless, transportable finish, though it tastes mostly like plain sugar. Sugar cookies and buttercream frosting give you rich American classic vanilla butter flavor and a soft, tender bite without the stress, whether you pipe neat swirls or let the kids spread frosting with a knife and go wild with sprinkles.
Yes, you can make the dough up to 3 days ahead and the buttercream frosting up to 5 days ahead.Keep both tightly covered in the fridge, and let the buttercream frosting come to room temperature and re-whip in your mixer for 1 minute before frosting your sugar cookies.
Chill the frosted cookies in a single layer for 30 minutes until the buttercream firms up, then pack them in a sturdy tin with parchment paper between layers. Keeping the sugar cookies and buttercream frosting cool stops them from smudging in transit.
Yes, a 1-to-1 gluten-free baking flour blend with xanthan gum works as a direct swap. Let the gluten-free sugar cookie dough chill for the full 24 hours so the flour fully absorbs the moisture and holds its cut-out shapes cleanly.
Easy Big Batch Stand Mixer Sugar Cookies with Soft Buttercream Frosting!

Ingredients
Equipment
Method
- In the bowl of a stand mixer fitted with the paddle attachment, beat the softened butter, sugar, eggs, and vanilla extract together until well combined.
- Add the flour, baking powder, and salt. Switch to the dough hook attachment.
- Knead on low speed for 3 to 4 minutes, scraping down the bowl as needed, until the dough is smooth and pliable.
- Divide dough into 1 or 2 thick discs. Wrap tightly in plastic wrap and refrigerate for 24 hours.
- Preheat oven to 375°F. Line baking sheets with parchment paper.
- Roll chilled dough to 1/4 inch thickness on a lightly floured surface. Cut with medium to large cookie cutters.
- Place cookies on prepared baking sheets, spacing at least 1/2 inch apart.
- Bake for 8 to 10 minutes, until edges are set but not browned.
- Allow cookies to cool on the baking sheet for 10 minutes, then transfer to a cooling rack. Cool completely before frosting.
- To make frosting, beat powdered sugar, salt, milk, vanilla, and softened butter with the paddle attachment until smooth and fully combined.
- Spread frosting onto fully cooled cookies. Decorate as desired.
Notes
- Chilling the dough for 24 hours is the best way to keep shapes sharp.
- Cookies look slightly soft when they come out. That is what you want.
- Buttercream tastes richer than royal icing, even though it stays soft.
Storage
- Unfrosted cookies: Store in an airtight container at room temperature for up to 5 days.
- Frosted cookies: Because buttercream does not set hard, store frosted cookies in single layers, or use parchment between layers so they do not stick.
- Leftover dough: Store tightly wrapped in the fridge up to 3 days, or freeze for longer storage.
- Leftover frosting: Store in an airtight container in the fridge up to 5 days. Let come to room temperature, then rewhip before using.
Related Recipes
- Check out all our easy Cookie Recipes!
- And pair those cookies with our range of Frosting Recipes!
Nutrition information is automatically calculated, so should only be used as an approximation.
Looking for more homemaking inspiration?

It’s so important to be part of a community that not only understands you but that champions you, encourages, challenges and cheers you on. We couldn’t find one – so we created it instead!
Join the Side Hustle Homemakers Team Julie, Sam and I over at the Recipes, Homesteading and More! Facebook Group for Food Blogging Tips, Homesteading and Homemaking content and encouragement!
We’re 3 very different US/UK military families who met and became instant forever friends. We share what’s working in our kitchens, gardens, homes and more!
We created the group to share real life around recipes, homesteading, homemaking and more. Head on over, say Hi, share your tips and gain some friends and knowledge along the way!
The Takeaway
If you want sugar cookies that stay soft and actually taste like something, this is the method I’d recommend.
Chill the dough, do not overbake, and go with buttercream if you care more about flavor than a perfectly hard iced finish. Big batch, minimal dishes, and perfect for every holiday!
All courtesy of my mother in law’s recipe book!
What to Try Next?



Share & Rate This Recipe!
If you make these sugar cookies, tap the stars on the recipe card and leave a quick comment. Sharing helps other families find the reliable recipes too!
Last update on 2026-11-11 / Affiliate links / Images from Amazon Product Advertising API